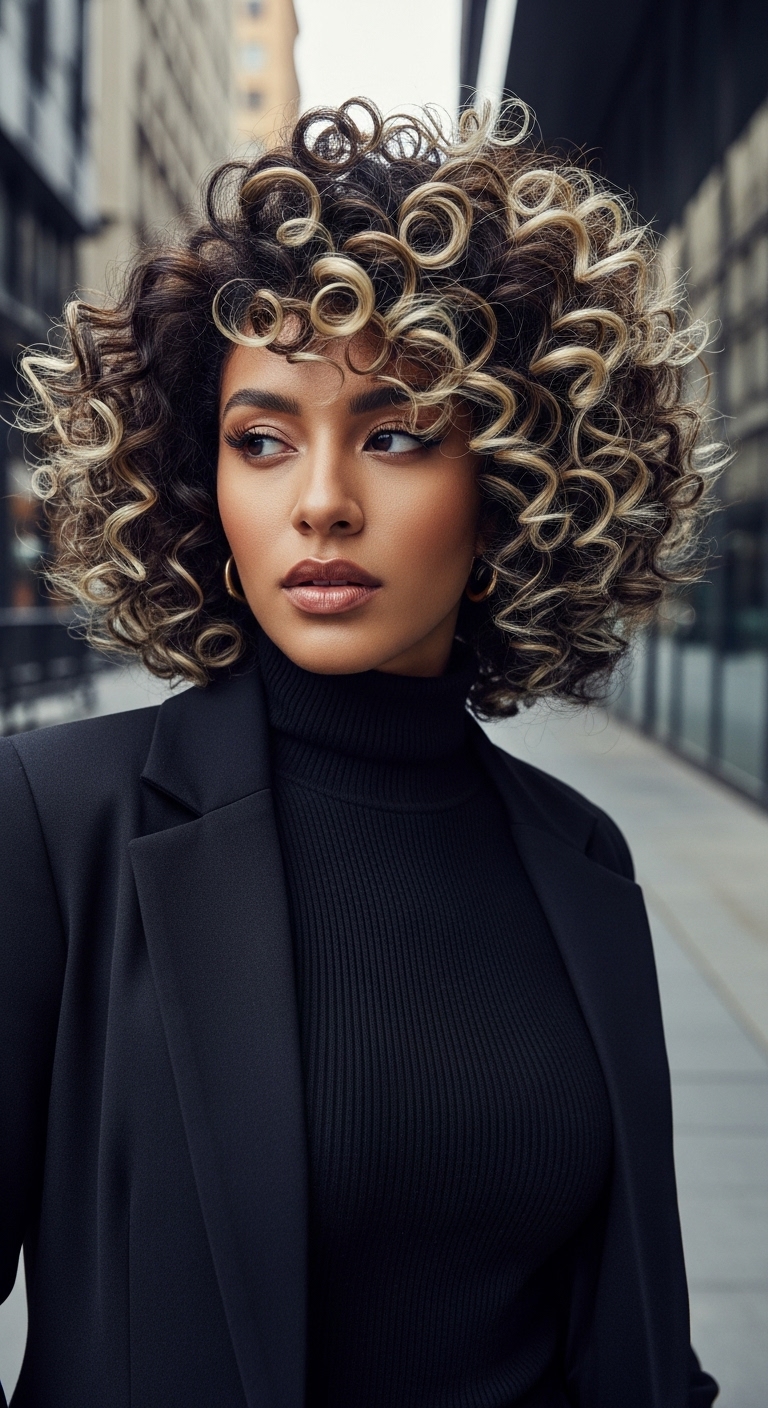
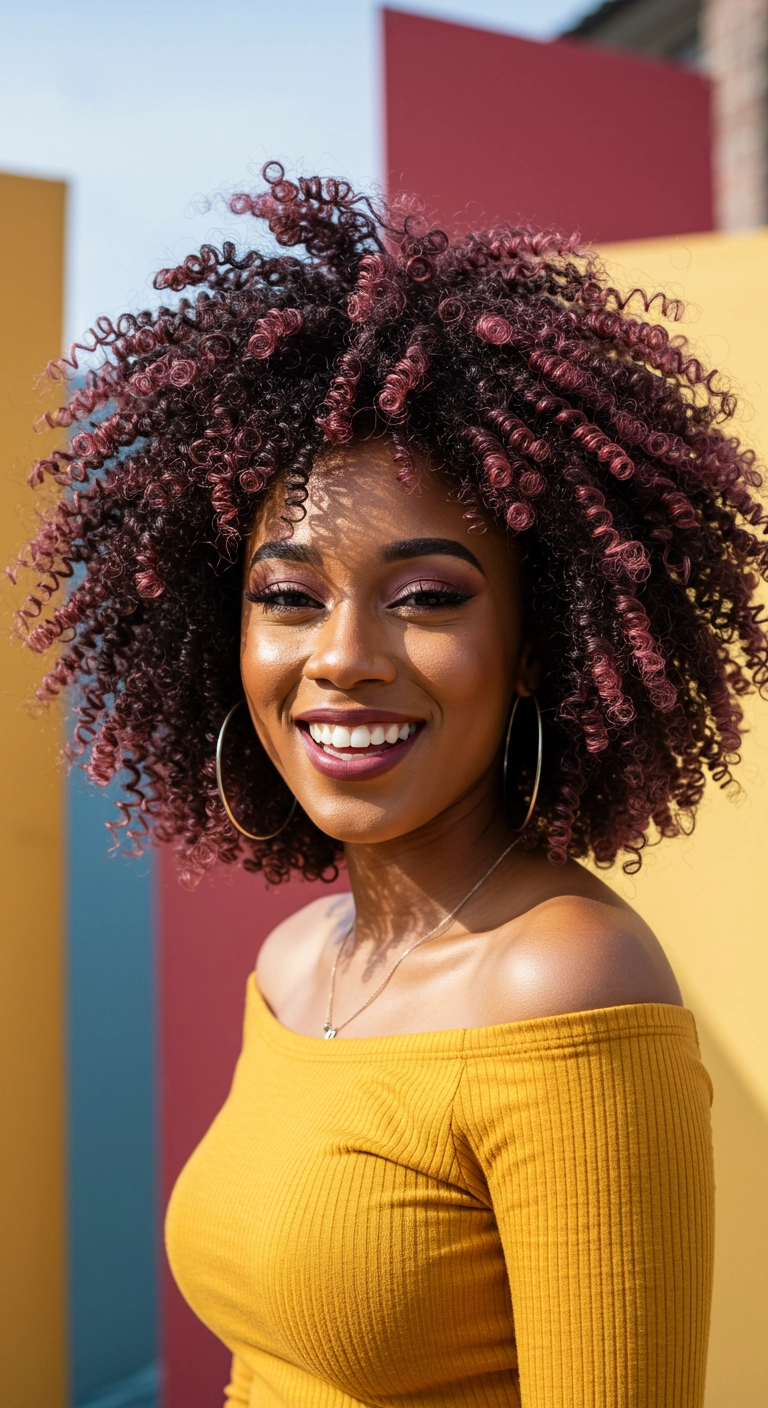
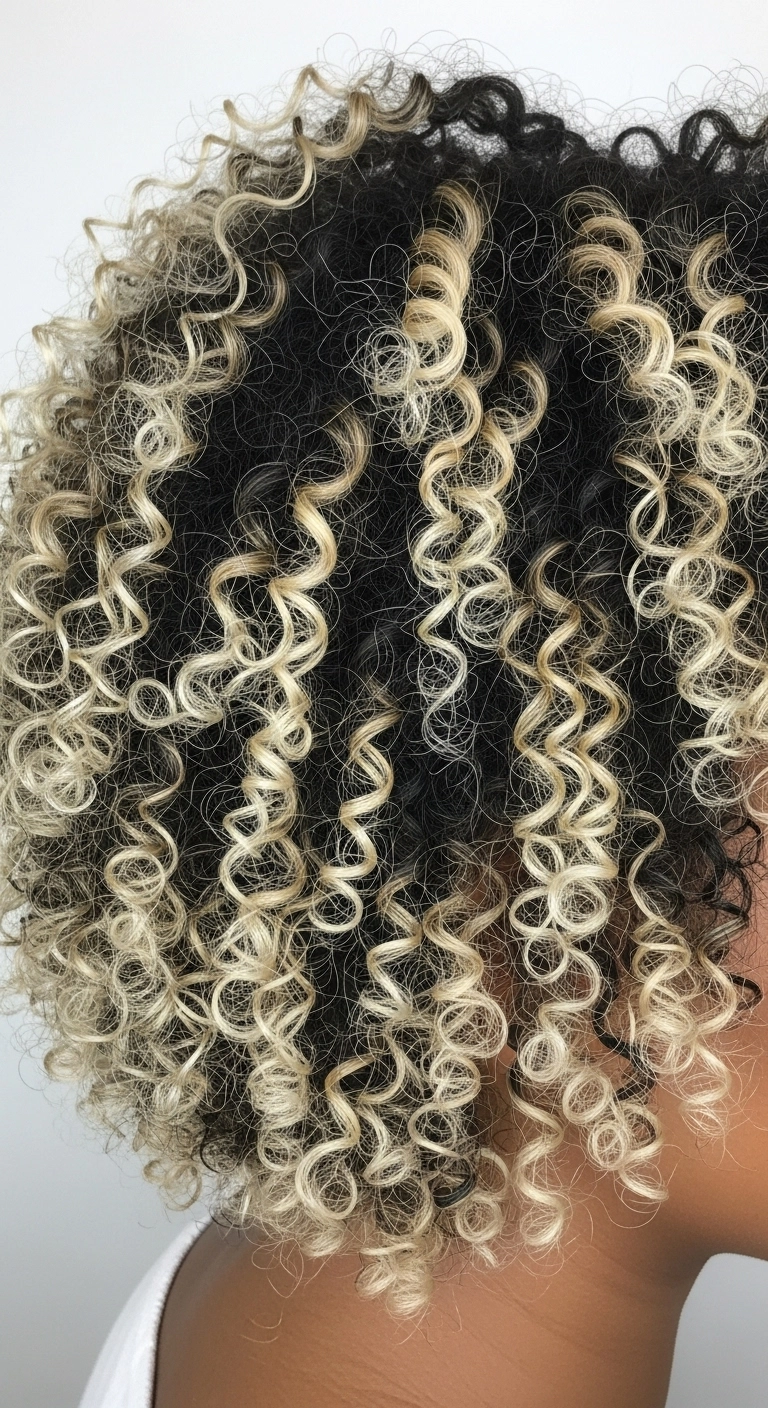
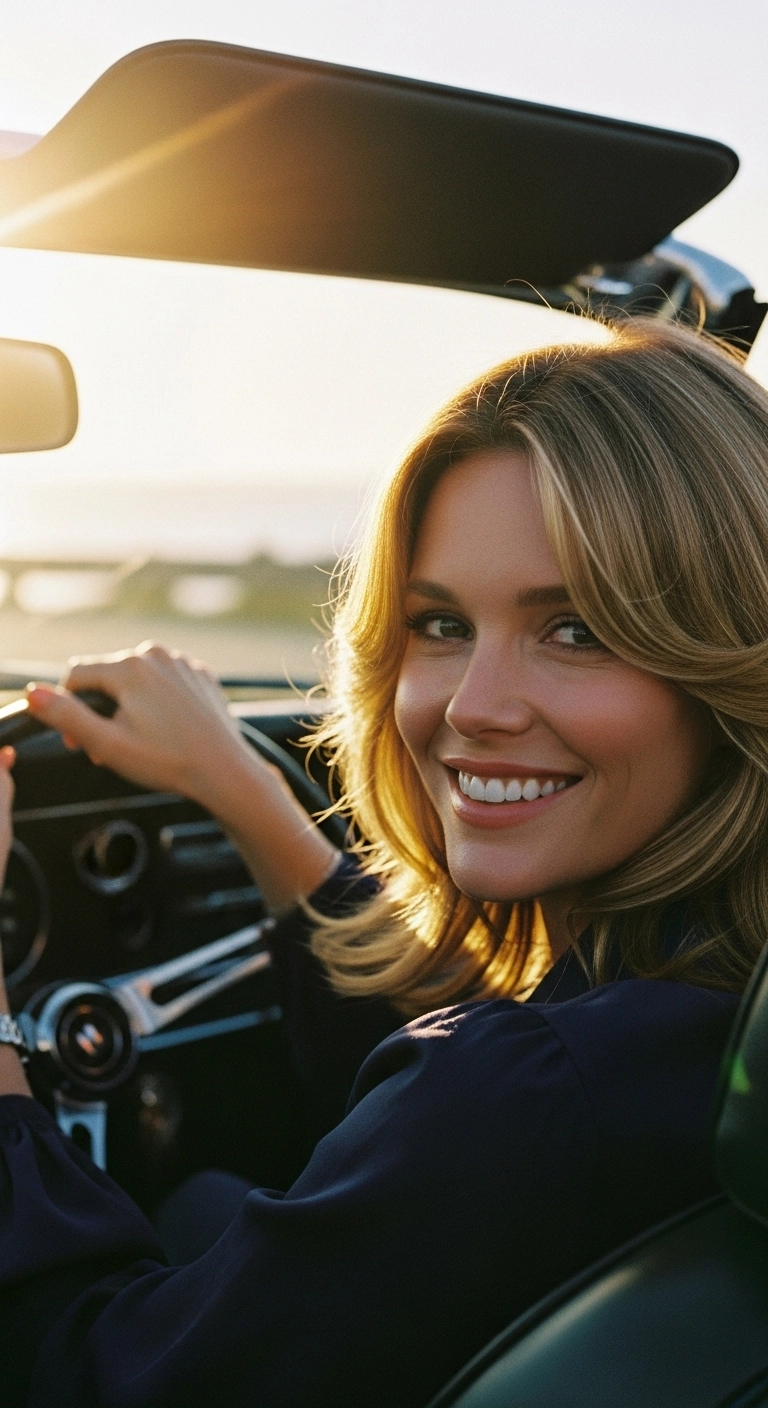
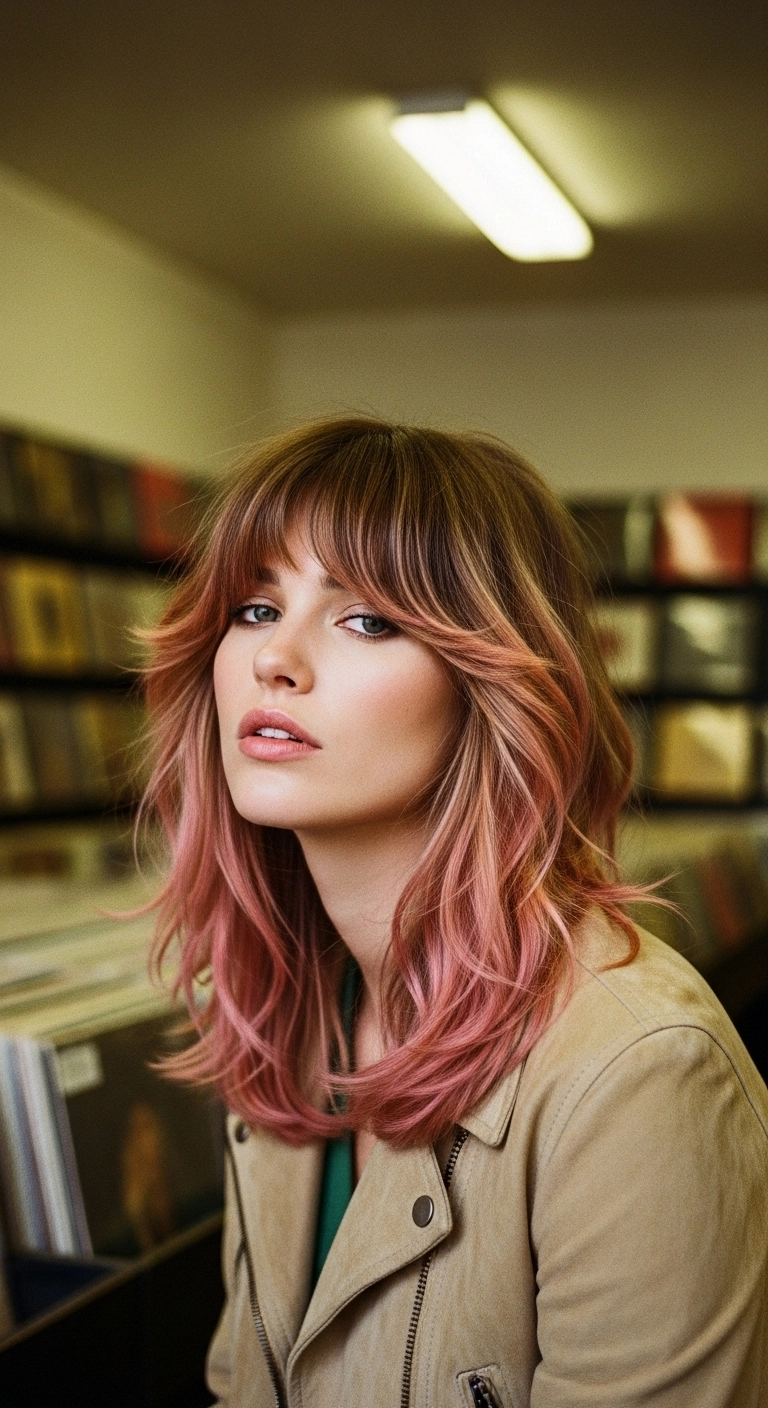
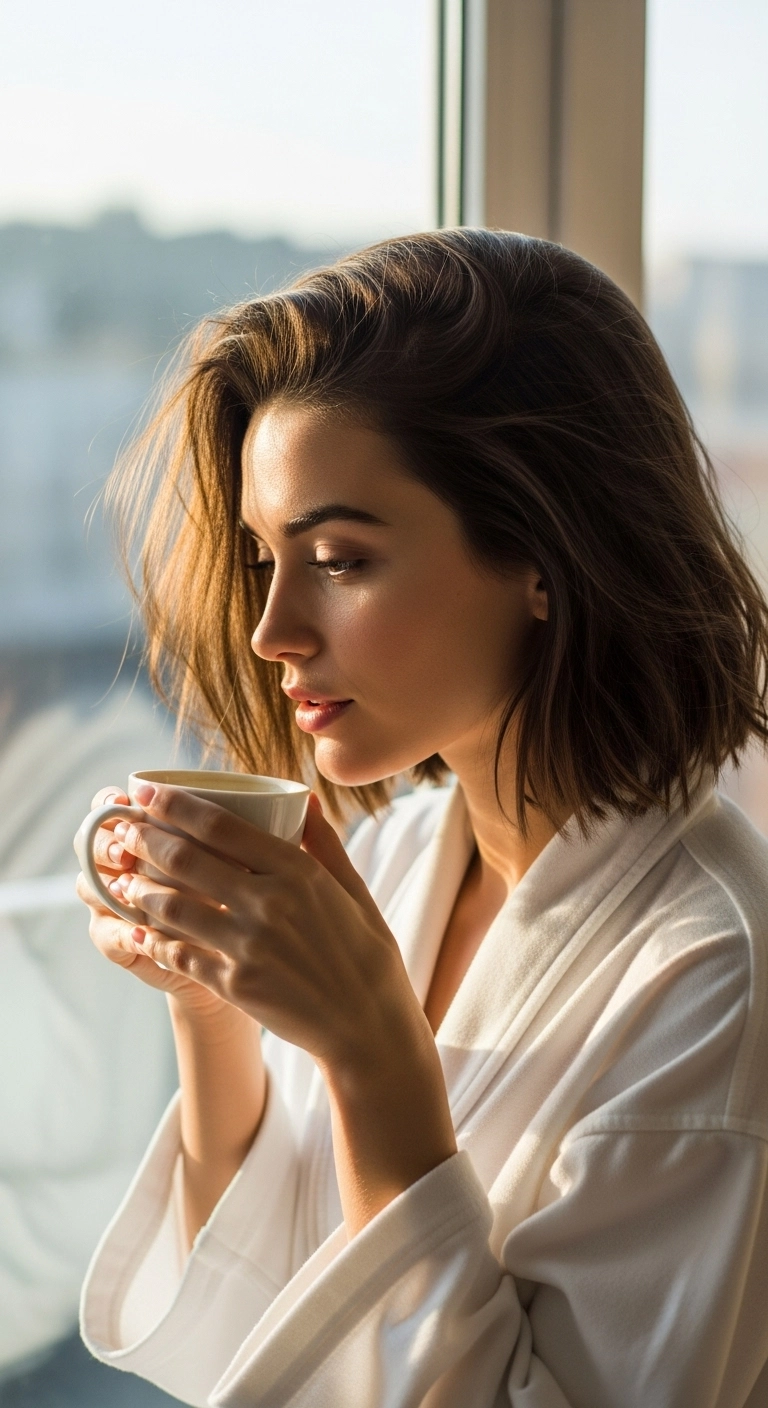
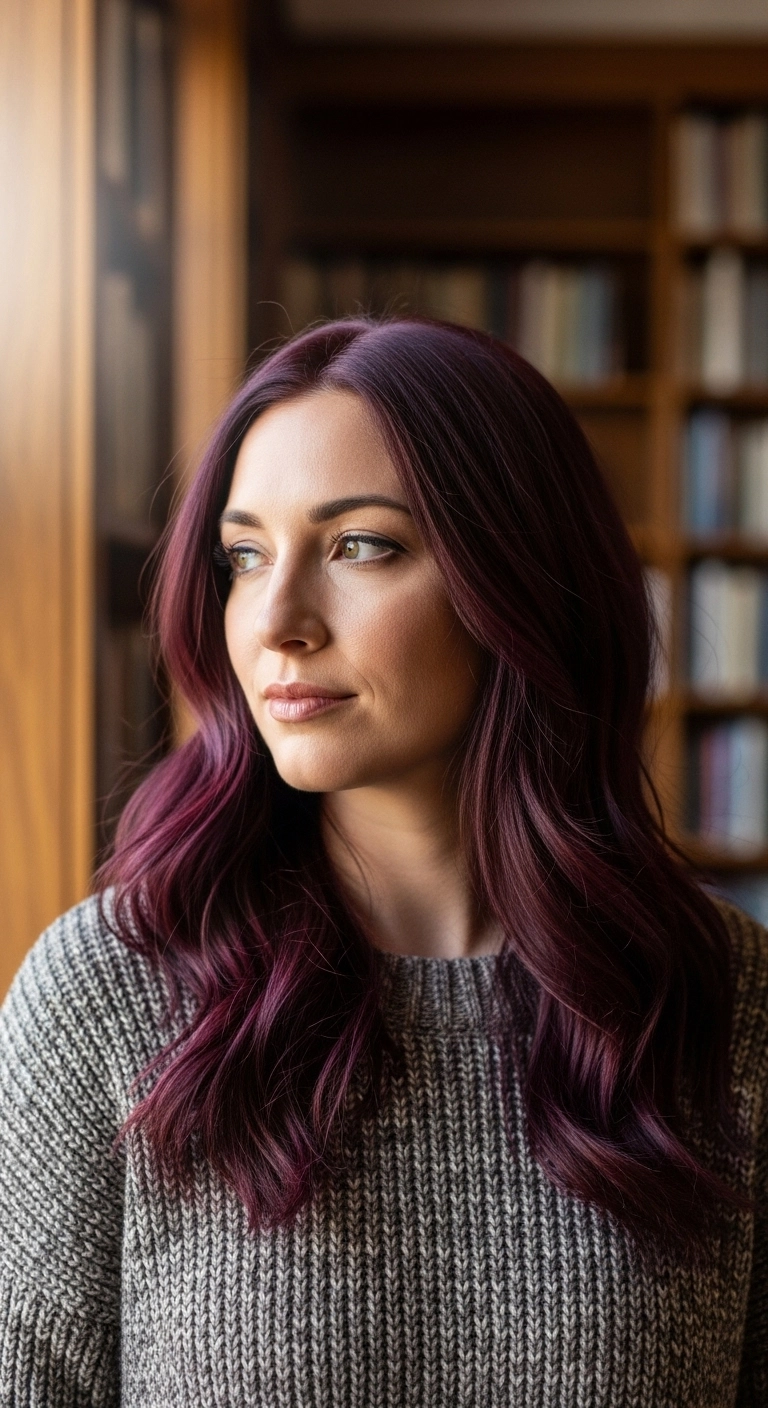
I’m absolutely obsessed with this bouncy curly lob because it gives the perfect blend of modern chic and effortless natural texture! The high-contrast blonde ribbon highlights catch the light so beautifully and give each spiral curl incredible dimension. It transitions seamlessly from a sharp office blazer to a sultry evening look without missing a beat. If you have natural ringlets and want to add serious drama and volume, this shape and color combo is definitely worth trying!
How to do this
1. Start on freshly washed, soaking-wet hair and apply a generous amount of curl defining cream listed below from roots to ends to lock in essential moisture.
2. Section your curls into small sections and rake through a firm-hold curl styling gel listed below to ensure frizz-free definition and long-lasting hold.
3. Use a curl defining styling brush listed below to curl-train individual ribbon tendrils, twisting around the handle to form precise, bouncy ringlets around the crown and fringe area.
4. Gently scrunch your hair upwards toward the scalp using a microfiber towel listed below to remove excess water without disrupting the curl pattern.
5. Attach a wide-bowl diffuser attachment listed below to your blow dryer, tipping your head forward and drying in sections on low heat and medium speed until 90% dry.
6. Once fully dry, break the gel cast by gently scrunching a few drops of lightweight hair bonding oil listed below into your curls for maximum shine and touchable softness.
7. Fluff at the roots using your fingertips or an afro pick to amplify the rounded volume and shape.
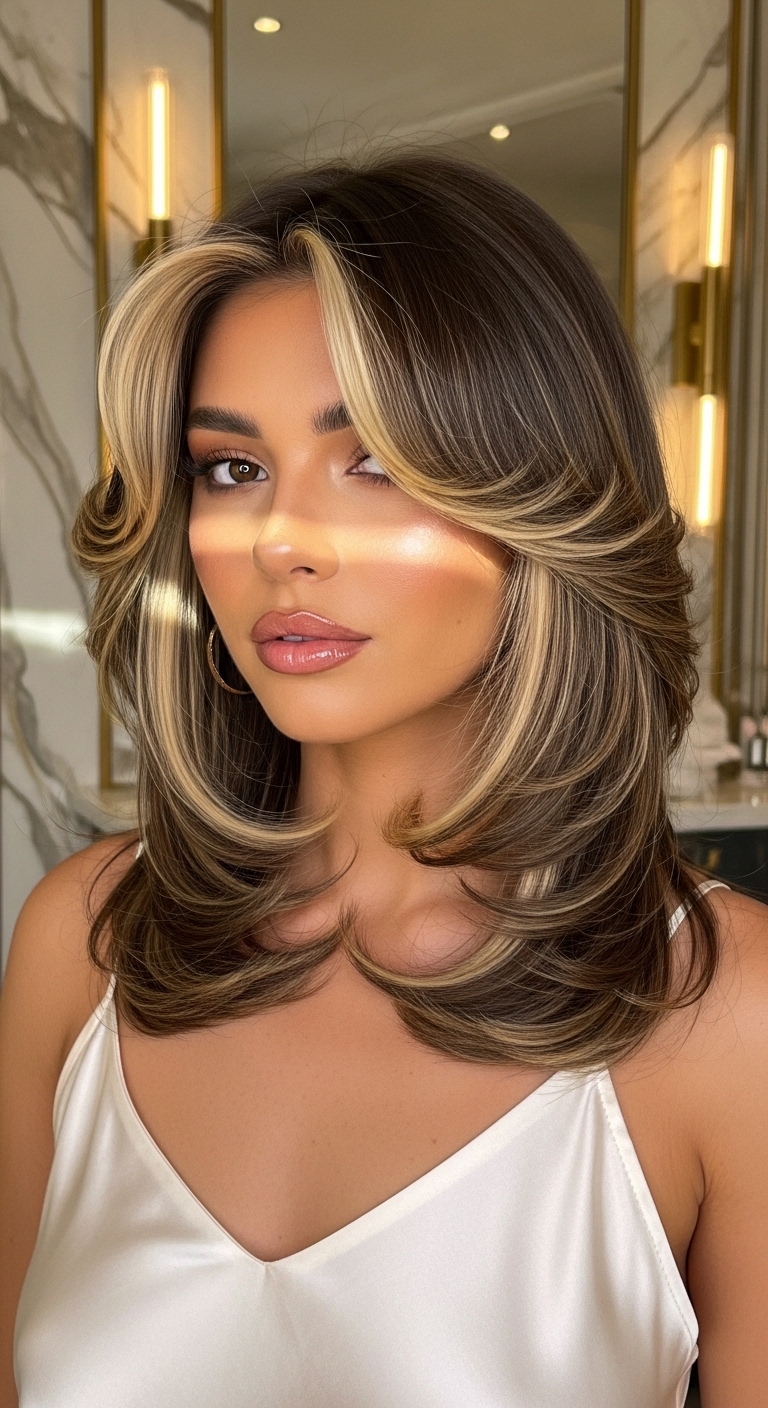
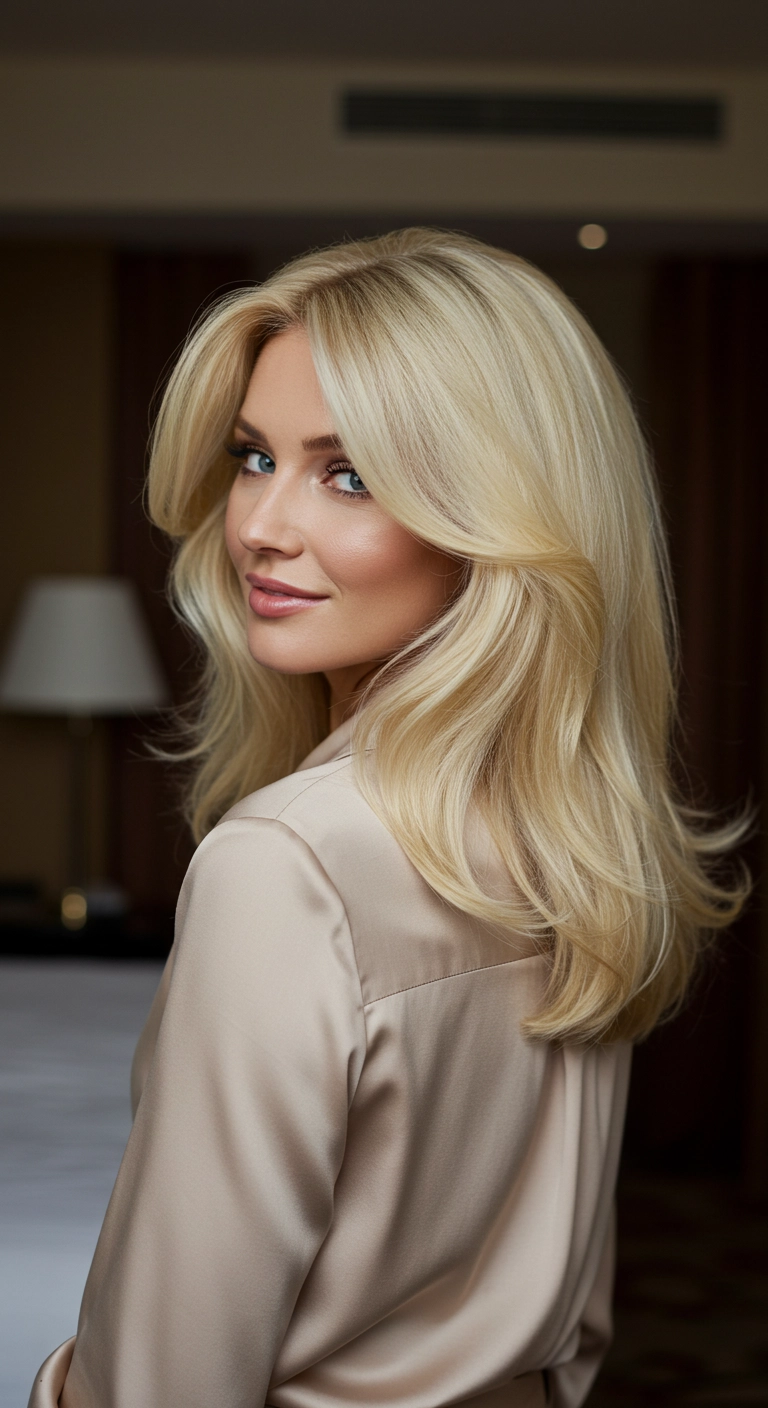
Obsessed with that gorgeous 90s supermodel volume? This feathered butterfly cut delivers major bounce, while the high-contrast blonde money piece frames your face in the most flattering way possible. It's chic, glamorous, and totally turns heads!
How to do this
1. Start by prepping clean, damp hair with a lightweight volumizing blow-dry mousse and the thermal heat protectant spray listed below to shield strands and build body.
2. Section off your bangs and the bold blonde money piece around the front hairline, blowing them upward and forward using the ceramic round blowout brush listed below.
3. Roll the front curtain bangs away from the face onto the large jumbo velcro hair rollers listed below and secure with a clip to allow the volume to set as it cools.
4. Working in horizontal sections from the bottom layers up, blow-dry the remaining hair using your round brush, curling the ends under and inward toward your neck to create that signature tiered, bouncy curve.
5. Once fully dry and set, gently release the velcro rollers and shake your hair out lightly with your fingers.
6. Mist lightly with the flexible hold hairspray listed below and run a drop of the nourishing hair serum listed below through the layered ends for extreme shine and flyaway control.
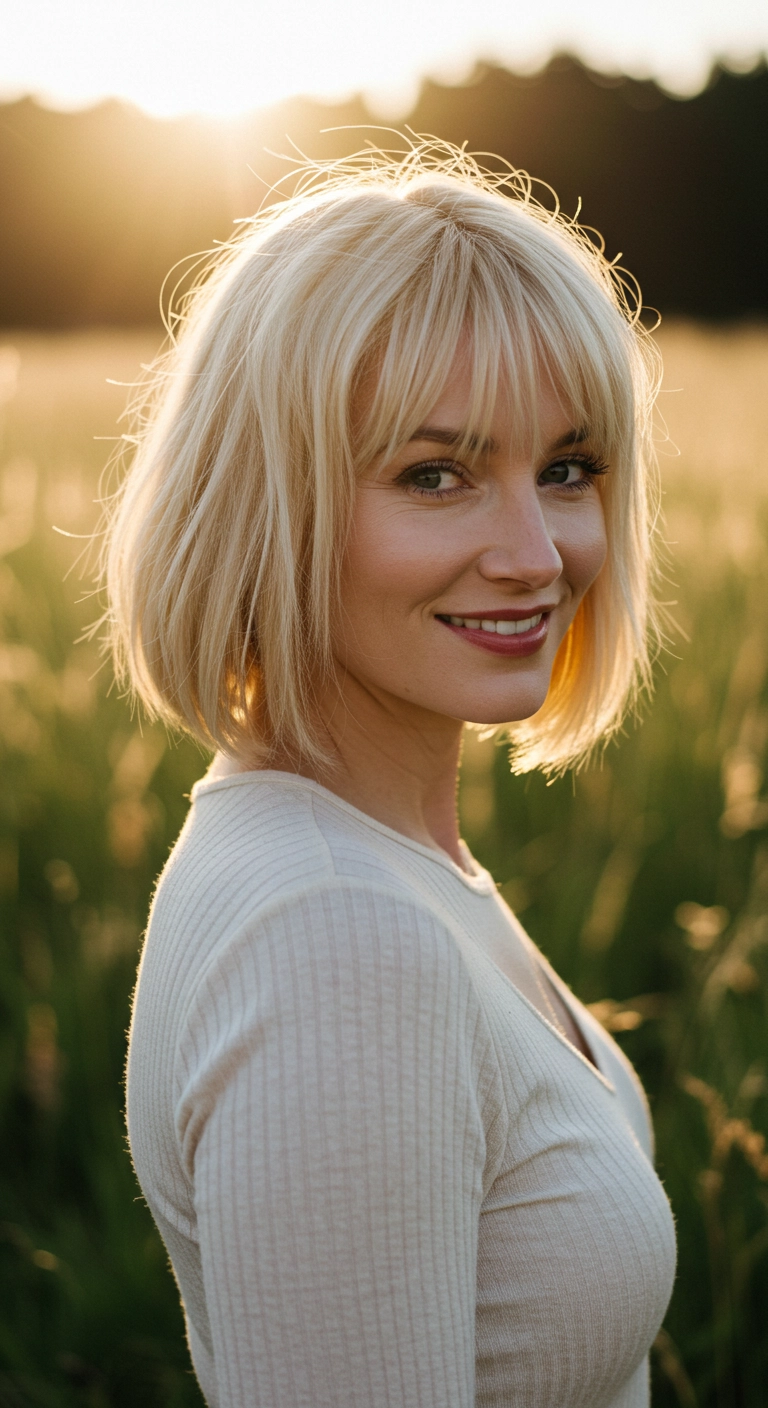
I know going short can feel like a massive leap, but this airy chin-length bob is the ultimate cool-girl reset! The soft, wispy fringe frames the eyes perfectly without feeling heavy, and that bright sunlit blonde gives it that effortless French-girl flair everyone wants right now.
How to do this
1. Start with clean, damp hair and prep with a lightweight volumizing mousse to give the bob natural lift and bounce.
2. Mist your strands evenly using the heat protectant spray listed below to protect the lightened blonde fibers before blow drying.
3. Blow dry using a medium ceramic round brush, lifting at the roots and gently curving the ends slightly under for a soft, airy finish.
4. For the wispy bangs, blow dry them forward using a small round brush or flat wrap technique with a vented brush, keeping them separated and piecey.
5. Use a mini flat iron on low heat to add subtle, effortless direction to face-framing strands if needed.
6. Finish by misting with the dry texturizing spray listed below through the mid-lengths and scrunch lightly with your fingers to capture that breezy, lived-in movement.
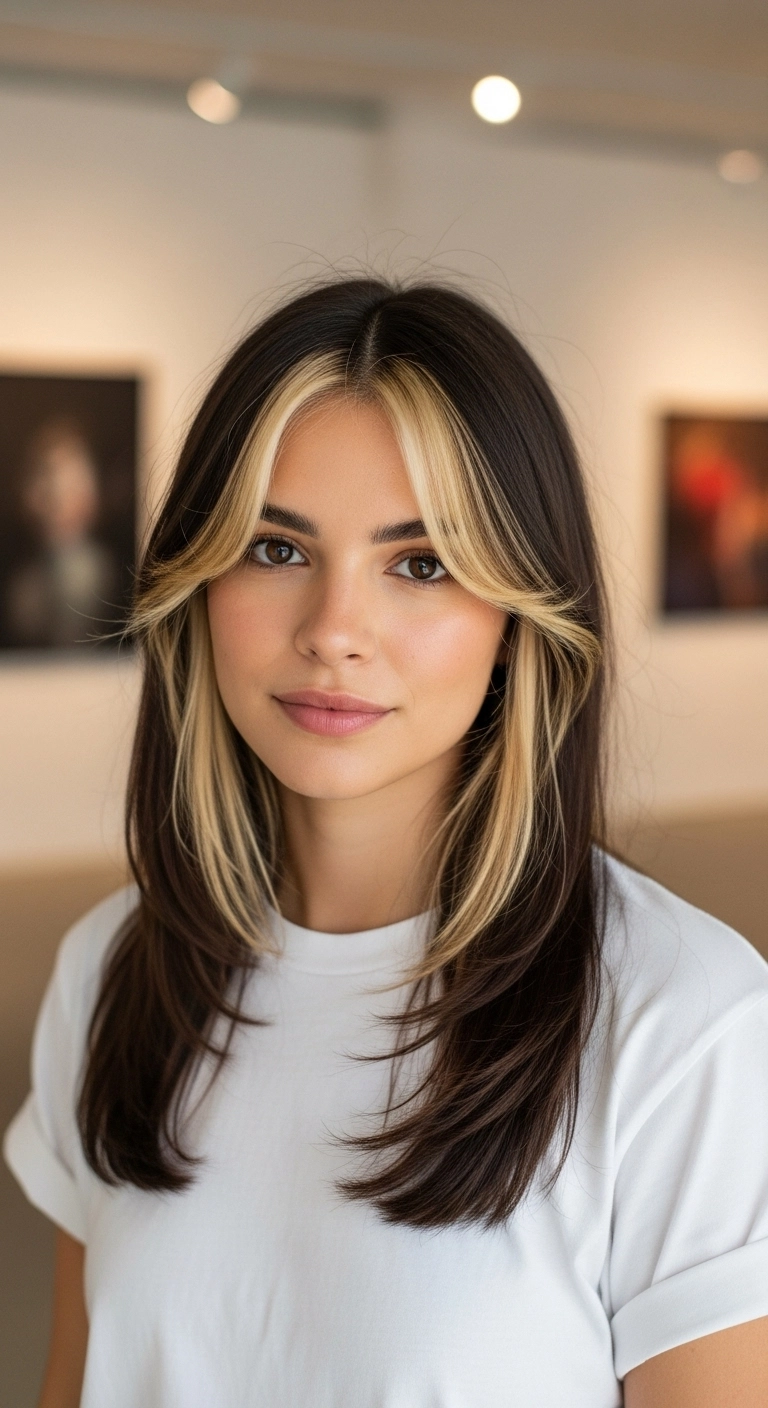
I am completely obsessed with this bold blonde money piece look! The contrast between the deep chocolate brunette base and the bright blonde framing the face makes your features pop so effortlessly. Styled with soft curtain bangs and a rounded blowout, it gives such an effortless, cool-girl 90s aesthetic that goes with literally any outfit.
How to do this
1. Section out two balanced triangular panels at the front hairline to isolate the money piece section away from the rest of your hair.
2. Lighten the front isolated sections using the powder lightener and developer listed below, lifting to a pale blonde level before applying a neutral pale toner.
3. Prep damp hair after washing by applying a thermal styling spray using the heat protectant spray listed below to shield strands from blowout heat.
4. Blow dry the hair in sections using the ceramic round brush listed below, rolling the front curtain bangs outward and away from the face to create that signature sweep.
5. Curve the bottom face-framing layers inward toward your collarbone using the round brush and focused airflow to get that feathered, bouncy taper.
6. Finish off by smoothing any flyaways and adding a glossy, high-shine finish using the lightweight hair serum listed below.
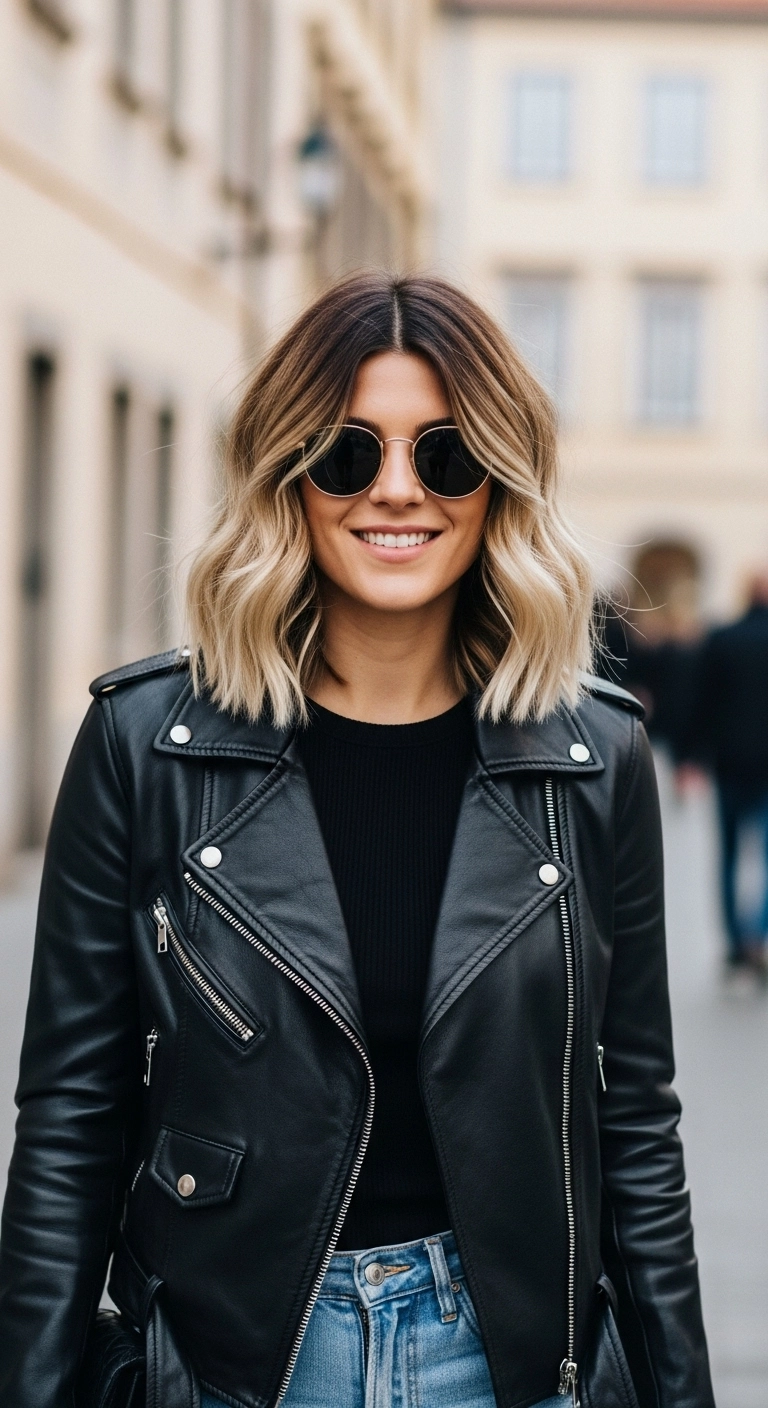
I think a blunt-ended lob paired with a seamless shadow root is hands down one of the most versatile hairstyles out there. The dark brunette roots melting into bright, cool blonde ends give you that chic, effortless edge without demanding monthly salon touch-ups. Styling it with loose mid-shaft bends while keeping the ends straight keeps it feeling modern, and it looks just as cool dressed down in jeans as it does paired with a leather jacket!
How to do this
1. Start by prepping clean, damp hair with the thermal heat protectant spray listed below to shield strands from hot styling tools.
2. Blow-dry hair smooth using a ceramic round brush, lifting at the roots around your center part for natural volume.
3. Section the hair into top and bottom halves, then take 1.5-inch vertical sections using the 1.25-inch ceramic curling iron listed below.
4. Clamp each section near the mid-shaft and rotate away from your face, leaving the bottom 1 to 2 inches of the ends completely straight for that modern, blunt silhouette.
5. Continue curling in alternating directions around the head, ensuring the front face-framing pieces are turned outwards away from the eyes.
6. Allow all curls to cool completely, then mist hair thoroughly using the texturizing wave spray listed below.
7. Rake through the waves gently with your fingers or a wide-tooth comb to break them apart into soft, lived-in S-bends.
8. Finish off by rubbing a pea-sized drop of the smoothing hair oil listed below between your palms and lightly coating the blonde ends for radiant shine and flyaway control.
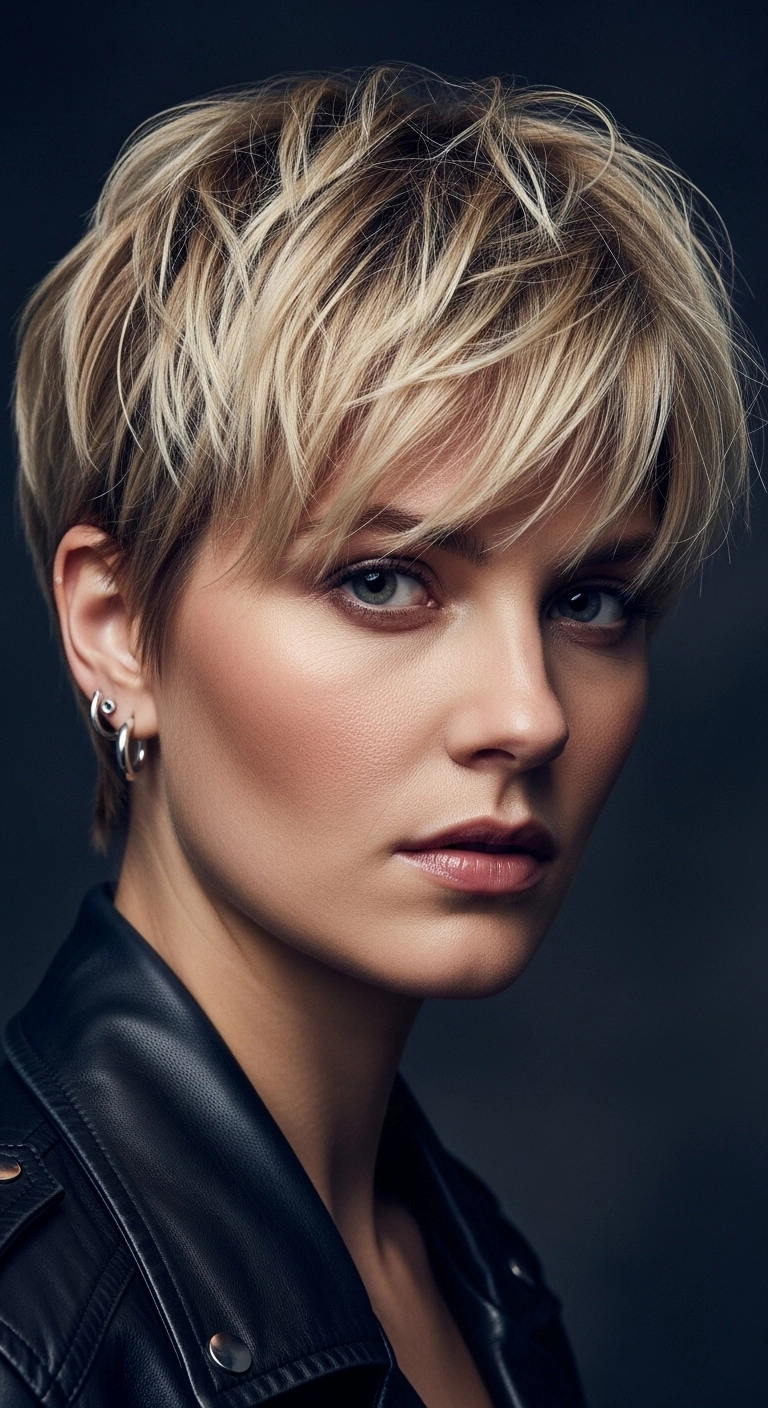
I'm always a sucker for a daring short cut that still gives you so much room to play! If you think having a pixie means you're stuck with one boring look, this edgy, piecey style completely proves otherwise. We gave the top plenty of wispy layers and kept a soft shadow root so that gorgeous blonde pops against a darker base. Throwing on a leather jacket with this kind of effortless volume just makes the whole thing feel so rock 'n' roll!
How to do this
1. Start with clean, damp hair and prep the crown and roots using the volumizing root lift mousse listed below to establish light lift and structure.
2. Blow-dry using a small round brush or your fingertips, directing the crown and top layers forward toward your face to get that textured, sweeping direction.
3. Use a mini flat iron on low heat to add subtle, slight bends through random top strands for added dimension.
4. Warm a pea-sized amount of the matte styling wax or clay listed below between your fingertips and piece out individual strands along the bangs and crown for distinct separation.
5. Finish by misting with the texturizing finishing spray listed below to hold the effortless, piecey volume throughout the day without weighing the hair down.
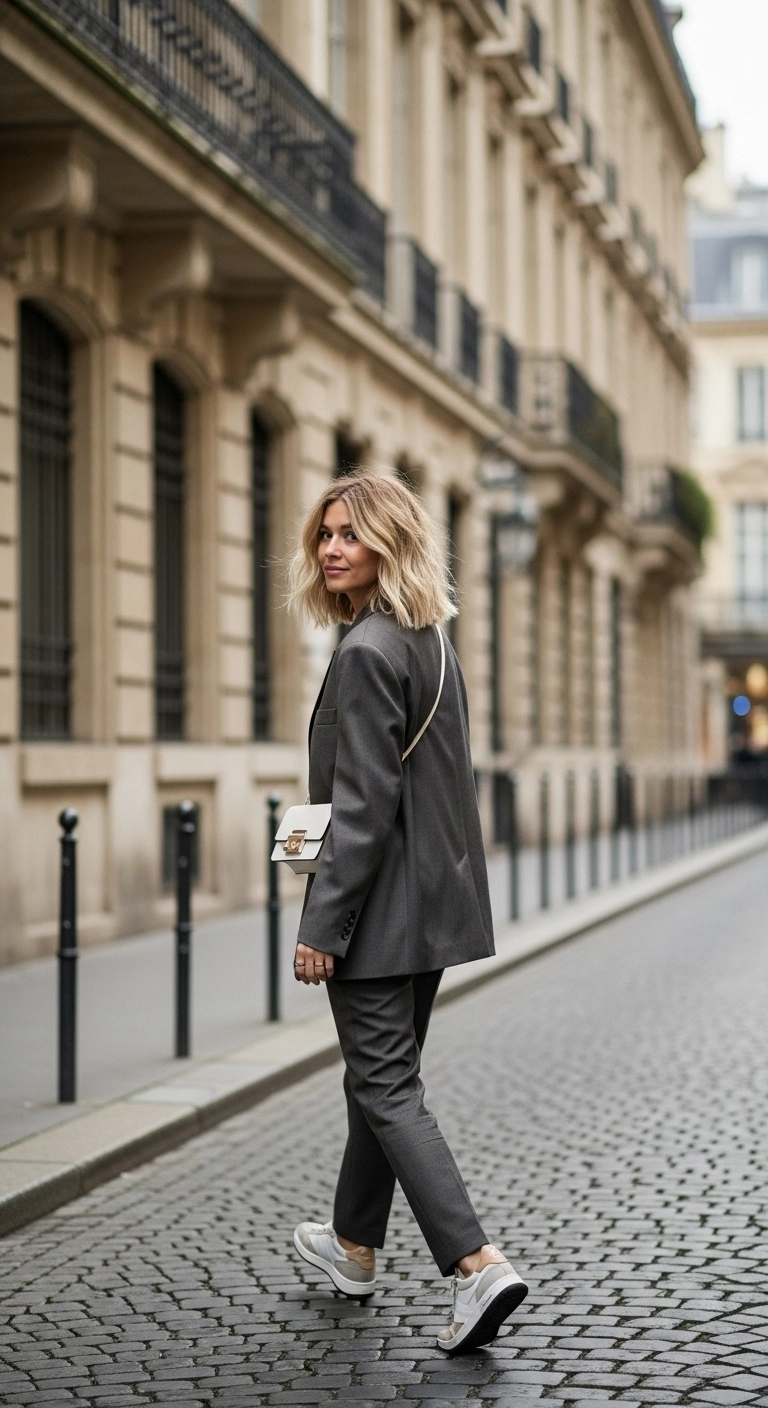
Can we talk about how timeless and effortlessly cool a textured lob is?! I added this lived-in blonde bob to the mix because it has that quintessential Parisian chic energy that goes with literally everything. The subtle shadow root makes growing it out completely painless, while the loose, undone bends give fine-to-medium hair so much airy movement and texture. You can dress it up with a tailored blazer for the office or keep it super casual with sneakers for weekend strolls. It's honestly the ultimate cool-girl haircut!
How to do this
1. Start by prepping freshly washed, damp hair with the lightweight heat protectant spray listed below to shield strands from hot styling tools.
2. Blow dry hair using a medium round ceramic brush, lifting at the roots around the crown and center part to build natural body and volume.
3. Divide hair into horizontal sections and use the 1.25-inch curling iron listed below to create effortless, undone bends. Wrap sections around the barrel while leaving the bottom inch of the ends straight for that chic, blunt finish.
4. Alternate the curl directions away from and toward the face, ensuring the front face-framing curtain pieces are styled smoothly away from the cheekbones.
5. Allow all curls to cool completely, then mist generously with the dry texturizing spray listed below from roots through mid-lengths.
6. Rake through the waves thoroughly using your fingers or the wide-tooth comb listed below to break up the pattern into lived-in, textured waves.
7. Finish by rubbing a dime-sized amount of the matte styling paste listed below between your palms and scrunching lightly into the ends to emphasize separation and hold.
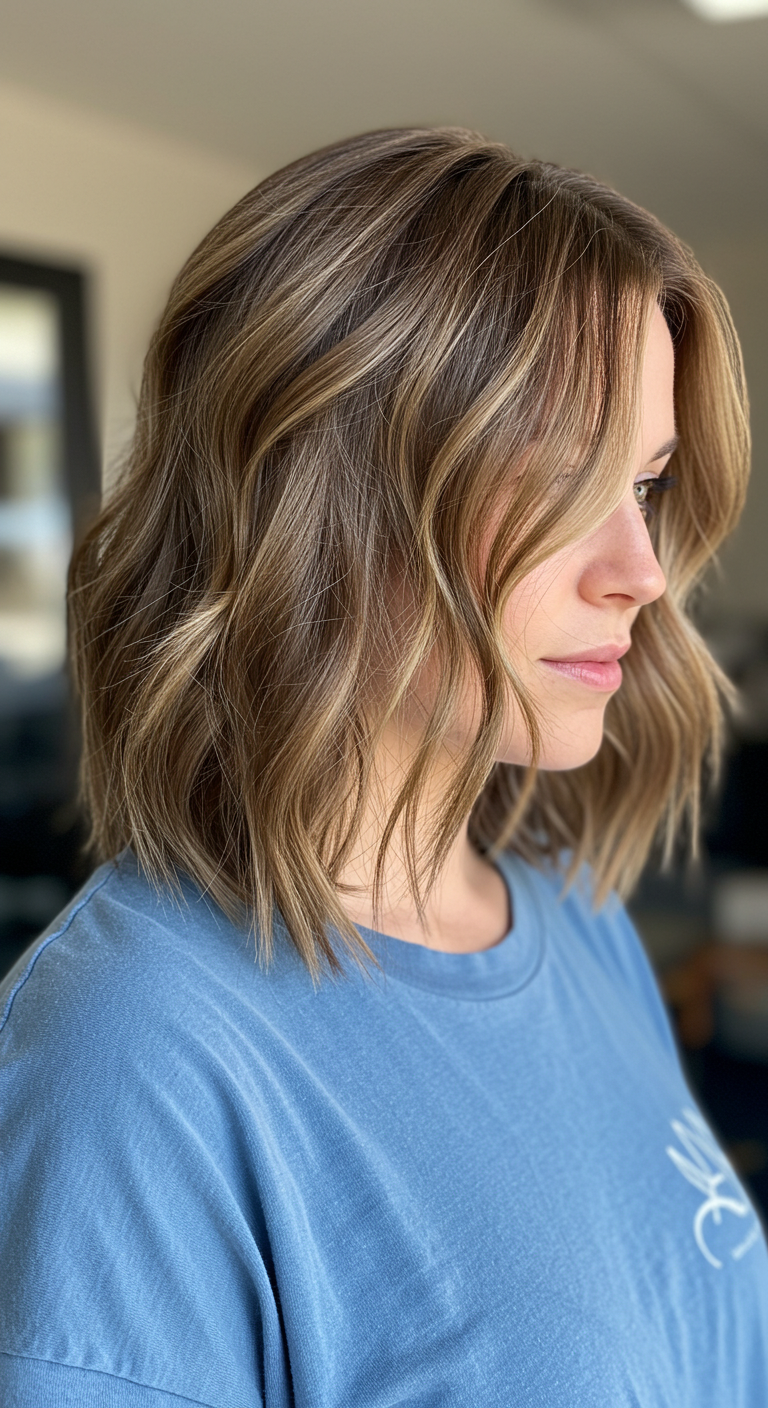
Can we just take a second to appreciate how gorgeous this lived-in textured lob is? The soft honey blonde ribbons catching the light are pure perfection. It is so effortless and chic, honestly I am obsessed! Would you chop your hair into this style?
How to do this
1. Prep freshly washed, damp hair with a lightweight styling mousse and a heat protectant spray to build soft texture and shield your hair from heat.
2. Blow-dry using a medium round brush, lifting at the roots around the crown and parting to create subtle volume without excessive puffiness.
3. Section the hair into horizontal tiers starting from the nape. Use a 1.25-inch curling iron or wand to create loose, relaxed bends.
4. Wrap mid-shaft sections around the iron for just 3 to 5 seconds, making sure to leave about an inch or two of the ends completely straight for that modern, lived-in blunt look.
5. When styling the front face-framing pieces, curl them outward away from your face to softly open up your cheekbones and jawline.
6. Once all sections have completely cooled, lightly mist with the dry texturizing spray listed below and rake through the waves using your fingers or a wide-tooth comb to break up the pattern.
7. Finish the style by rubbing a tiny pea-sized drop of hair styling serum or lightweight oil between your palms and gently piece out the ends for separation and shine.
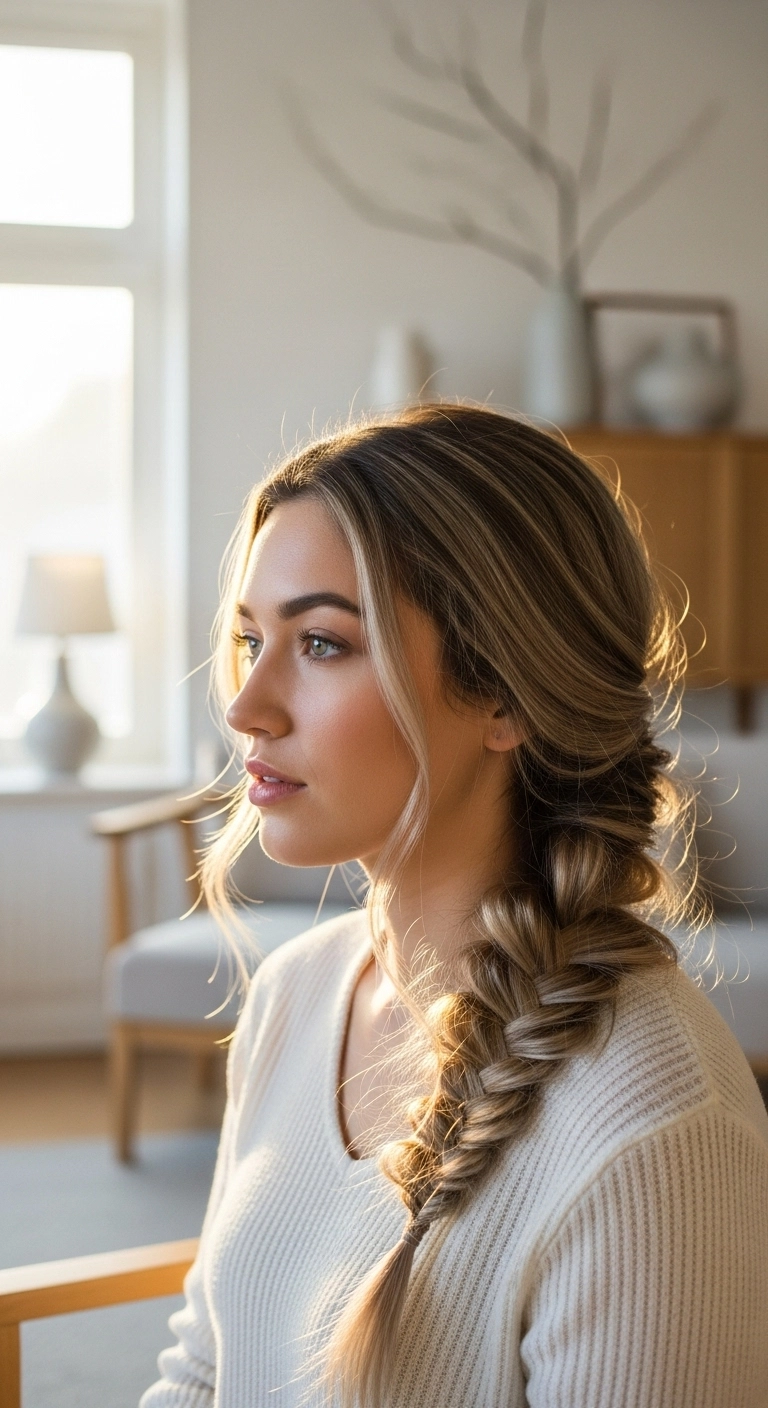
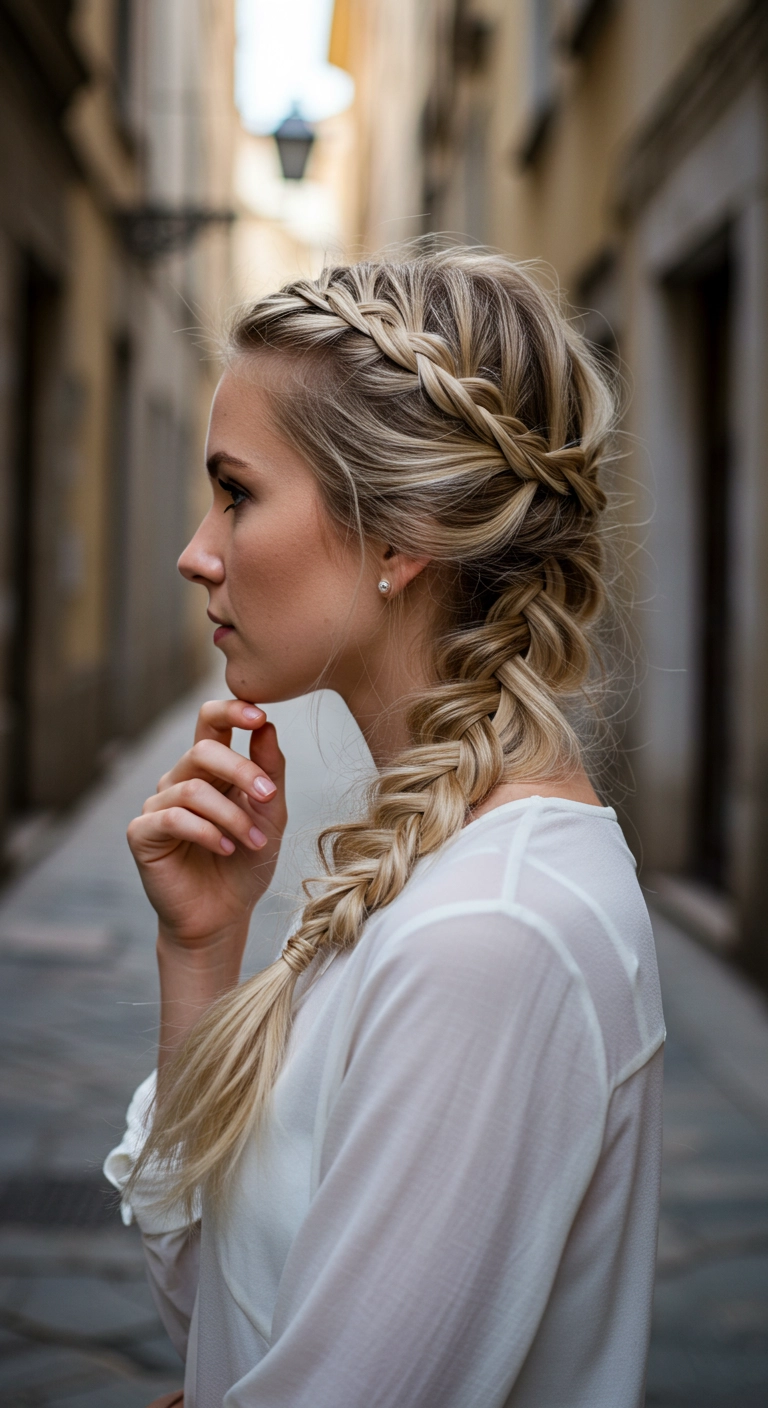
I fell in love with this side fishtail braid on busy mornings when a standard ponytail felt a little too plain. It looks effortlessly romantic and pulled-together without taking forever to style. The secret is pulling out soft face-framing tendrils and gently pancaking the braid edges so it looks full and airy rather than tight. It’s perfect for second-day hair, weekend coffee dates, or cozy sweater days!
How to do this
1. Prep dry hair by misting lightly with the texturizing volume spray listed below to add grit and hold so the braid won't slip.
2. Use a 1.25-inch curling iron listed below to put a soft, loose bend into the face-framing strands around your cheeks and jawline.
3. Section out your front face-framing tendrils and leave them loose in front of your ears on both sides.
4. Sweep the rest of your hair loosely over one shoulder to the side, gathering it at the nape of the neck.
5. Divide your gathered hair into two equal sections to begin your fishtail braid.
6. Take a small, thin strand from the outside edge of the left section, cross it over the top, and merge it into the inside of the right section.
7. Take a small strand from the outer edge of the right section, cross it over, and tuck it into the inside of the left section. Keep alternating sides all the way down.
8. Secure the end about two to three inches from the bottom with one of the clear elastic hair ties listed below.
9. Gently pinch and tug at the outer loops of the braid (pancaking) from the top down to give it that airy, romantic, voluminous fullness.
10. Finish with a spritz of the flexible hold hairspray listed below and smooth the loose front pieces with a tiny drop of the lightweight hair styling oil listed below.
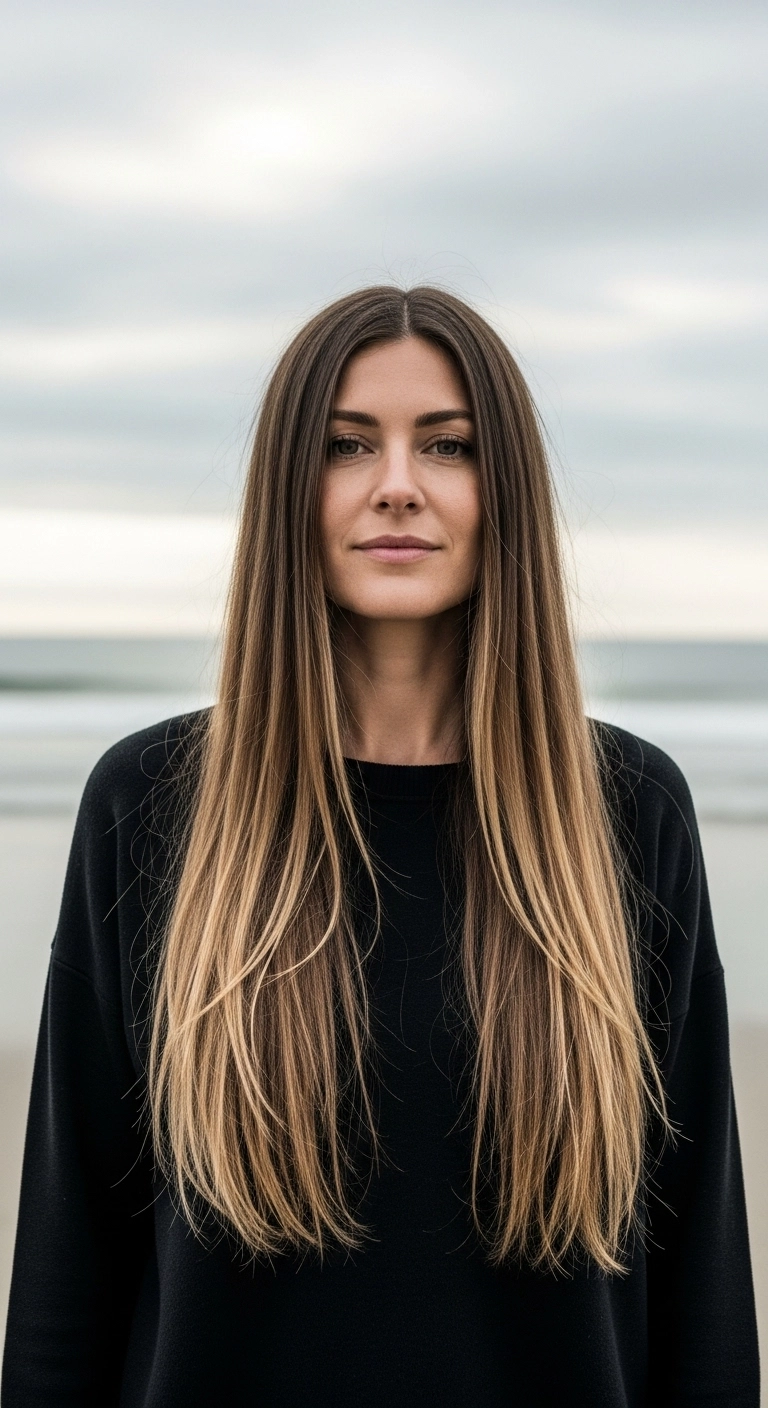
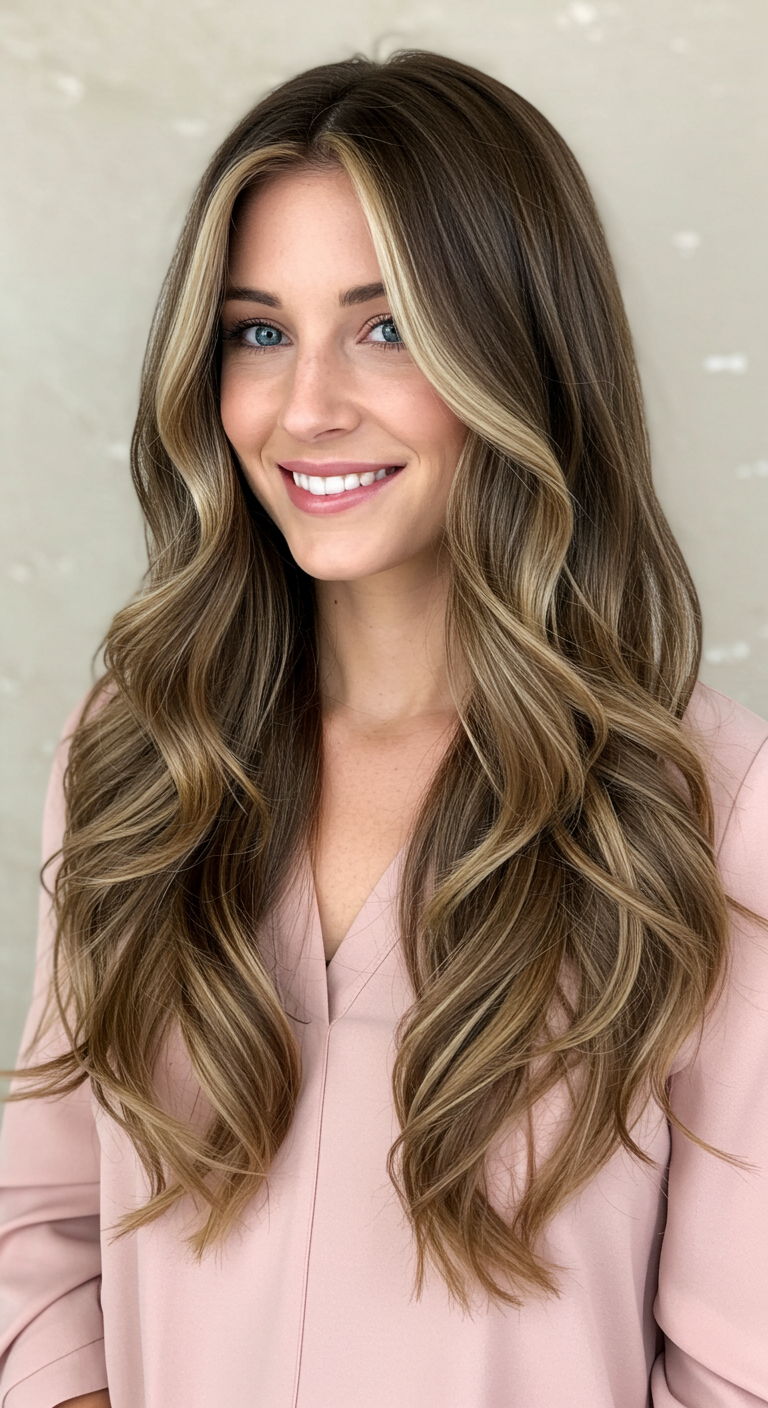
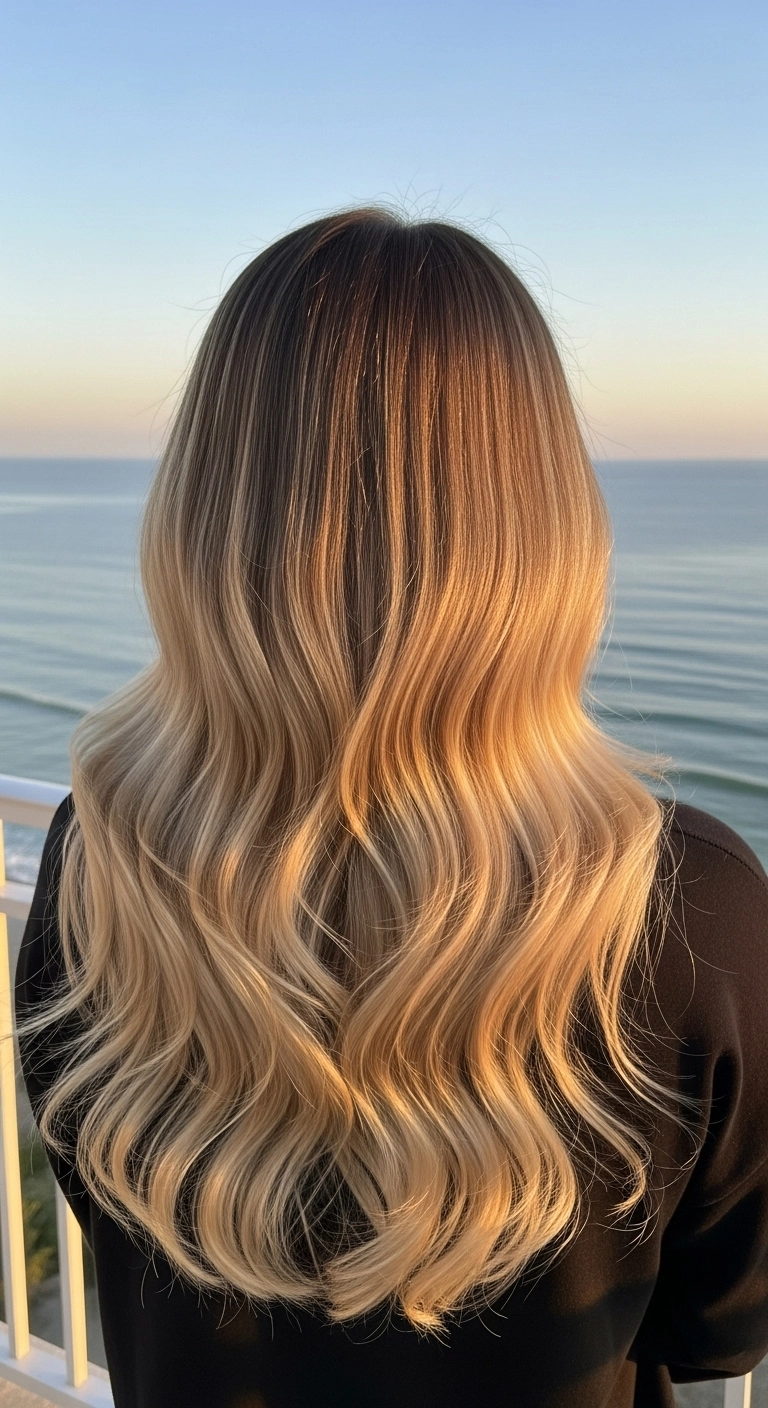
Nothing beats a seamless blonde balayage paired with super long, sleek layers! I love how the rich brunette base melts into warm honey tones right around the collarbone, giving you that effortless beachy elegance without any harsh lines.
How to do this
1. Prep clean, towel-dried hair with a lightweight leave-in conditioner and the heat protectant spray listed below to smooth down the cuticle.
2. Use a tail comb to establish a crisp, precise center part from the hairline straight back to the crown.
3. Apply a smoothing blowout cream through the mid-lengths and ends to eliminate frizz and add silky softness.
4. Blow dry the hair in horizontal sections using a large ceramic round brush listed below, directing the airflow downward and smoothing through the ends with a very gentle bevel.
5. For a super-sleek finish, take 1-inch sections and glide a flat iron listed below through the lengths at a moderate temperature, gently curving inward at the very tips.
6. Finish by dispensing a couple drops of nourishing hair oil listed below into your palms and smoothing over the surface and ends to enhance shine and calm any flyaways.
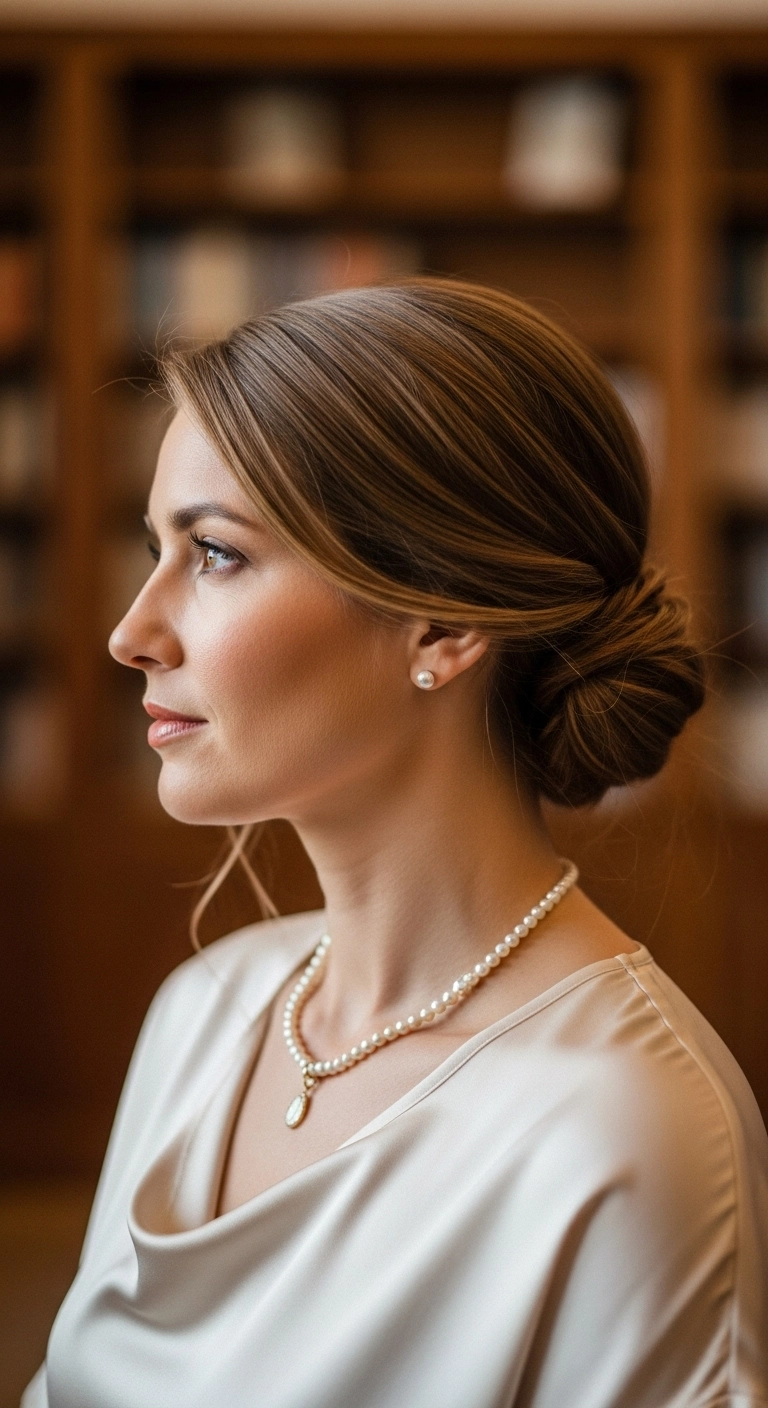
I’m completely obsessed with how effortlessly chic and timeless this hairstyle looks. It’s this incredibly sleek low chignon that sits perfectly at the nape of the neck with subtle, glowing babylights catching the light. I think this look is absolute perfection for a bride, a formal black-tie gala, or even an upscale date night when you want to feel totally put together without looking overdone.
How to do this
1. Start with clean, blow-dried hair prepped with a smoothing blowout cream to ensure a super silky, sleek finish.
2. Create a clean, elegant side part using a tail comb, smoothing both sides downward and slightly over the top of the ears.
3. Gather all the hair at the nape of your neck into a low, neat ponytail, securing it firmly with a snag-free clear elastic band.
4. Pull out a very fine, subtle wisp in front of the ear to softly graze the jawline for that effortless romantic touch.
5. Twist the ponytail lengths gently around the base to create a rounded, tucked chignon bun, tucking the ends underneath.
6. Secure the chignon firmly in place all around using sturdy bobby pins that match your hair shade.
7. Finish the entire style with a light mist of high-shine flexible hold hairspray to tame any flyaways and lock in radiant polish.
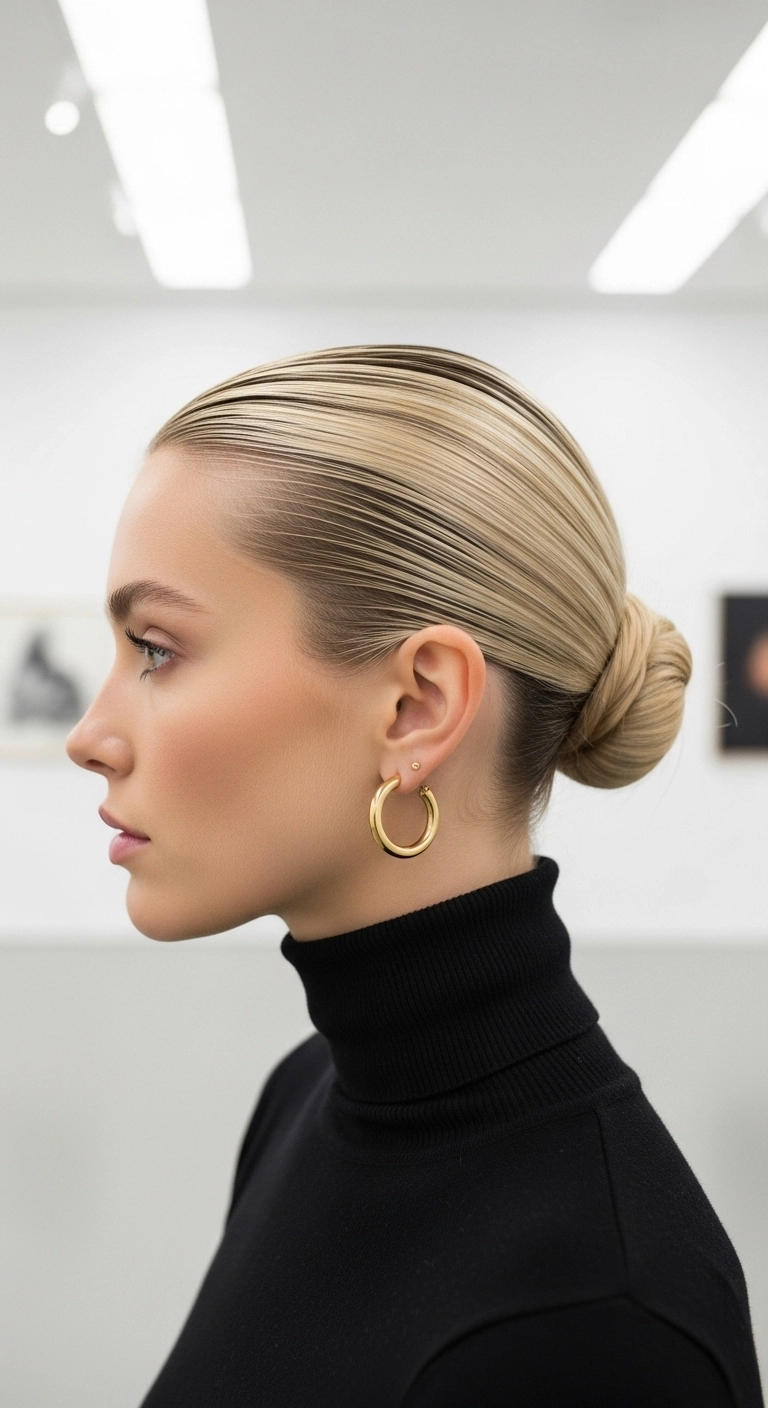
This is the ultimate 'clean girl' hairstyle when you want to look instantly put-together without spending an hour curling your hair. It works like magic on dirty hair or day-three wash cycles, especially when paired with chunky gold hoops and a classic turtleneck.
How to do this
1. Start with clean, detangled hair or day-two hair, applying a nickel-sized amount of smoothing hair serum listed below to tame flyaways and add a glossy base.
2. Use a fine-tooth tail comb listed below to direct all your hair straight back away from your hairline, ensuring there is no part for that seamless, swept-back effect.
3. Apply a firm-hold hair styling wax stick or edge gel along the hairline and sides to lock down any baby hairs and get that ultra-sleek, combed aesthetic.
4. Gather your hair tightly at the nape of your neck and secure it with a snag-free elastic hair tie listed below into a neat, low ponytail.
5. Twist the ponytail tightly down the shaft and coil it around the base to create a clean, compact bun, securing the shape with sturdy bobby pins listed below tucked invisibly beneath the coil.
6. Finish off by smoothing any stray hairs with a boar bristle smoothing brush listed below and spraying a strong-hold shine finishing hairspray to keep everything locked into place all day.
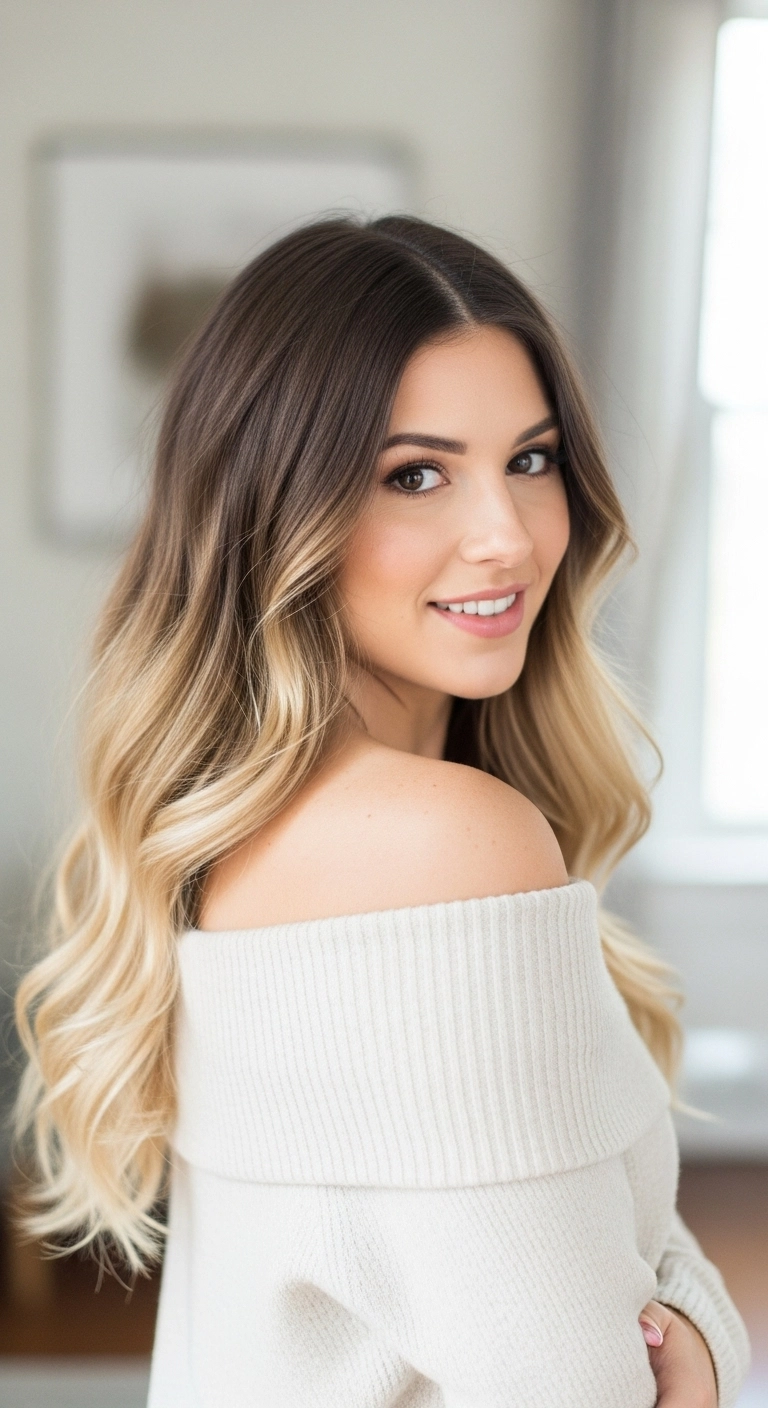
This seamless color melt is absolutely gorgeous and so flattering on long, layered hair! The dark roots blend effortlessly into soft champagne and honey tones, giving you that bright blonde feel without the constant root upkeep. Plus, styling it with big, loose waves makes it look so bouncy, shiny, and effortlessly glam!
How to do this
1. Prep clean, towel-dried hair by misting the thermal heat protectant spray listed below evenly from mid-lengths to ends.
2. Blow dry hair smoothly in sections using a large ceramic round brush to create natural root lift and soft bevelled ends.
3. Section the hair into top and bottom halves, clipping the top away.
4. Take 1.5 to 2-inch vertical sections and wrap them loosely around the 1.25-inch curling iron listed below, curling away from your face and leaving the very ends out for a lived-in wave.
5. Once all sections are curled and completely cooled, gently rake through the waves using the wide-tooth comb listed below to soften the curls into flowing, seamless ribbons.
6. Apply a pea-sized drop of the lightweight smoothing hair oil listed below between your palms and smooth it over the blonde ends to lock in high-gloss shine and tame any stray flyaways.
7. Finish the entire look with a light veil of the flexible hold hairspray listed below to ensure the bouncy waves last all day without feeling stiff.
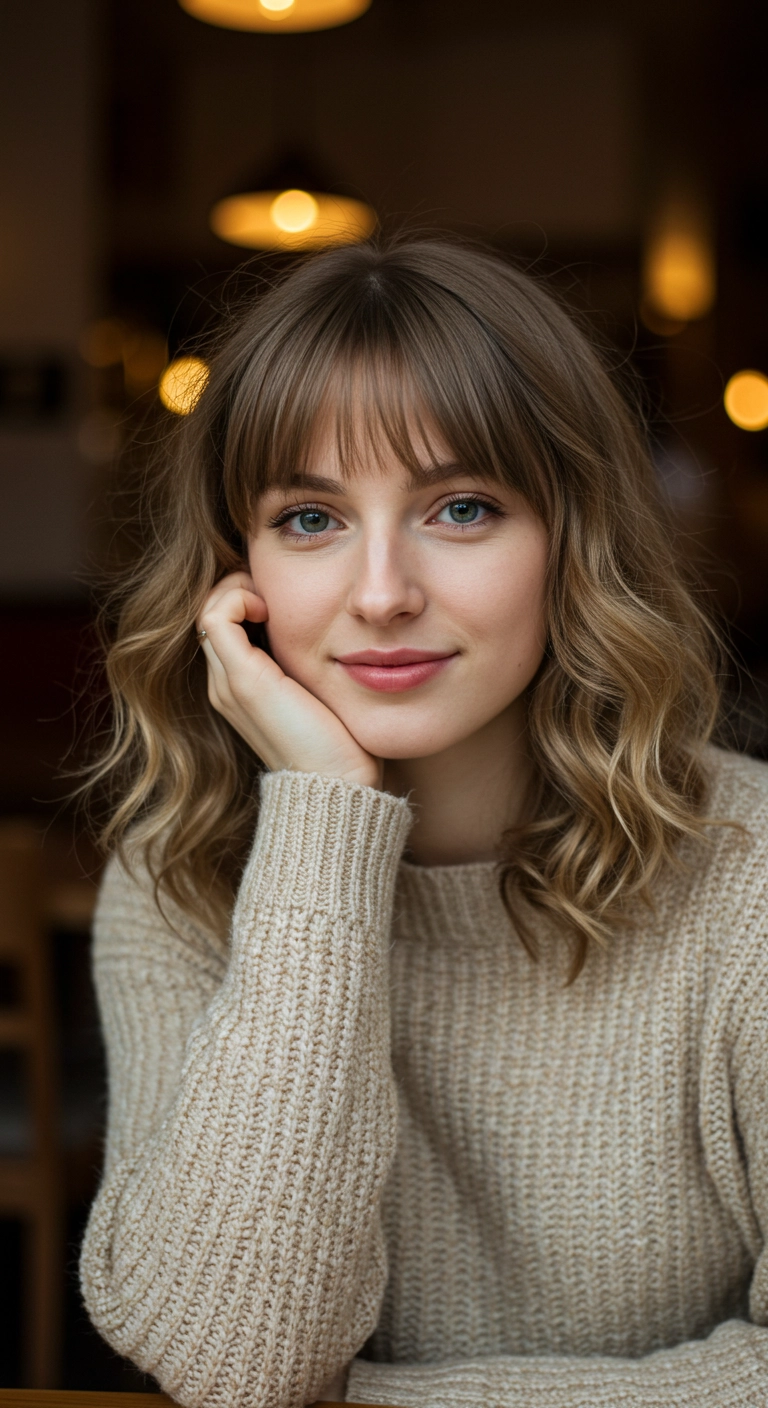
Are you completely obsessed with that chic, effortless French-girl vibe too? I just had to include this soft wavy lob because it truly delivers that perfect blend of casual and classy, don't you think?! The soft wispy bangs frame the face in such a flattering way, while the subtle honey blonde balayage adds that gorgeous, sun-kissed dimension without being high maintenance. It's cozy, romantic, and so easy to style for coffee dates or cozy sweater weather!
How to do this
1. Start by prepping freshly washed, damp hair with the lightweight blowout heat protectant spray listed below to shield your hair and add touchable softness.
2. Blow-dry the bangs straight down with a small round boar bristle brush, moving side-to-side to create that soft, separated wispy finish.
3. Rough-dry the rest of the hair until it's about 90% dry, then use a medium round ceramic blowout brush to smooth the lengths while keeping plenty of natural body.
4. Take random 1.5-inch vertical sections and wrap them loosely around the 1.25-inch curling iron listed below, leaving the bottom inch out for that lived-in, relaxed wave vibe.
5. Alternate the curl directions away from and toward the face, but keep the pieces framing your cheekbones turned gently away.
6. Once the curls have completely cooled down, shake them out thoroughly using your fingers and a spritz of the dry texturizing spray listed below at the roots and mid-lengths.
7. Finish the look by running a drop of the smoothing finishing hair oil listed below lightly through the ends to add shine and tame any stray flyaways.
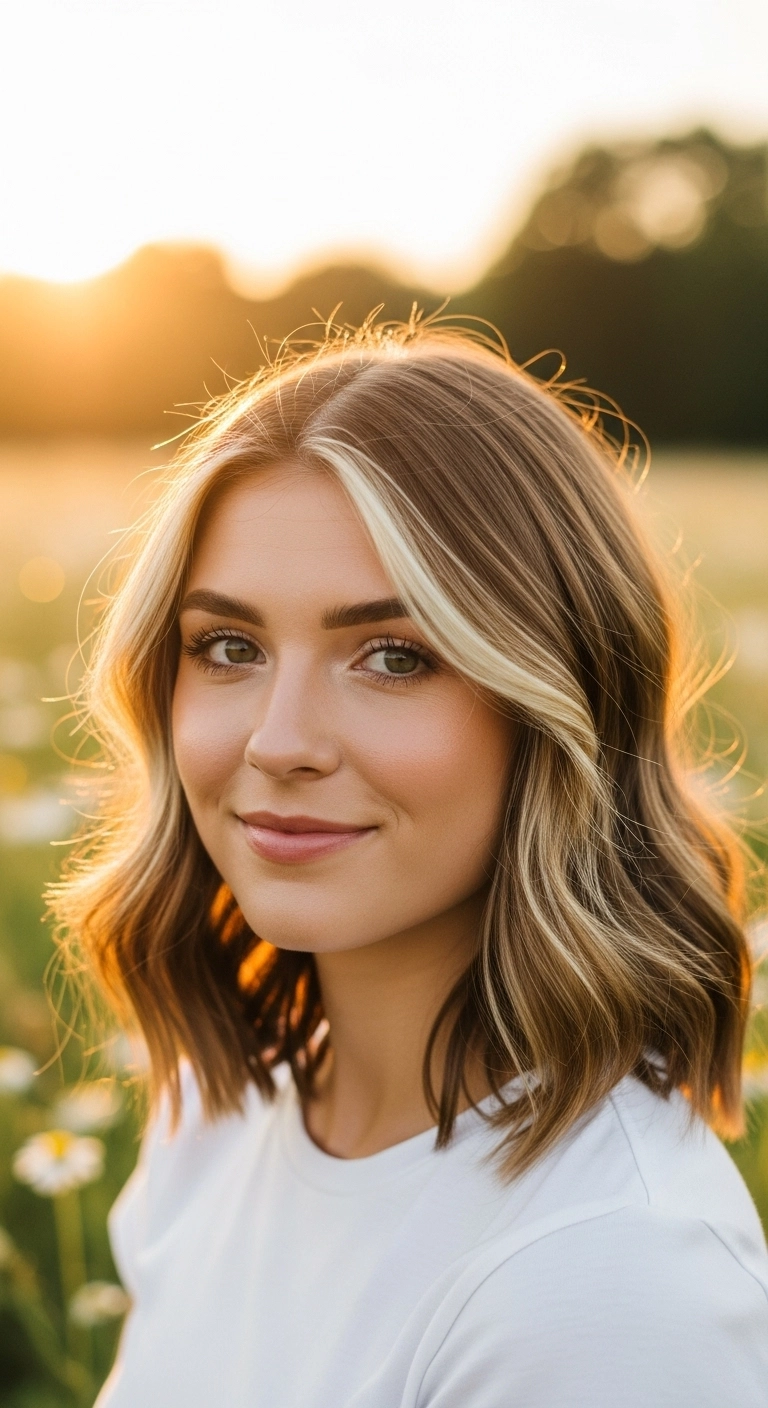
Oh, that glowing face-framing money piece, how I love thee! It instantly brightens up your whole complexion while keeping the gorgeous dimension of natural brunette roots. This is sooo pretty for an everyday effortless blowout look!! Have you ever tried brightening just the front pieces like this?
How to do this
1. Prep clean, damp hair by applying a smoothing heat protectant blowout cream throughout the mid-lengths and ends using the heat protectant styling cream listed below.
2. Blow-dry hair with a large ceramic round brush to build volume at the crown and smooth down the cuticle.
3. Divide your hair into horizontal sections and mist each section lightly with the thermal setting spray listed below.
4. Using a 1.25-inch or 1.5-inch large barrel curling iron, curl large 2-inch vertical sections away from your face, leaving about an inch of the ends slightly relaxed.
5. For the frontal money piece strands, curl outward and back away from the cheekbones to create that signature face-framing sweep.
6. Allow all curls to cool completely, then gently comb through them using the wide-tooth detangling comb listed below to open them into loose, bouncy waves.
7. Finish with a spritz of the lightweight flexible hold hairspray listed below and a drop of the nourishing hair serum listed below on the tips for mirror-like shine.
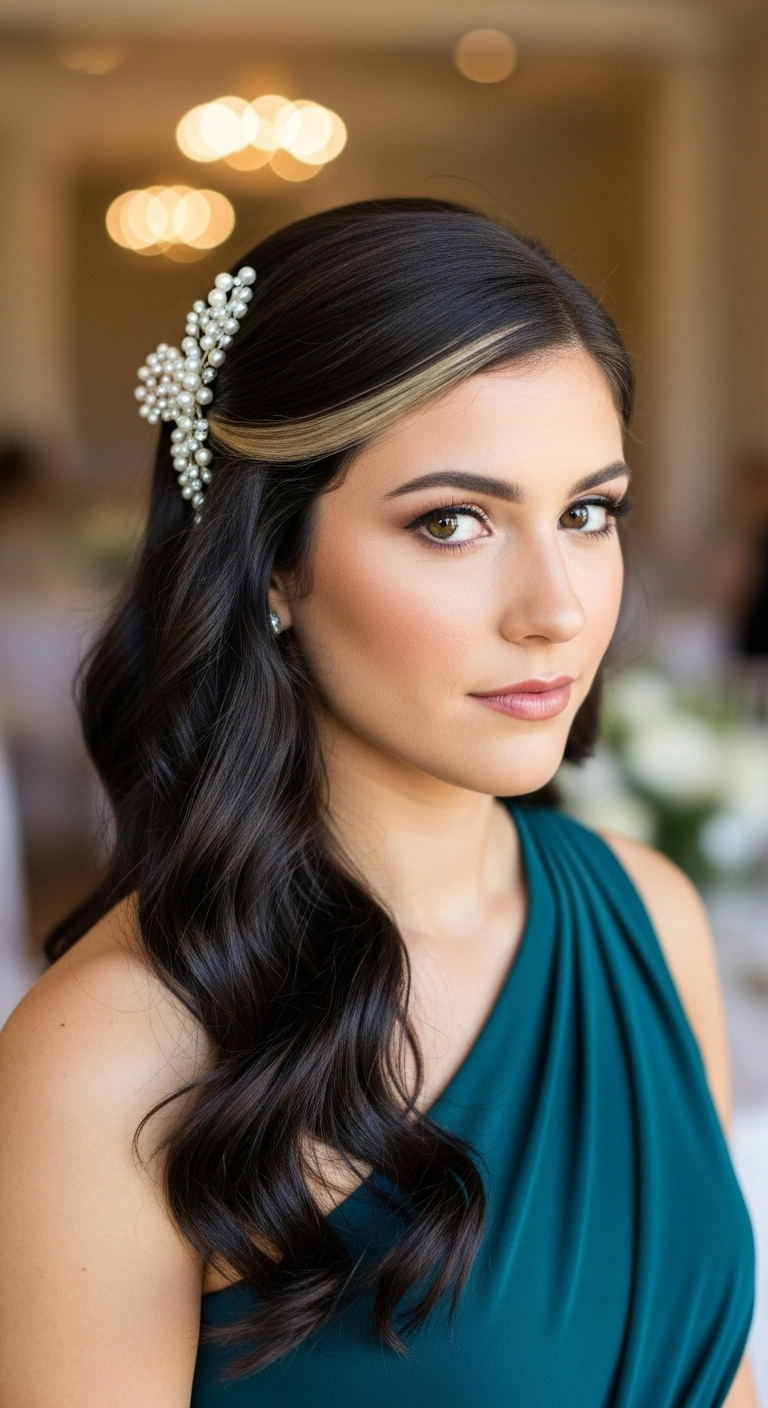
I am completely obsessed with this sophisticated twist on red-carpet waves. The contrasting blonde money piece swept smoothly back into that delicate pearl hairpiece is absolute perfection. It gives you all the sleek elegance of having hair tucked away from your face while still showing off gorgeous, cascading volume and shine over the shoulder!
How to do this
1. Start by prepping freshly washed, damp hair with a smoothing cream and the heat protectant spray listed below to ensure an ultra-sleek base.
2. Blow dry completely using a large round ceramic brush, directing the front fringe section over to one side to establish a clean, deep side part.
3. Using the 1.25-inch curling iron listed below, curl all sections in the same uniform direction (away from the face) to set up that classic Hollywood S-wave pattern.
4. Allow curls to cool completely, then gently brush through with the boar bristle paddle brush listed below to blend the curls into seamless, fluid waves.
5. Smooth down flyaways along the deep side part using a pea-sized amount of the hair smoothing serum listed below.
6. Take the blonde money piece and front hairline section, smooth it neatly across the side, and secure it firmly right above the ear using the bridal pearl hair accessory clip listed below.
7. Sweep the remaining lengths over the shoulder and lock the entire glossy look in place with the flexible hold finishing hairspray listed below.
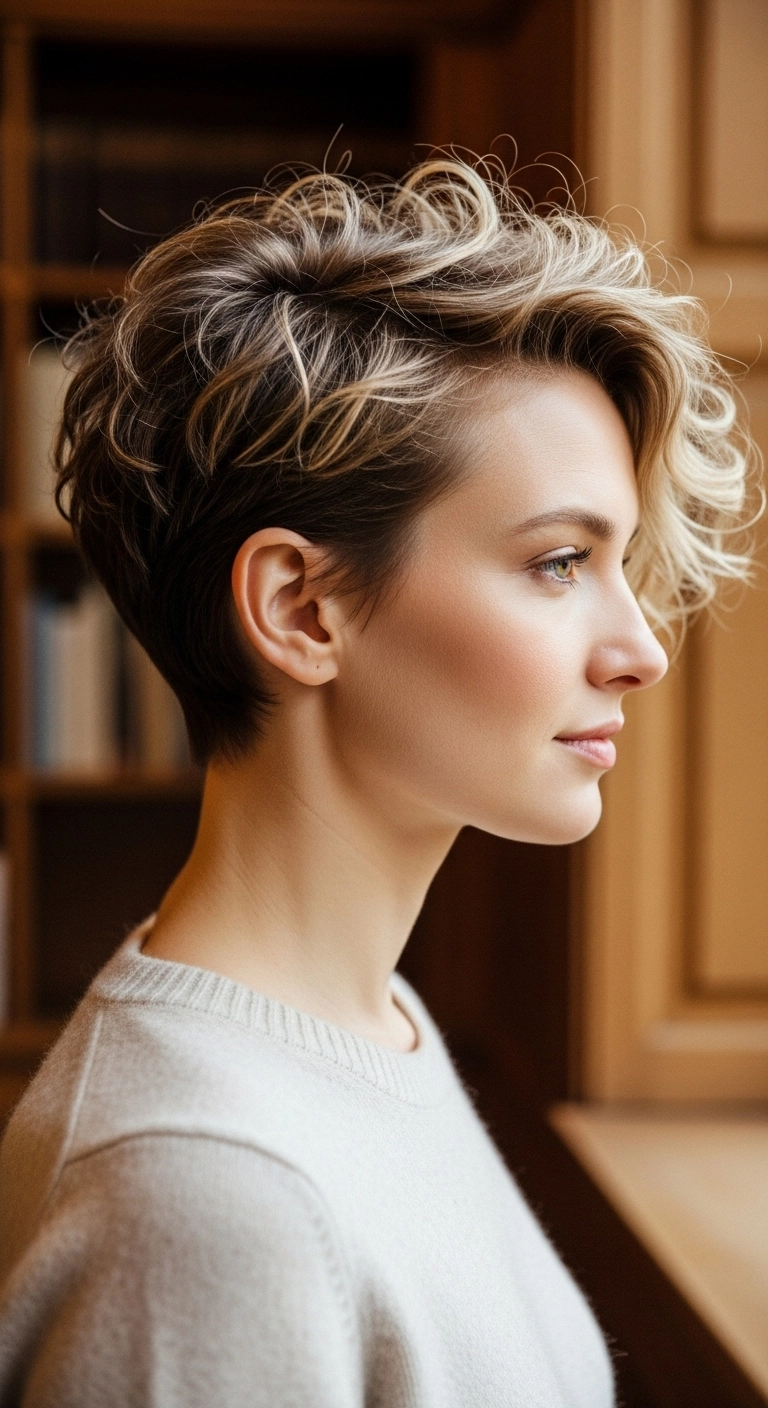
I love this soft, tousled pixie cut so much!! I love the contrast between the neat, tapered sides and all that gorgeous wavy volume on top. The subtle blonde highlights catch the light beautifully and give the curls so much texture and life without feeling stiff or overdone.
How to do this
1. Start by prepping towel-dried hair with a small pump of lightweight volumizing mousse to provide flexible lift and definition.
2. Blow-dry the top sections forward and to the side using a small round ceramic brush, lifting at the roots to maximize volume.
3. Keep the sideburns and nape flat and contoured against the head by directing airflow downwards with your fingers.
4. Take random 1-inch sections on top and loosely wrap them around a mini curling wand or flat iron just to create gentle, tousled S-waves.
5. Warm a dime-sized amount of matte texturizing paste between your palms and piece through the waves to separate the curls and emphasize the dimension.
6. Mist lightly with a flexible-hold finishing spray to maintain soft, touchable movement all day.
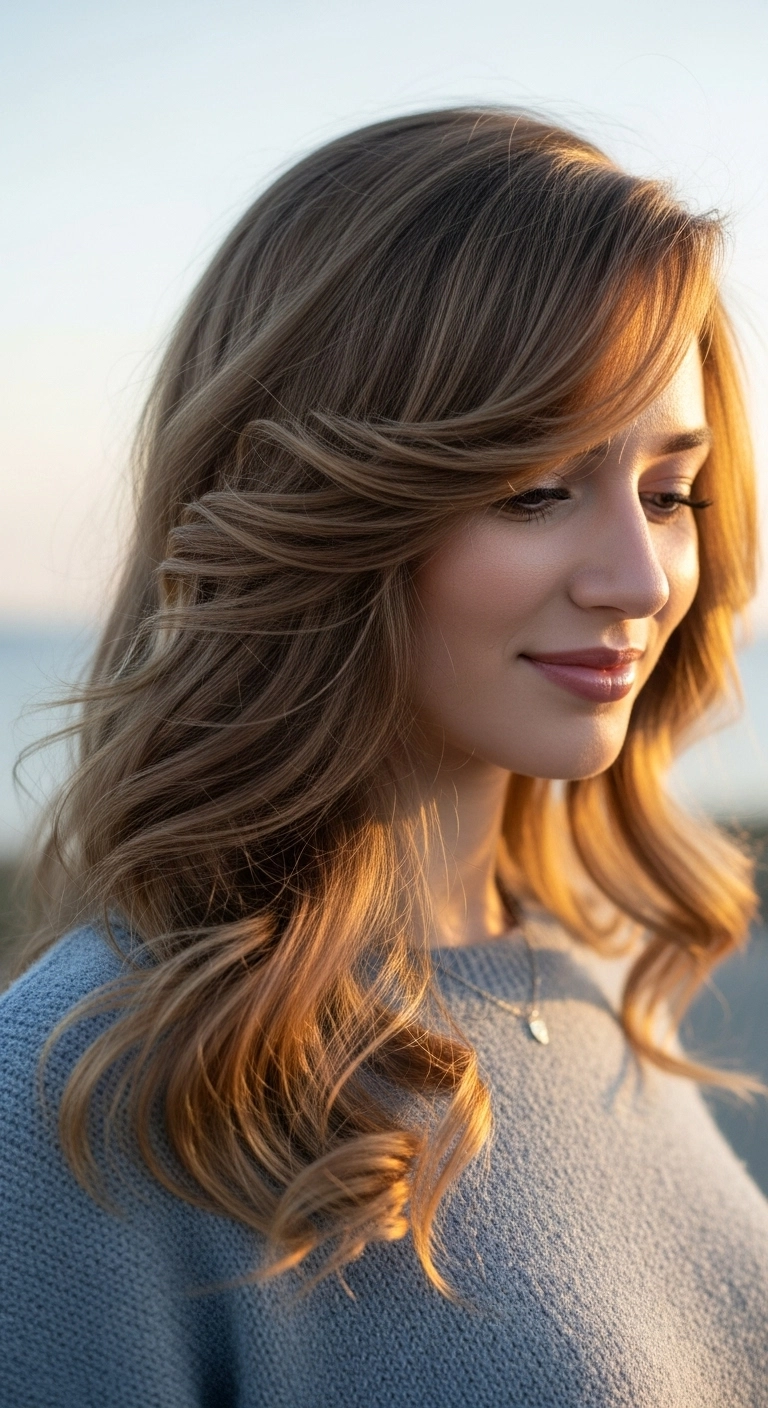
I've always loved a good blowout, but adding swooping side bangs takes it to a whole new level of effortless chic! There is just something so romantic and timeless about soft, face-framing layers caught in the golden hour light. To recreate this, focus on drying the front pieces up and away from your face using a round brush. It gives your natural hair texture so much bounce without feeling overly stiff or styled!
How to do this
1. Start with clean, damp hair and apply a quarter-sized amount of the lightweight volumizing mousse listed below from roots to ends for lift and body.
2. Mist your strands thoroughly with the heat protectant spray listed below to shield your hair from hot tool damage.
3. Using a round blow-dry brush listed below and a hair dryer, blow-dry the hair in sections, lifting at the roots to maximize crown volume.
4. When drying the sweeping side bangs and front face-framing pieces, roll them back and away from your face with the brush to create that gorgeous feathered swoop.
5. Take the large barrel curling iron listed below and wrap vertical mid-to-end sections away from your face to create soft, cascading waves.
6. Once the curls have completely cooled, gently rake through them using the wide-tooth comb listed below to soften them into relaxed, cohesive waves.
7. Finish the look by misting a small amount of the flexible hold hairspray listed below over the swooped bangs and lengths to lock in soft movement all day.
The side Dutch braid seamlessly melted into a romantic fishtail. Honestly, this is one of my absolute go-to styles! It keeps every stray hair secure and out of your face all day, while still looking effortlessly chic and romantic for brunch, weddings, or just running errands.
How to do this
1. Prep dry hair with a generous mist of the texturizing volume spray listed below to give your strands enough grip so the braid doesn't slip.
2. Create a deep side part and gather a three-inch section at the front hairline to begin a raised Dutch lace braid along the side of the head, crossing the strands underneath and adding hair from the top hairline.
3. Continue braiding along the curve of your head above the ear, directing the plait toward the nape of the neck on the opposite side.
4. Once you reach the nape, gather all remaining hair together over the front shoulder and transition into a classic two-strand fishtail braid by crossing small outer sections into the middle.
5. Continue braiding down the length until you have about two to three inches left at the ends, and secure tightly using the clear mini elastic bands listed below.
6. Take a small sliver of hair from the tail, wrap it completely around the elastic band to conceal it, and tuck it neatly with the matte bobby pins listed below.
7. Gently pancake the edges of both the Dutch braid and the fishtail braid by tugging the outer loops to create airy, lived-in fullness, then lock everything down with the flexible hold hairspray listed below.
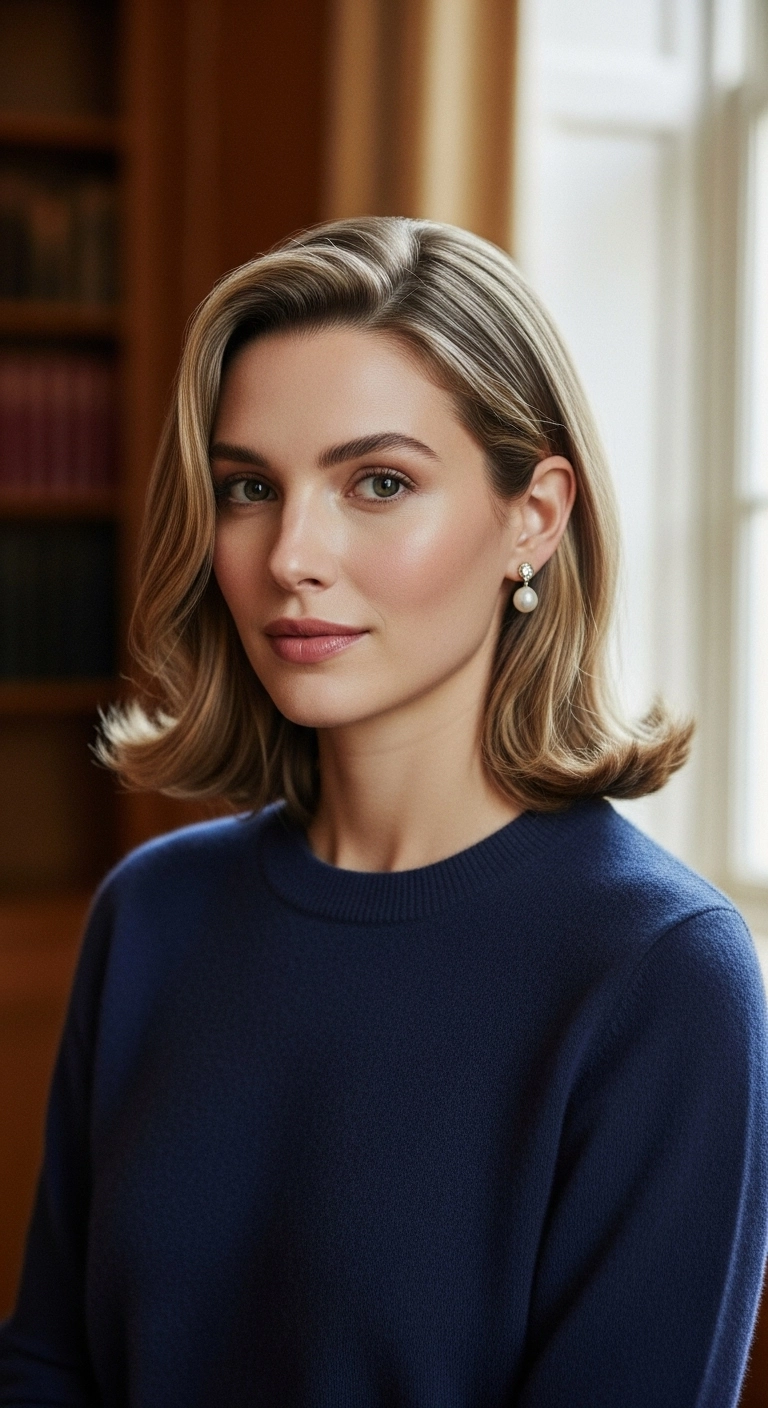
Are you loving that chic, polished vintage vibe as much as I am? I added this flipped-end bob to the list because it gives off total timeless sophistication, don’t you think?! You can wear the ends flicked out softly like this for a refined country club aesthetic, or tuck it behind both ears for a sleeker profile. It’s such an effortless way to upgrade a standard shoulder-grazing cut with gorgeous movement and shine. Give it a try for your next office day or brunch date and show off those stunning retro ends!
How to do this
1. Start by prepping towel-dried hair with a lightweight volumizing mousse from root to tip, along with a protective heat primer using the Heat Protectant Spray listed below.
2. Create a clean, deep side part to set up that elegant side-swept front swoop.
3. Using a medium ceramic round brush and a blow dryer fitted with a concentrator nozzle, blow-dry the hair smooth while lifting at the root for natural crown volume.
4. When drying the mid-lengths down to the ends, roll the round brush upwards and outward away from the neck, hitting it with warm air and then finishing with the cool shot button to lock in the retro flip.
5. For extra definition and hold on the flicked ends, lightly run a 1.25-inch curling iron along the tips, rolling outward.
6. Tuck the shallow side neatly behind one ear to display your earrings, then smooth flyaways and add a mirror-like shine using the Smoothing Hair Serum listed below.
7. Finish the entire style with a generous mist of the Flexible Hold Finishing Spray listed below to keep the bouncy flip locked in place all day.
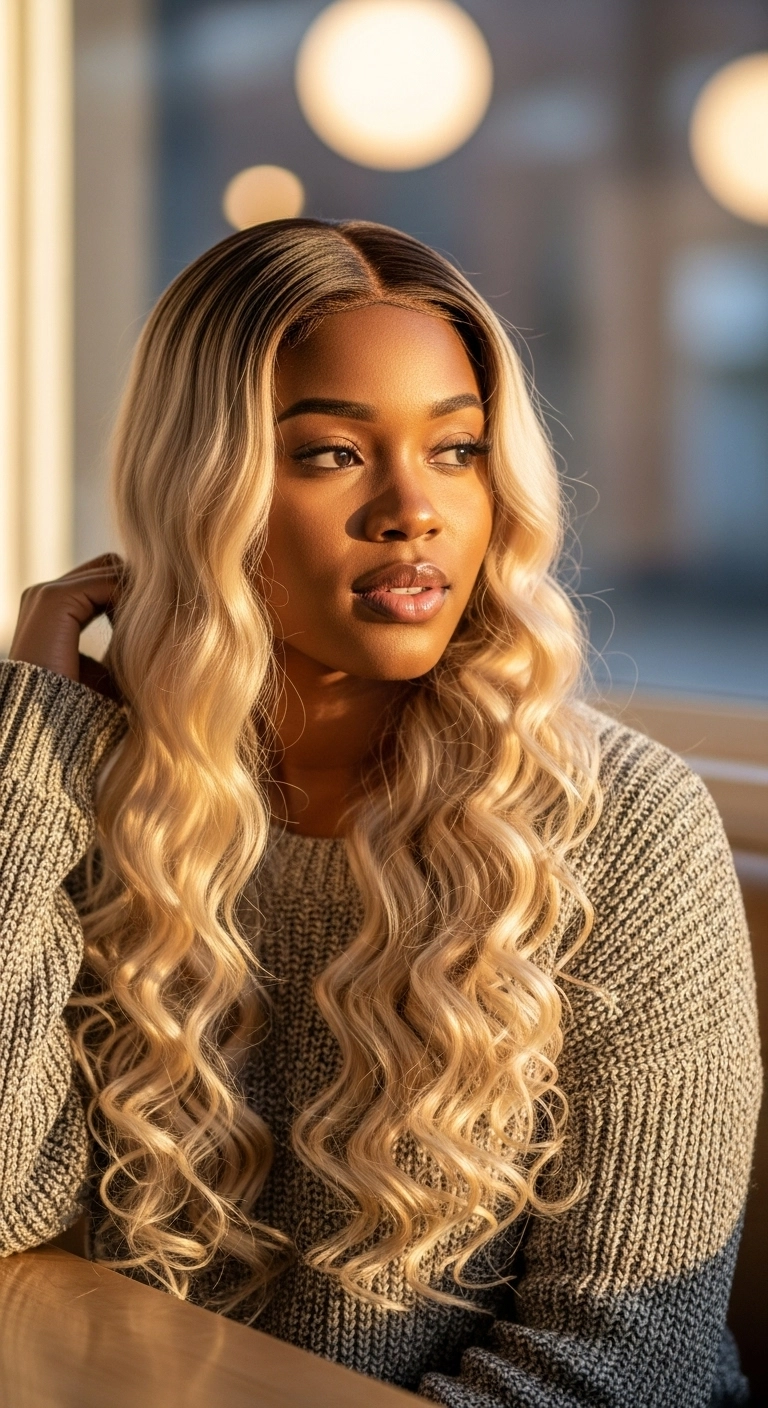
I know going super blonde can sometimes feel scary, but adding a deep shadow root changes the whole game! It gives you that gorgeous, low-maintenance lived-in depth while letting the creamy blonde waves completely glow. If you've been waiting for a sign to try high-contrast blonde, this is definitely it!
How to do this
1. Prep your hair or lace front wig by applying a generous amount of the heat protectant spray listed below to shield strands from heat damage.
2. Establish a crisp, precise center part using the tail end of the carbon rat tail comb listed below, laying the crown smooth and flat.
3. Section the hair into manageable horizontal tiers from the nape of the neck up.
4. Take 1- to 1.5-inch vertical sections and wrap them around the 1.25-inch curling iron listed below, keeping the barrel pointed vertically and twisting away from the face to create uniform, flowing spiral waves.
5. Allow each curl to cool completely in your hand before releasing so the curl pattern sets firmly.
6. Gently run the wide-tooth detangling comb listed below through the curls to loosen them into soft, cascading Hollywood-style ribbons.
7. Finish by smoothing flyaways at the crown and adding luminous shine across the lengths with a couple of drops of the lightweight hair serum listed below.
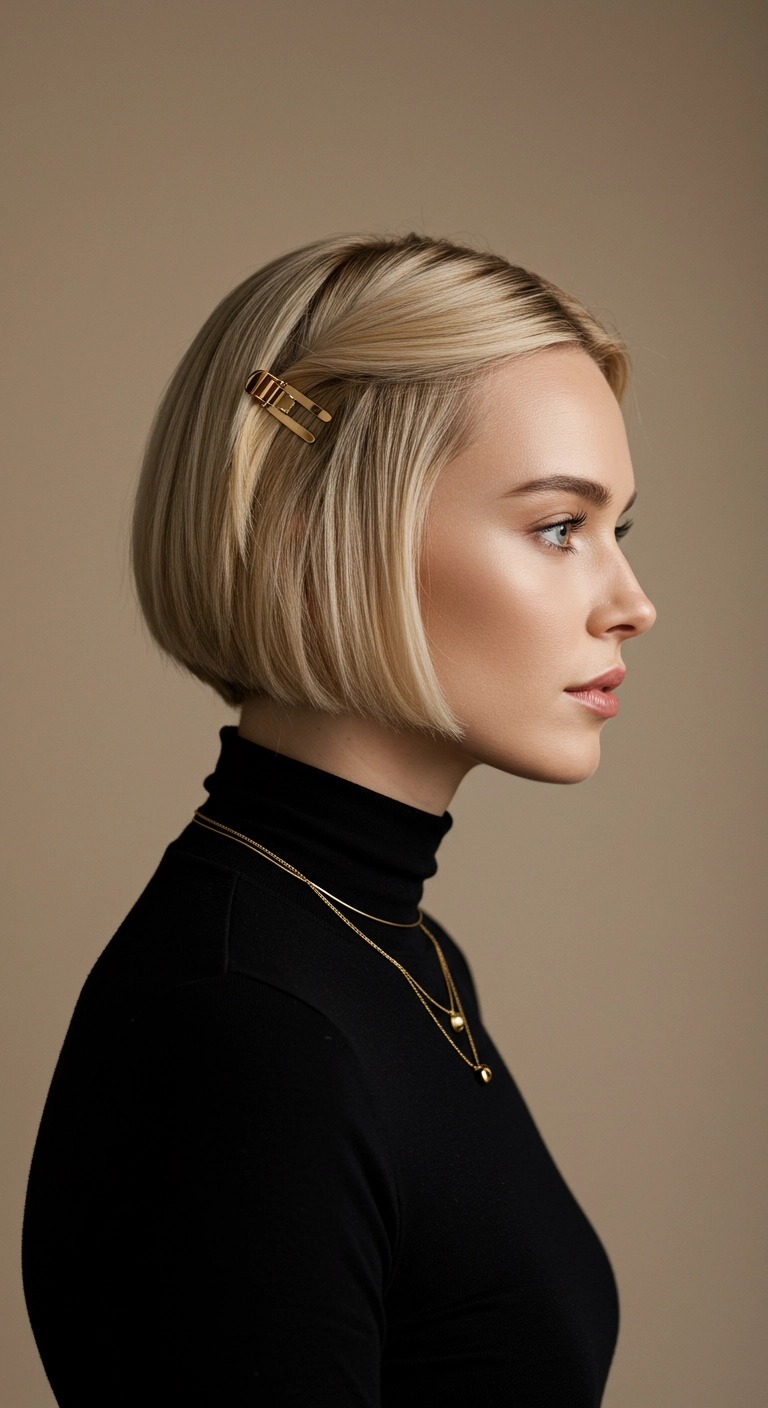
This look is chic, polished, and so effortlessly put-together! If you love a sharp blunt bob but want a quick way to keep the hair out of your face, this simple twist-and-clip trick instantly elevates the entire vibe in under a minute.
How to do this
1. Prep damp hair with a nickel-sized amount of smoothing blowout cream using the styling smoothing cream listed below to protect against heat and tame any flyaways.
2. Blow dry the hair straight down with a paddle brush or medium round ceramic brush, gently curving the ends inward right at the jawline to create that sleek, rounded bob shape.
3. Run a flat iron lightly over the mid-lengths and ends if needed for extra sleekness, making sure to slightly curve your wrist inward at the bottom.
4. Create a clean side part, then take a 1- to 2-inch front section along the hairline and gently twist it upward and back toward the crown.
5. Secure the twist just above the ear using a chic statement gold hair clip from the accessory set listed below.
6. Finish with a spritz of shine spray and lightweight flexible hairspray using the finishing spray listed below to lock everything smoothly in place all day.
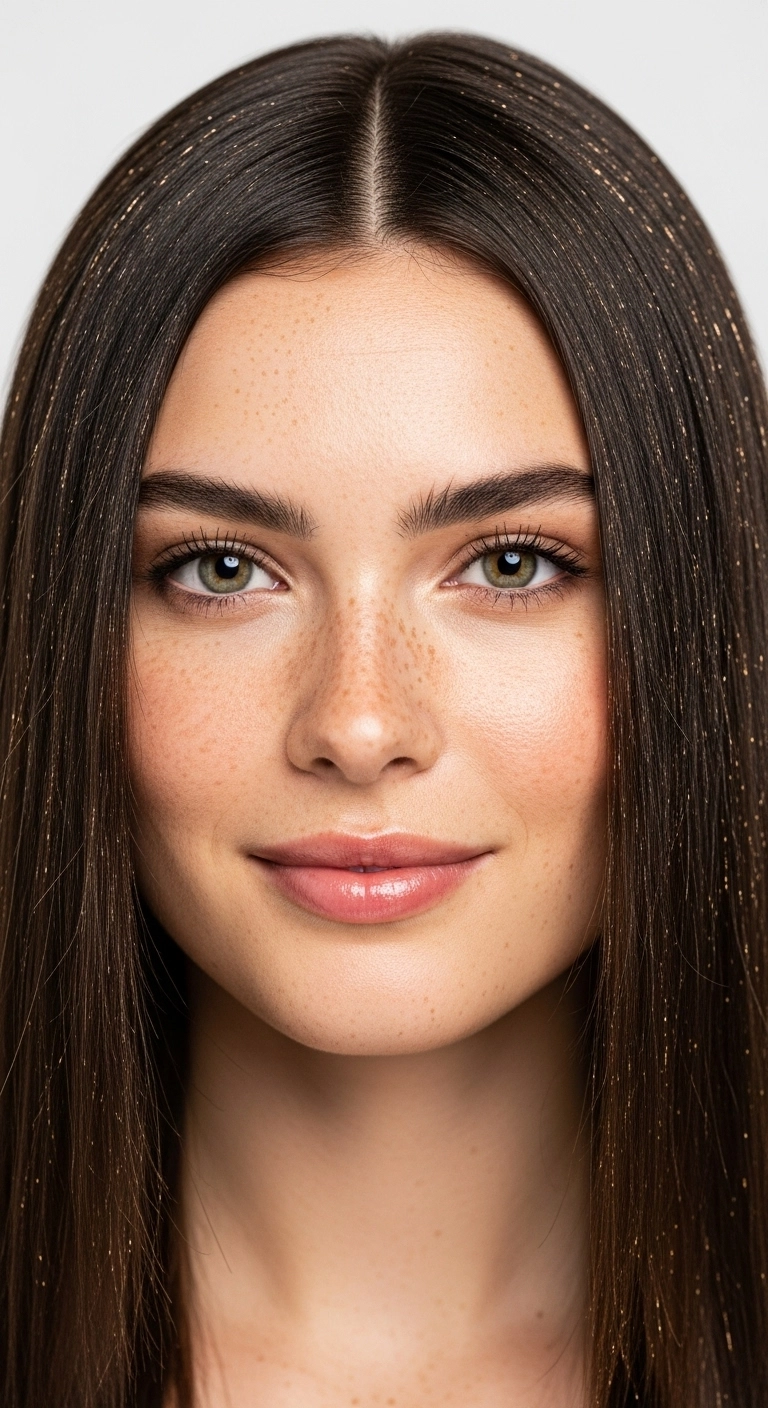
I first fell in love with subtle hair tinsel during festival season last year, and honestly, it's such an easy way to elevate everyday straight hair! It gives that magical, sparkling catch-light effect whenever you turn your head without any chemical commitment or damage. All you need is a bone-straight flat iron press and a few tied-in tinsel strands to look completely put-together. If you want something whimsical yet super chic, definitely give fairy hair a try!
How to do this
1. Start by washing and conditioning your hair to prep for an ultra-sleek, glossy finish, then apply a dime-sized amount of smoothing blowout serum to damp strands.
2. Blow dry the hair straight down with a paddle brush, using a concentrator nozzle to ensure the cuticle lies completely flat.
3. Create a razor-sharp center part from the front hairline back to the crown using a fine-tooth rat tail comb.
4. Mist the hair with the heat protectant spray listed below, then pass a ceramic flat iron down small 1-inch sections to create that pin-straight, reflective glass-hair texture.
5. Take individual strands of sparkling gold hair tinsel using the hair tinsel kit listed below. Fold a strand in half to form a slip knot.
6. Select 2-3 hairs at the root near the part line, loop the tinsel around them, and pull tight into a micro slip knot right at the scalp to secure.
7. Repeat installing 15-25 tinsel strands evenly across the top layer and sides of your head.
8. Finish the entire style with a light mist of the shine spray listed below to seal in brilliance without making the hair stiff.
A blowout like this has to be one of the most timeless, expensive-looking hairstyles out there. The secret is all in how you roll the face-framing curtain layers away from the cheekbones so they seamlessly blend right into the back. If you want that bouncy 90s supermodel vibe that still feels totally effortless and modern, this is hands-down the look to go for.
How to do this
1. Start on freshly washed, towel-dried hair and apply a generous mist of the heat protectant spray listed below from mid-lengths to ends.
2. Work a palm-sized dollop of the volumizing styling mousse listed below throughout the root area to ensure lasting lift and bounce.
3. Section hair cleanly, beginning at the nape, and blow-dry with the ceramic round brush listed below, rolling sections upwards and directing airflow down the shaft to lock in maximum shine.
4. For the front face-framing curtain bangs, roll hair away from the face over the brush, blasting with heat and setting with a cool shot before letting it cascade naturally.
5. Set each warm curled section into the large self-grip velcro rollers listed below to let the volume fully set as it cools.
6. Unroll the sections gently, finger-comb through the layers, and finish with a veil of the flexible hold hairspray listed below for a touchable, salon-worthy finish.
If you love low-maintenance color that still looks fresh and bright, this smudged root balayage is an absolute dream. The seamless blend from your natural depth into buttery blonde ends means you can go months between salon visits without dealing with a harsh grow-out line. Just hit the lengths with a wide-barrel curler, brush through the bends, and you've got an effortless, beachy blowout finish.
How to do this
1. Start by prepping clean, damp hair with the lightweight thermal heat protectant spray listed below to shield your blonde strands from heat styling.
2. Blow dry the hair smooth using a large ceramic round barrel brush, lifting at the roots to maintain natural volume and smoothing down the cuticles along the lengths.
3. Section the hair into manageable horizontal layers starting from the nape of your neck.
4. Take 1.5 to 2-inch vertical sections and wrap them loosely around the 1.5-inch curling iron listed below, curling away from the center of the head and leaving the last half-inch slightly looser for a soft wave.
5. Once all sections are curled and cooled completely, gently finger-comb or brush through with the wide-tooth detangling comb listed below to transform tight curls into smooth, cascading S-waves.
6. Warm two to three drops of the nourishing hair serum and bonding oil listed below in your palms and smooth over the mid-lengths and ends for glossy shine and frizz control.
7. Finish the entire style with a light mist of the flexible hold luminous hairspray listed below to ensure soft movement and touchable hold all day.
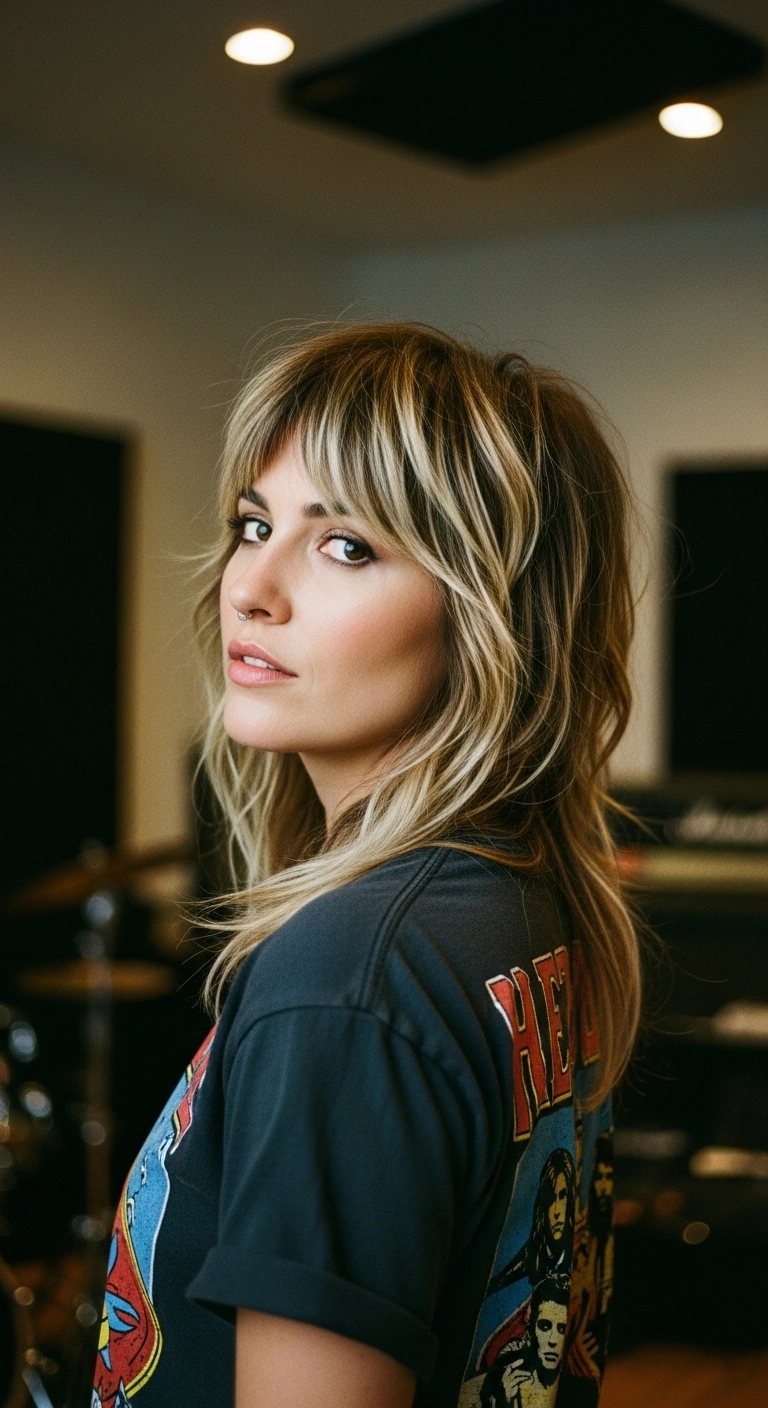
If you love that effortless, cool-girl rockstar vibe, this modern shag is seriously everything!! The piecey bangs and choppy layers give your hair so much natural movement without trying too hard + the blonde dimensional highlights make all the texture pop perfectly.
How to do this
1. Start by prepping damp hair with the lightweight volumizing mousse listed below, focusing on the roots and crown for natural lift.
2. Blow dry the bangs forward using a small round brush, rolling them under slightly and then shaking them out with your fingers to keep them pieced and airy.
3. Rough-dry the rest of the hair with a diffuser or by finger-raking, using the nozzle directed downwards to enhance the natural feathered layers.
4. Once completely dry, take random 1-inch pieces around the crown and face frame and create subtle bends using the 1-inch flat iron listed below, alternating directions for a lived-in wave.
5. Spray the dry texturizing spray listed below generously from mid-lengths to ends, lifting sections to build separation.
6. Finish by emulsifying a pea-sized amount of the matte styling wax listed below between your fingertips and gently pinching the tips of your bangs and face-framing layers to define the choppy texture.
A classic textured lob paired with a bright, face-framing blonde money piece. I love cuts like this because you get the ease of shorter hair without losing the ability to throw in those effortless S-waves. It’s got that cool-girl, lived-in feel that works for literally everything from running errands to a sunny weekend hangout.
How to do this
1. Start by prepping towel-dried hair with a lightweight smoothing blowout cream using the styling cream listed below to add heat protection and slip.
2. Blow dry completely with a large round brush, directing the front strands away from the face to create soft bend and natural lift at the crown.
3. Divide hair into horizontal sections and mist with a heat protectant spray before using the 1.25-inch curling iron listed below.
4. Take 1- to 2-inch vertical sections and clamp the iron midway down, rotating away from the face while leaving the last inch of the ends straight for that chic, lived-in lob finish.
5. For the blonde money piece in the front, curl outward away from the cheekbones gently so it opens up the face without being too bouncy or tight.
6. Once the curls have completely cooled down, gently comb through using the wide-tooth detangling comb listed below to transform curls into loose, cohesive S-waves.
7. Spray a generous mist of the texturizing finishing spray listed below from mid-lengths to ends, scrunching lightly with your hands for airy definition and separation.
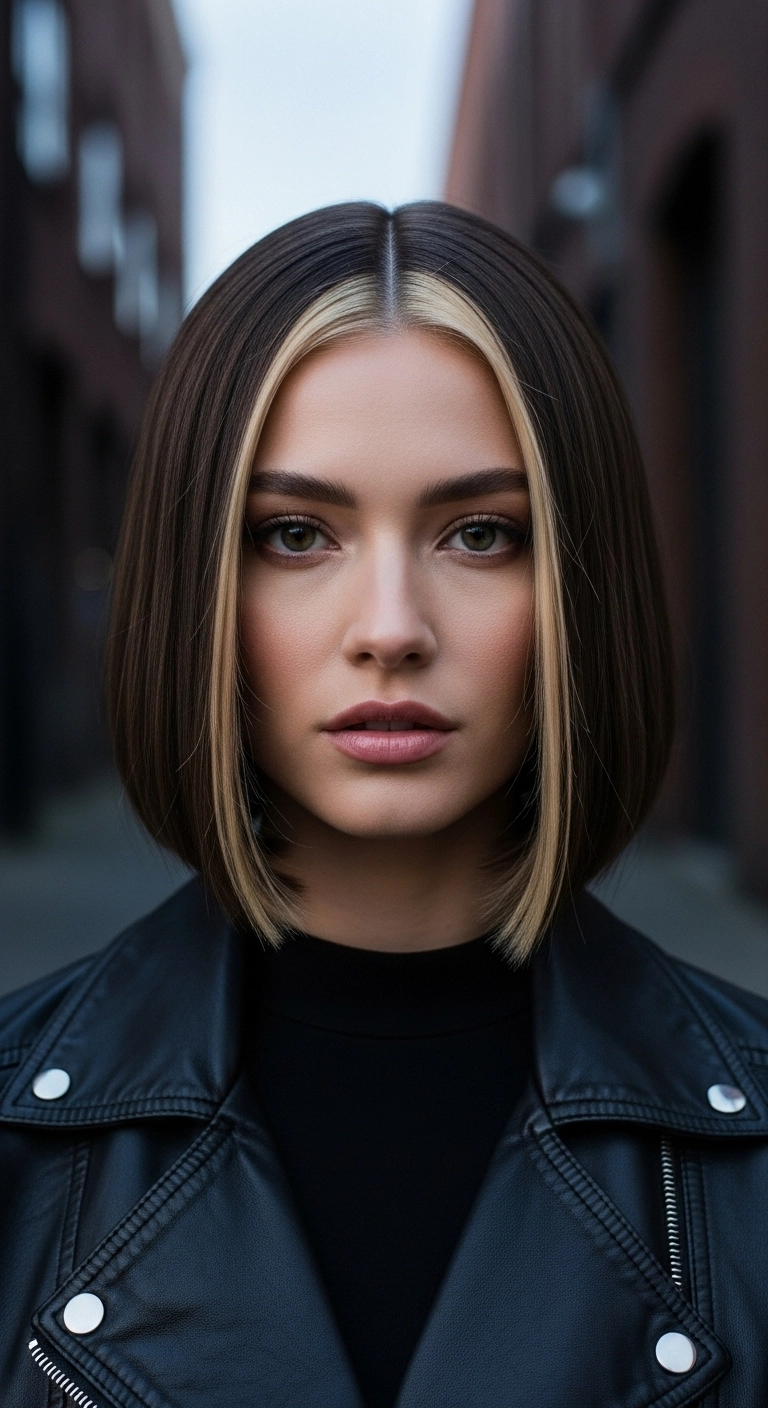
I am completely obsessed with this sharp, edgy take on a classic bob! The contrast between the rich dark brown base and those bold, bright blonde money pieces in the front just frames the jawline so effortlessly. It gives that perfect touch of 90s cool-girl energy without having to commit to bleaching your whole head!
How to do this
1. Start by sectioning off two symmetrical, one-inch wide panels right along the front hairline on either side of a clean center part.
2. Lighten these front sections using the bleach powder and developer lightening kit listed below, processing until you reach a clean pale blonde level.
3. Apply a neutral beige-blonde gloss to tone the front pieces using the hair toner and gloss listed below, while refreshing the rest of your hair with a deep espresso gloss.
4. Prep damp hair with a lightweight blow-dry smoothing lotion, then blow-dry smooth with a paddle brush directing the hair straight down.
5. Use a precision flat iron using the ceramic hair straightener listed below, beveling just the very ends slightly inward toward your jaw to frame the face.
6. Finish with a few drops of lightweight hair serum using the hair smoothing serum listed below to tame flyaways and enhance glossy shine.
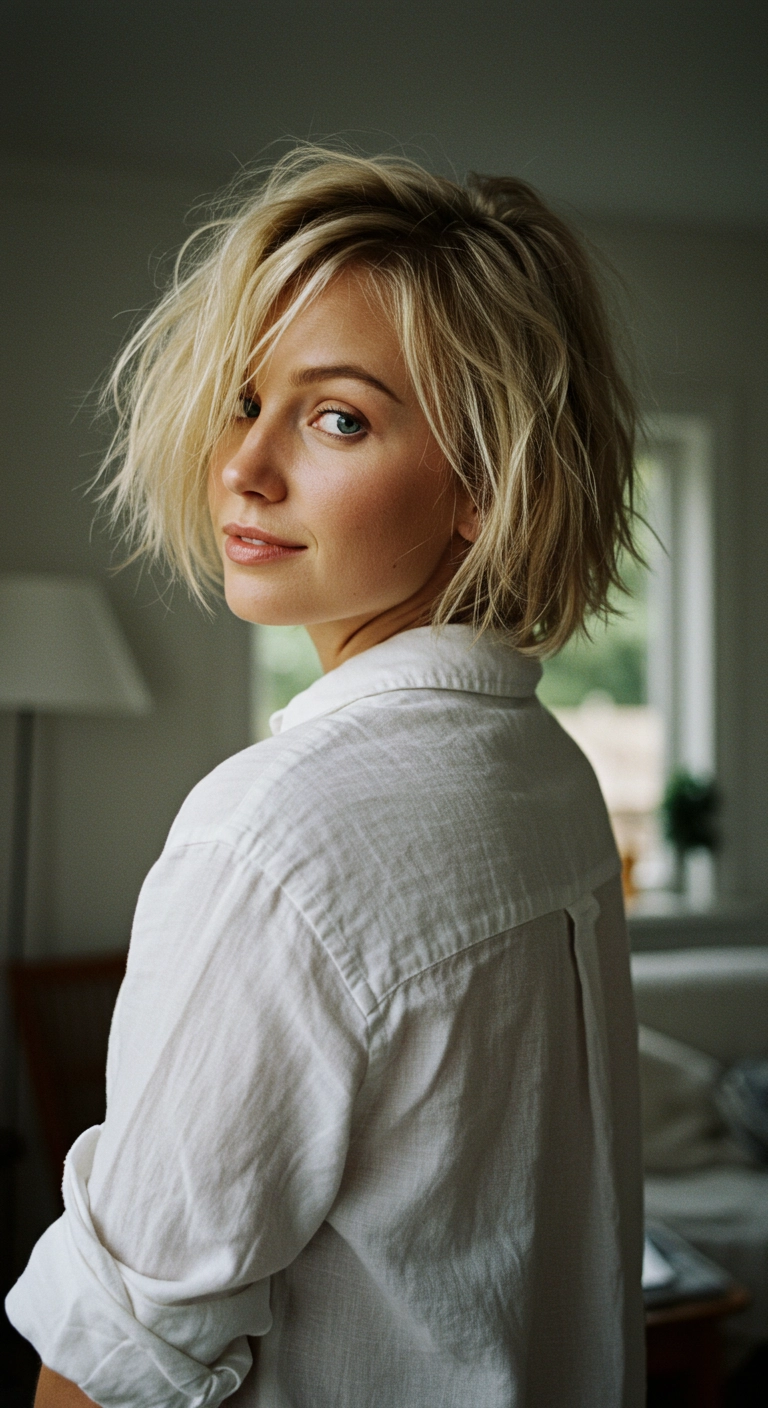
Oh, the effortless, lived-in blonde bob! I mean, can we talk about this incredible texture? It gives the ultimate 'woke up like this' cool-girl energy. Have you ever tried chopping your hair into a choppy bob like this?
How to do this
1. Start by washing your hair with a lightweight volumizing shampoo and conditioner to build natural body without weighing strands down.
2. Towel-dry gently, then mist a damp strand heat protectant spray listed below all over from roots to ends.
3. Apply a golf-ball sized dollop of the texturizing mousse listed below through the roots and mid-lengths to give lift and grip.
4. Rough blow-dry using your fingers, flipping your head upside down halfway through to maximize root volume.
5. Use a small amount of the flexible styling paste listed below between your palms and work it through the ends to separate the layers and define that choppy, lived-in texture.
6. Finish with a generous spritz of the dry texturizing spray listed below at the crown and roots, then flip your hair into a dramatic, messy side part.
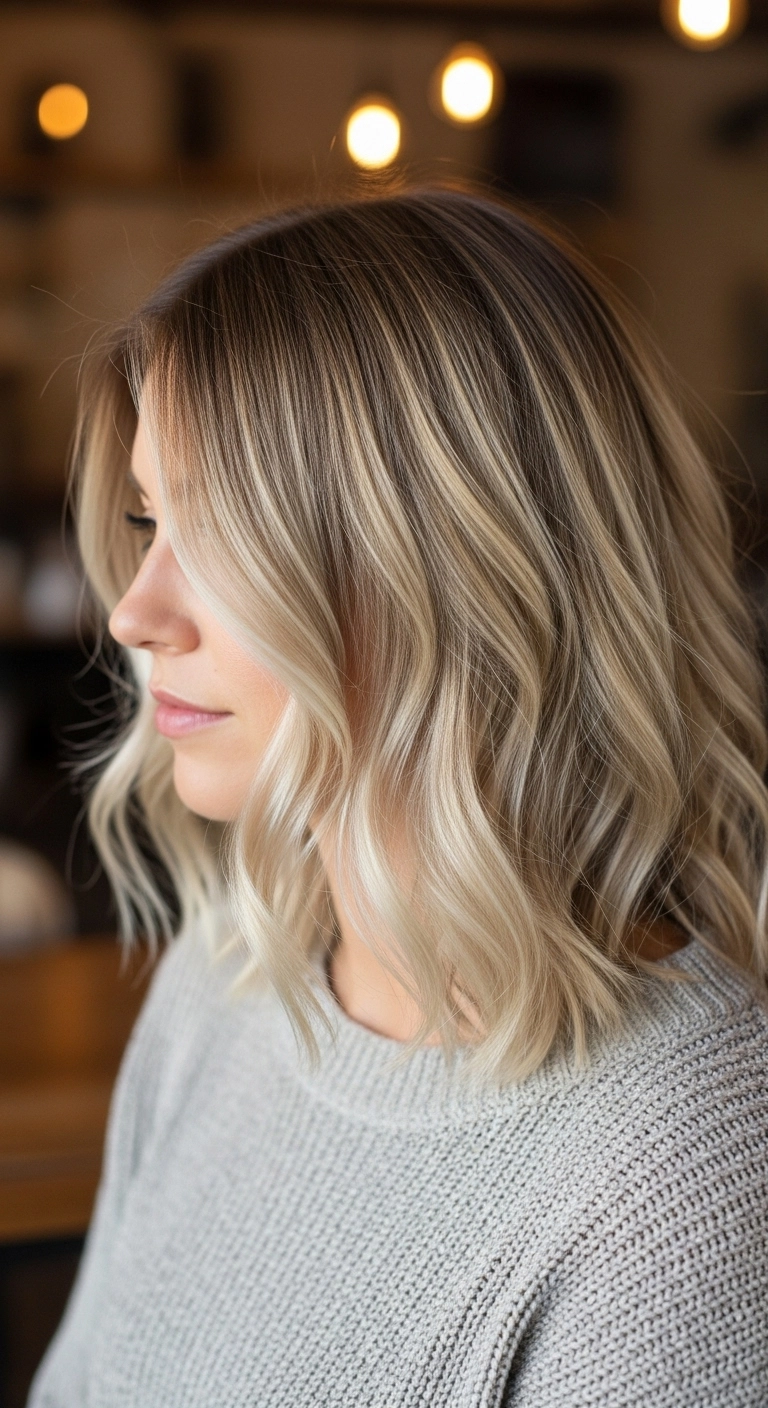
I love a good collarbone-skimming lob because it gives you all the ease of short hair while still leaving enough length to rock soft, effortless waves. Pairing a seamless shadow root with bright, creamy blonde balayage ribboned around the face keeps the look low-maintenance between salon visits while giving maximum brightness right where it counts.
How to do this
1. Prep towel-dried hair by lightly misting with the heat protectant spray listed below to shield strands and add a smooth base.
2. Blow-dry using a medium round boar-bristle brush, lifting at the roots to maintain natural body while smoothing the mid-lengths down.
3. Section the hair into top and bottom halves, then take 1.5-inch vertical sections using the 1.25-inch curling wand listed below.
4. Wrap each section around the barrel leaving about an inch of the ends straight and untouched for that modern, relaxed finish.
5. Alternate the curl direction away from the face to create natural separation, making sure the front face-framing strands sweep softly backward.
6. Once cooled, rake through the waves with your fingers or a wide-tooth comb to break up any structured ringlets.
7. Shake in a generous burst of the texturizing volume spray listed below into the roots and mid-lengths, followed by a pea-sized amount of nourishing hair oil through the ends for shine.