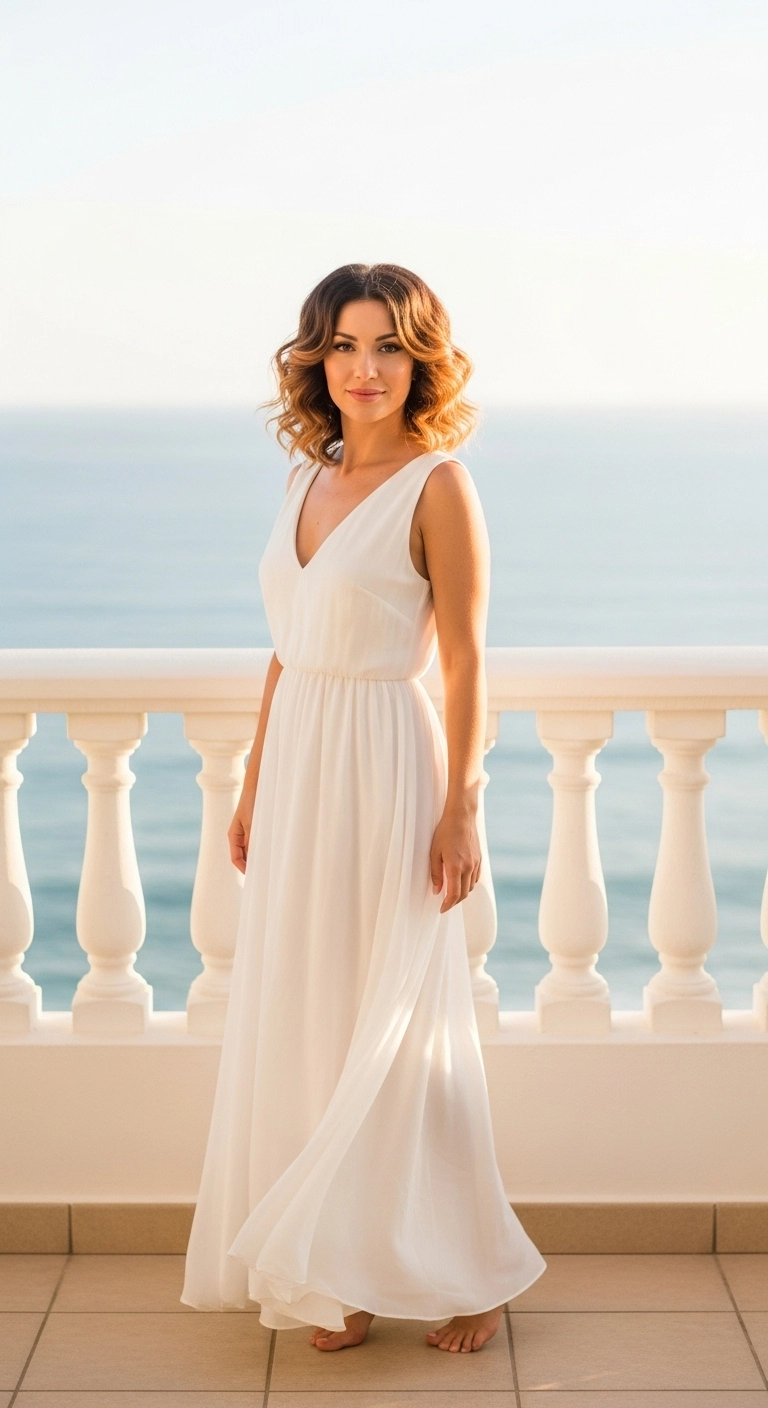
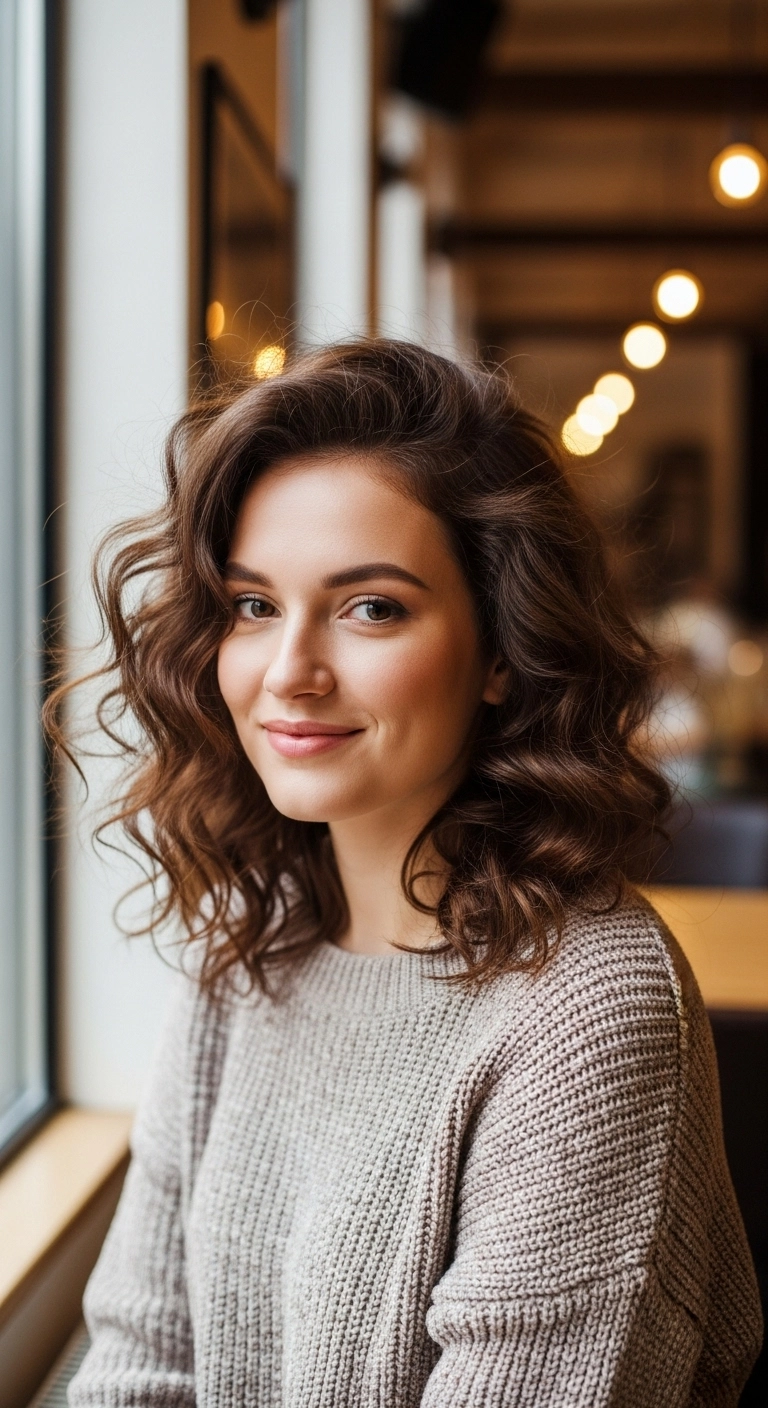
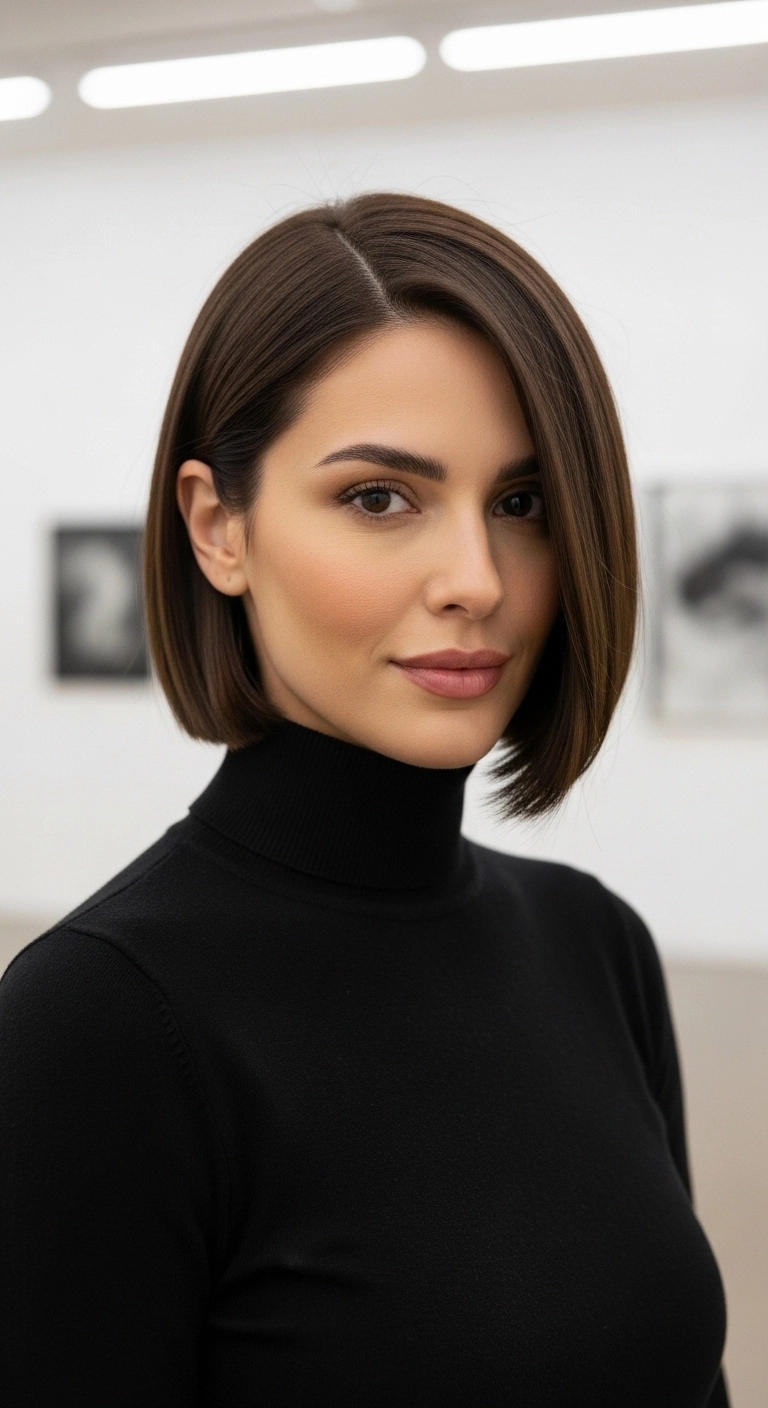
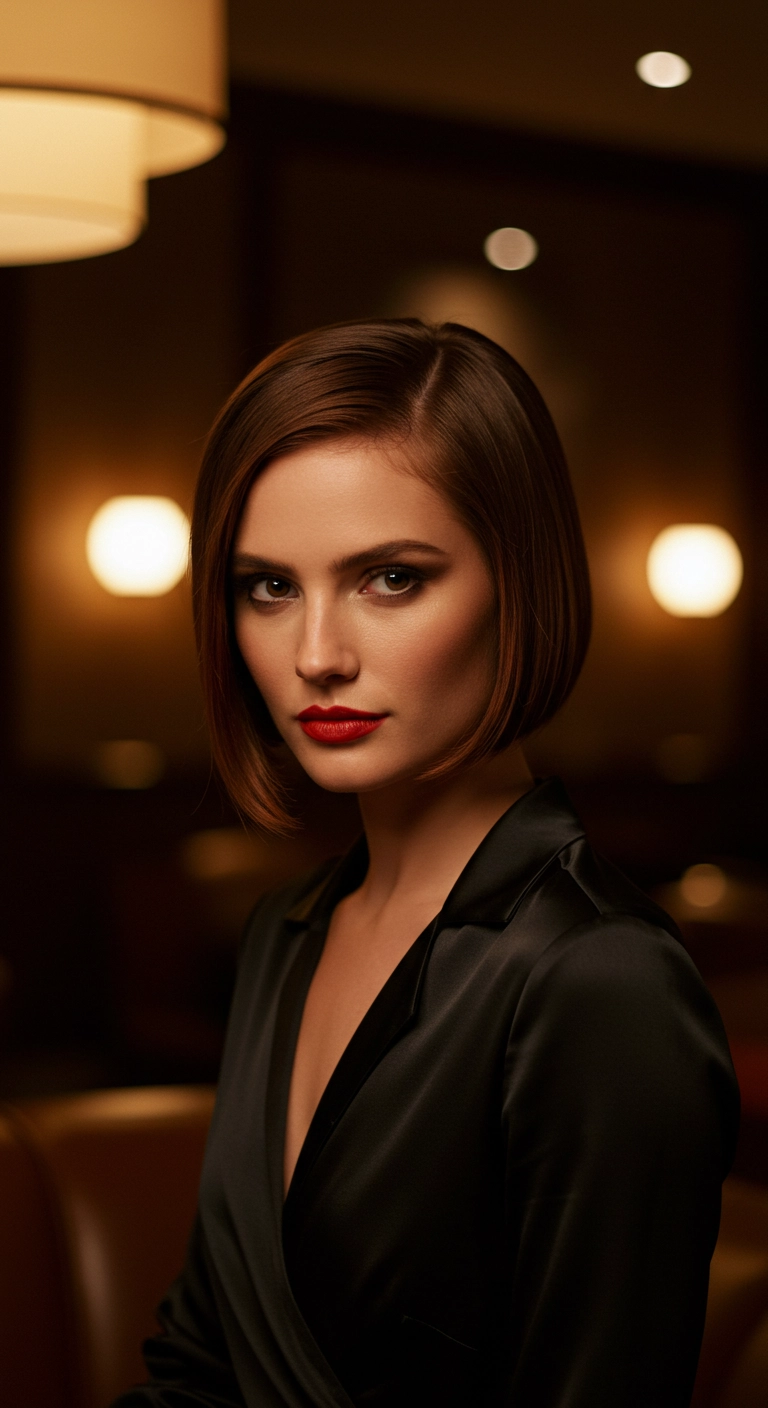
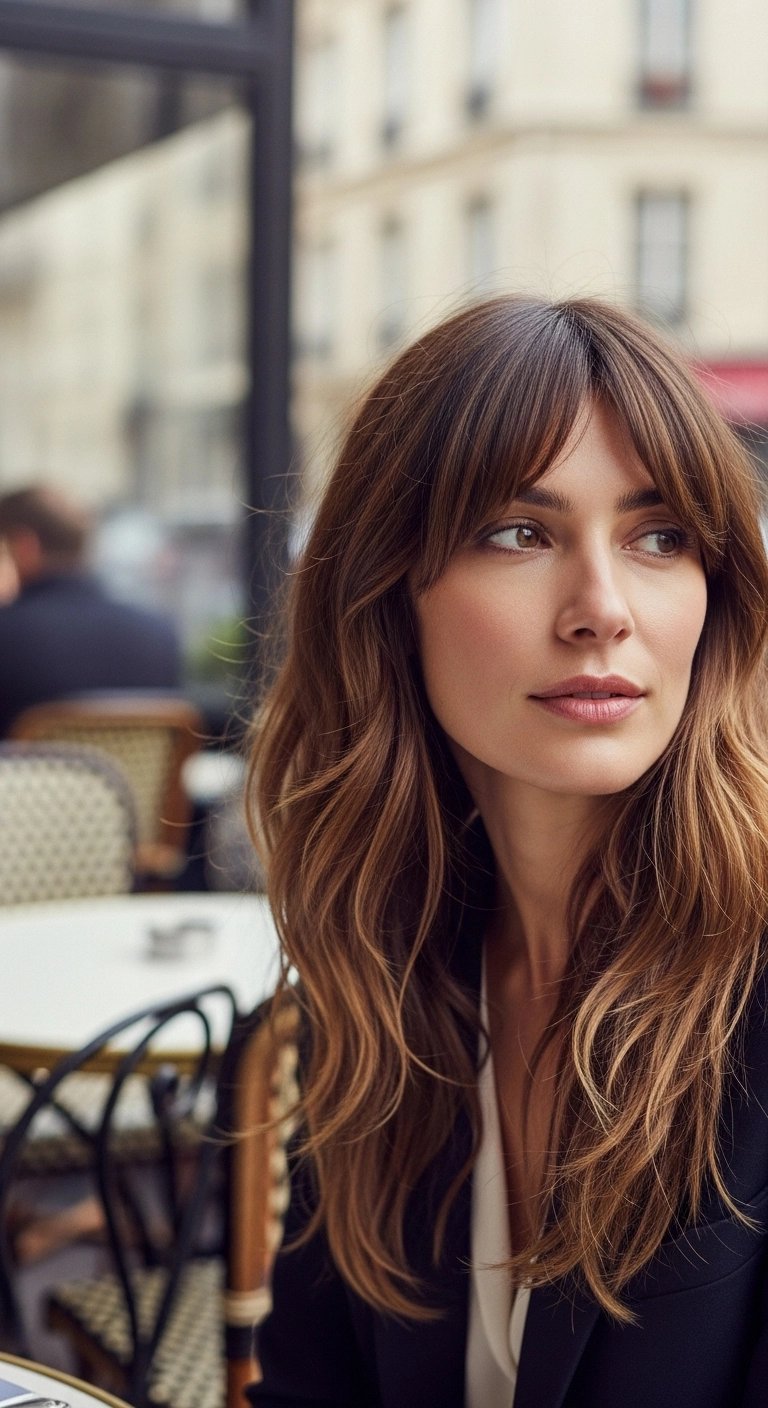
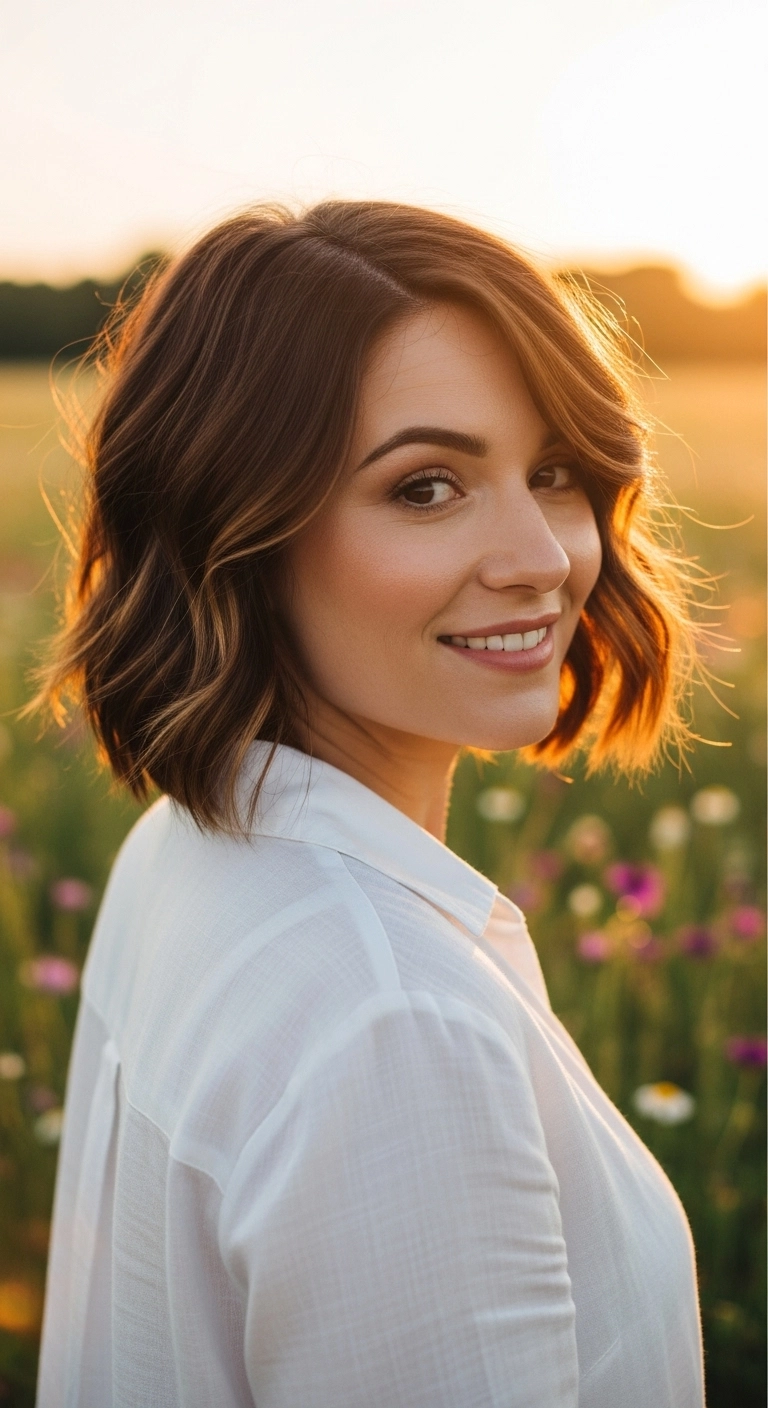
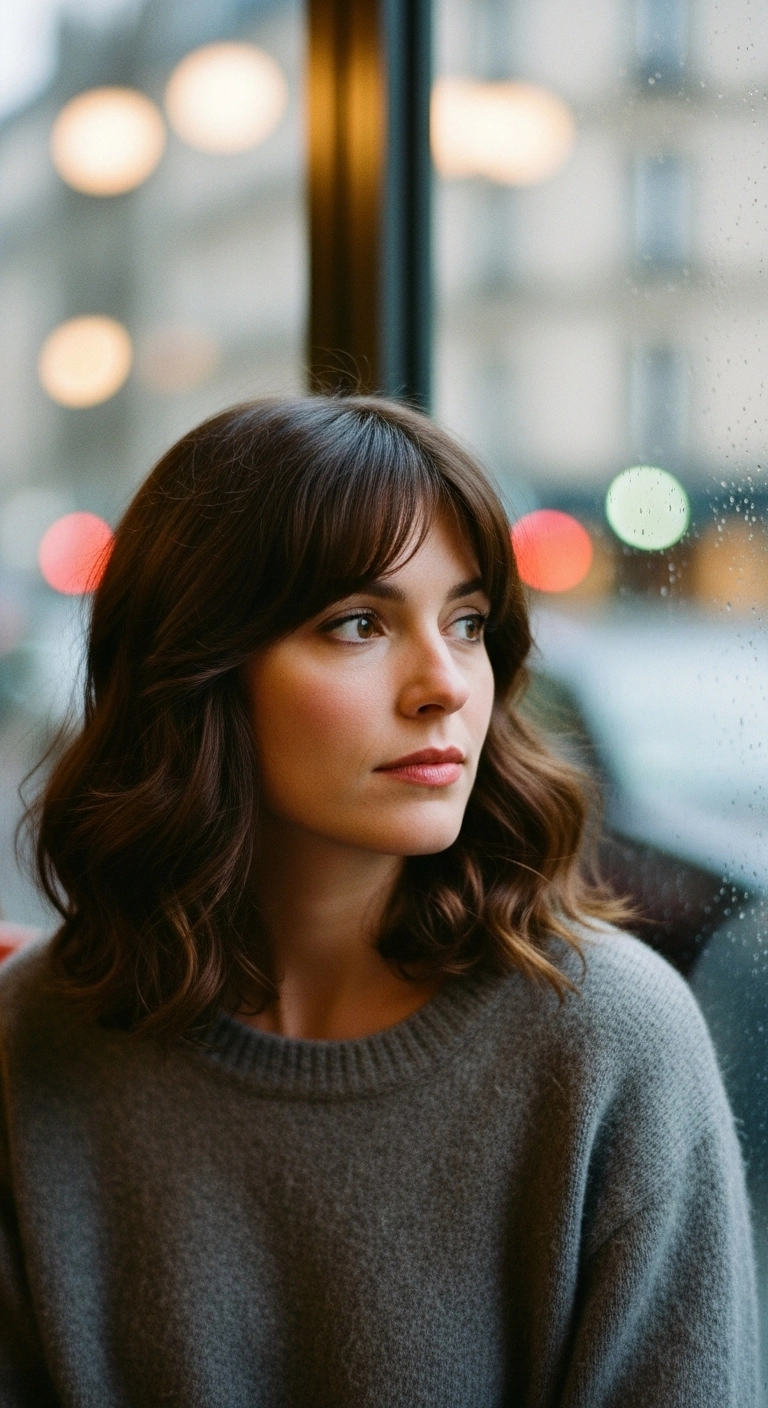
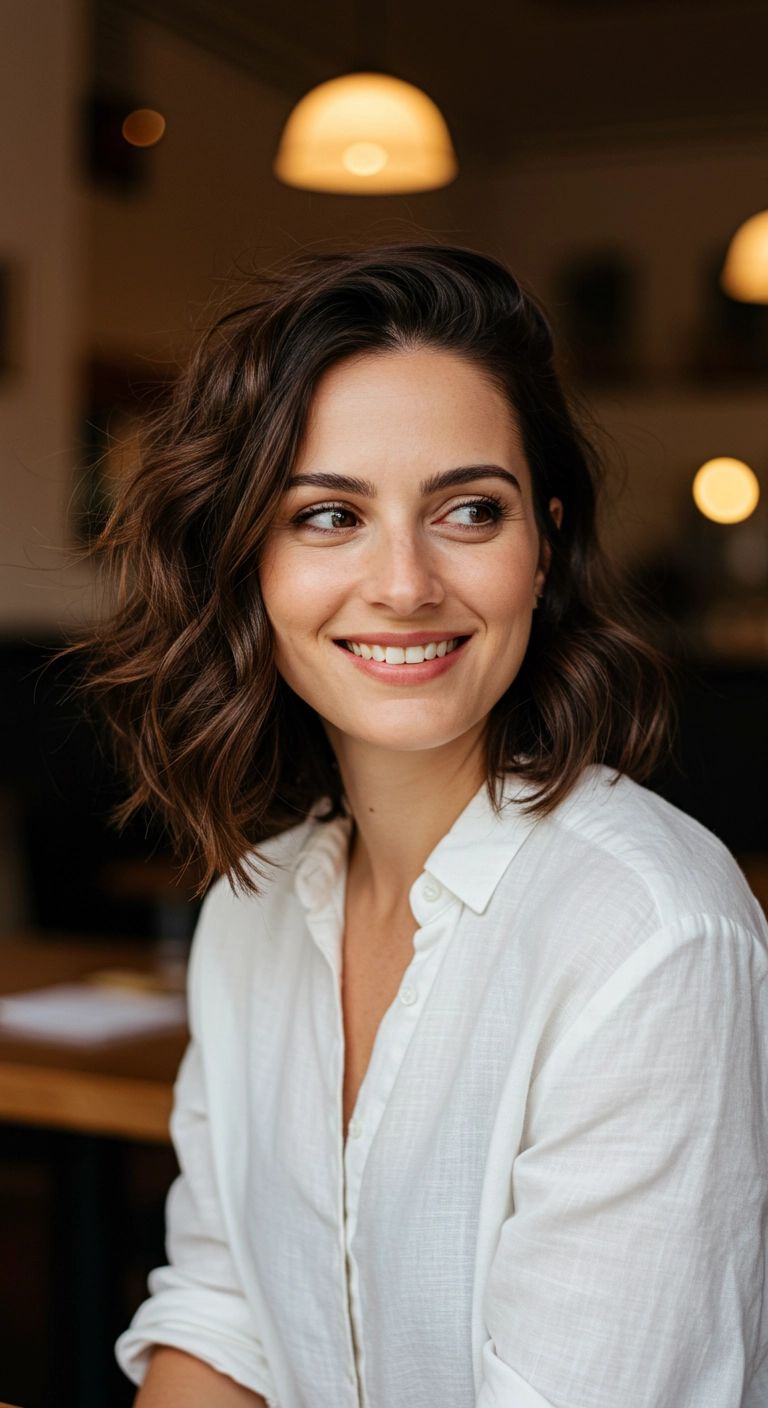
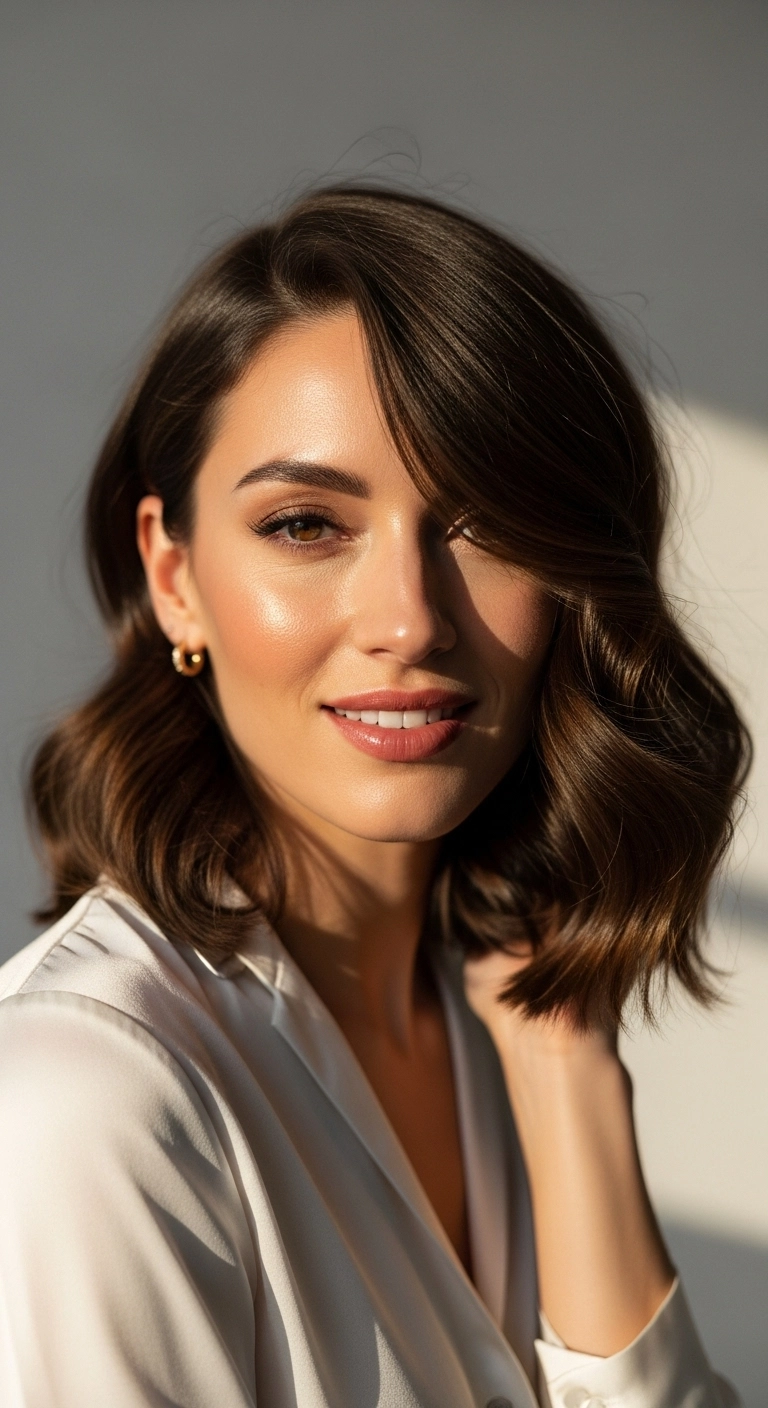
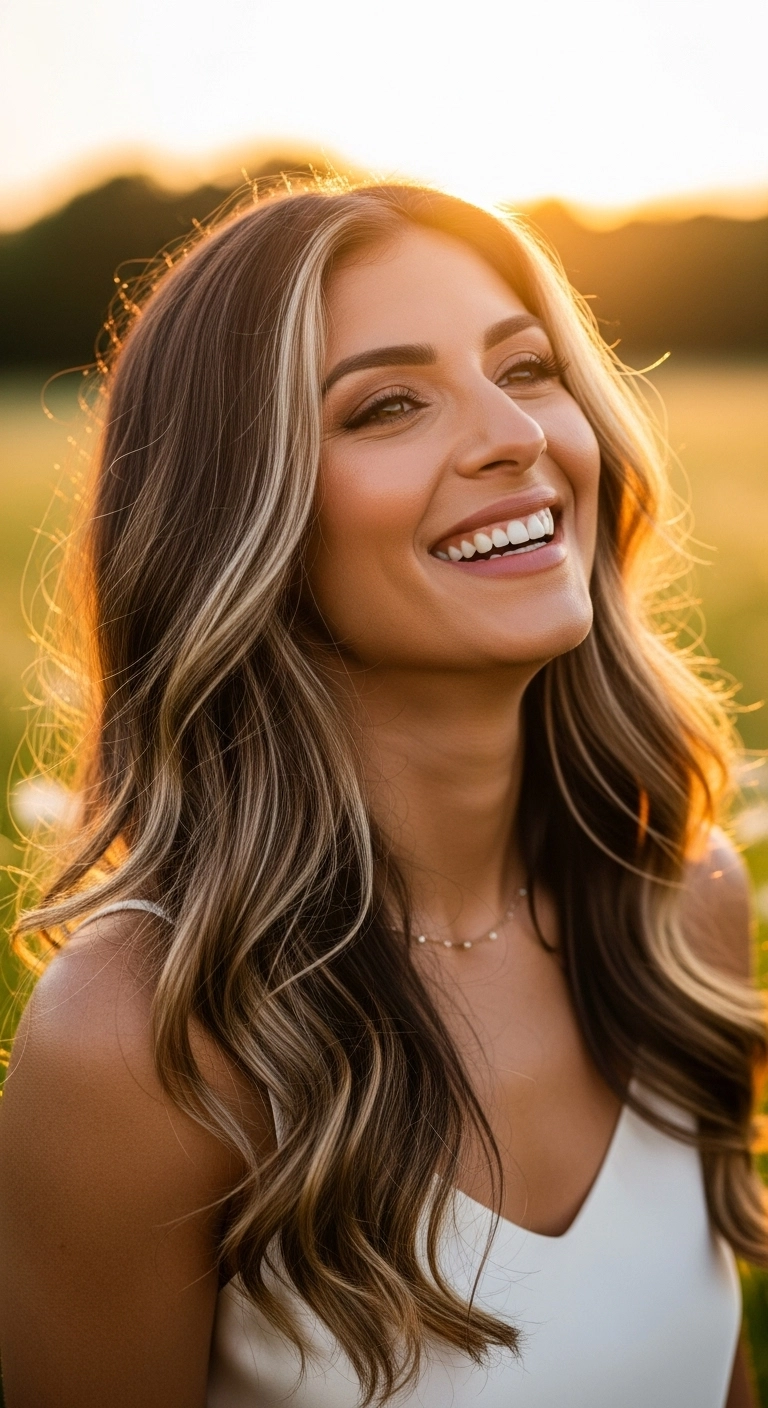
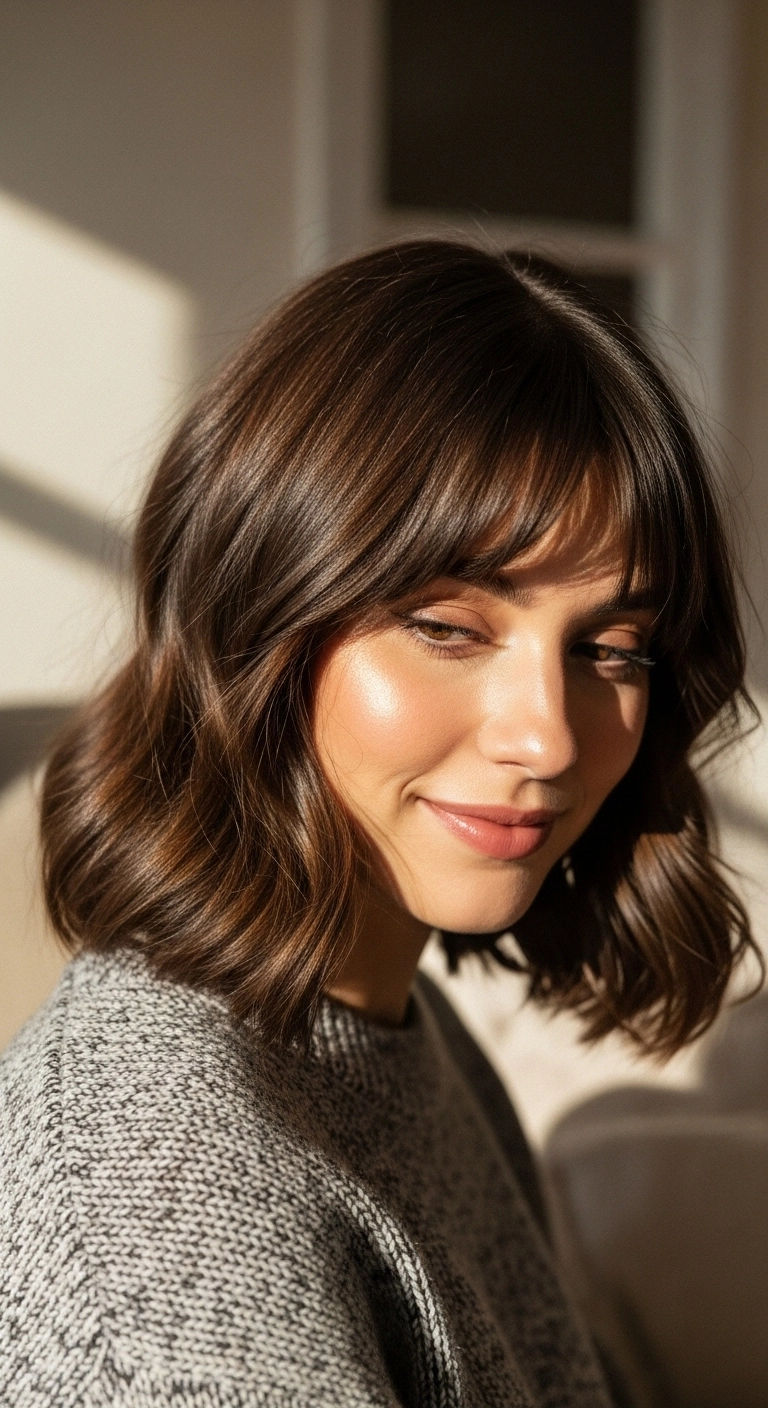
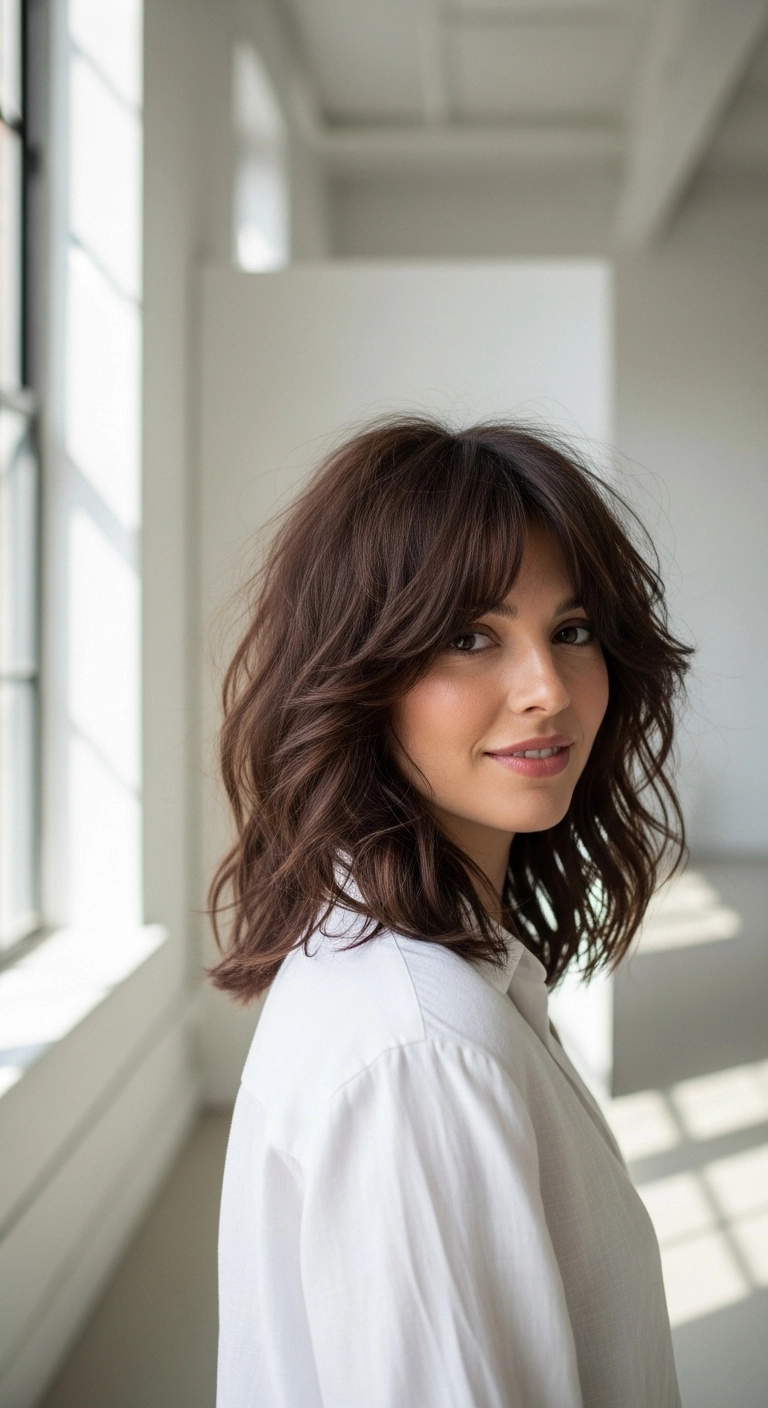
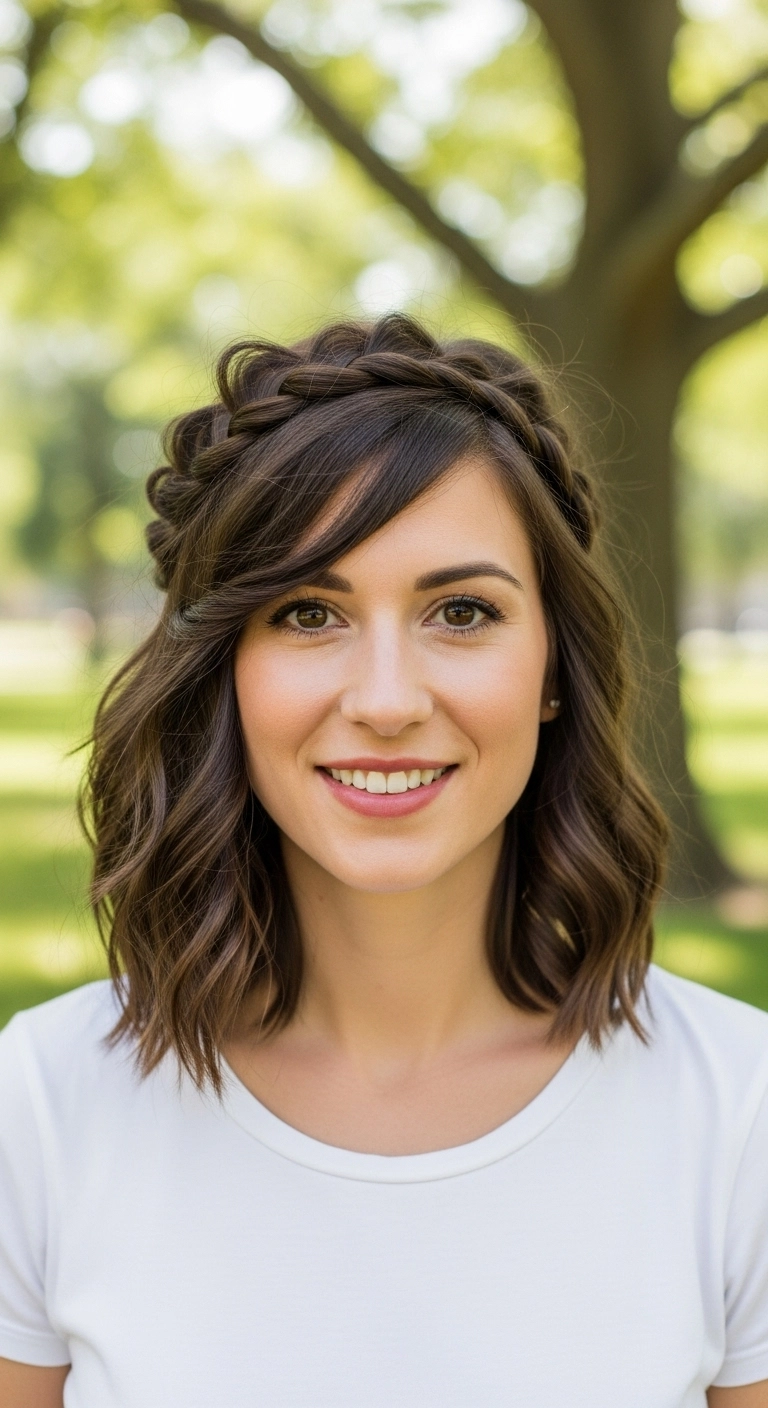
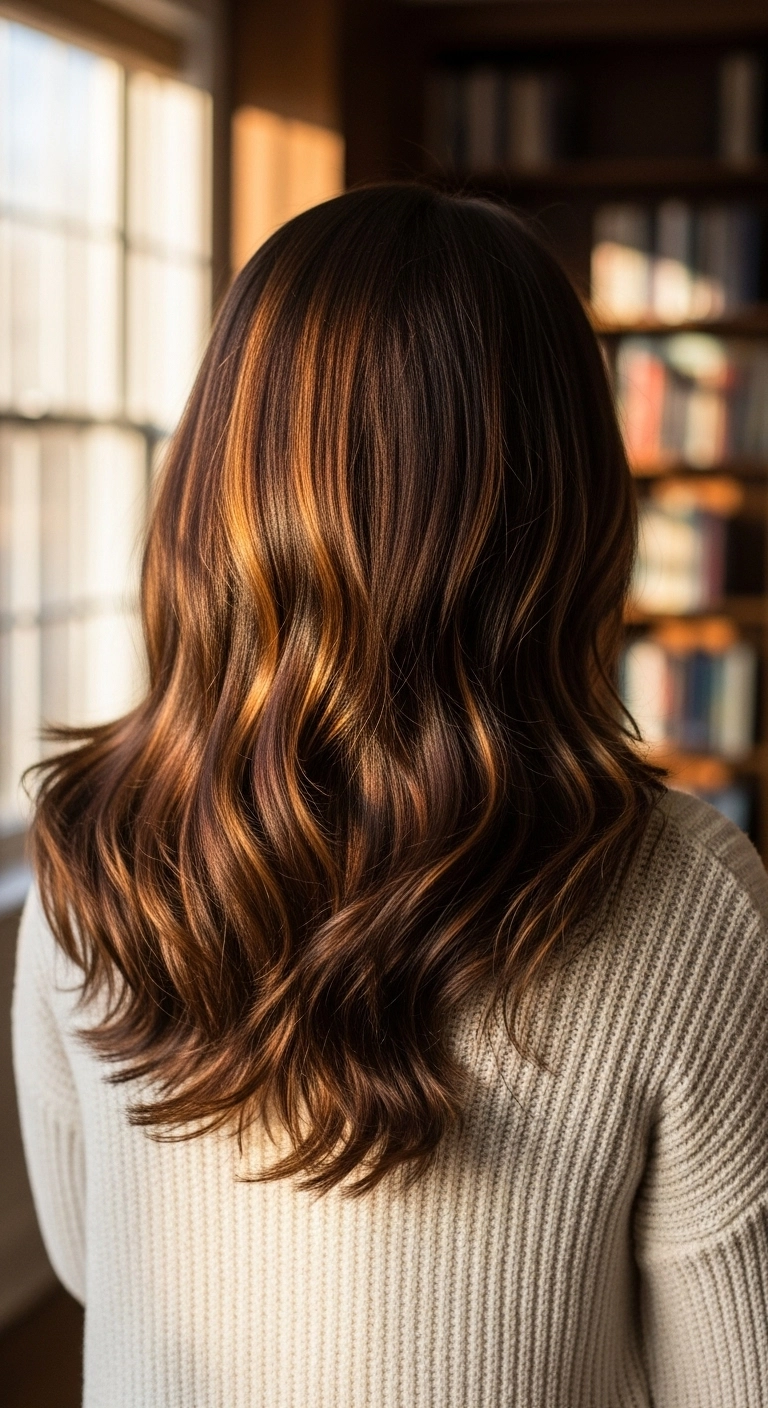
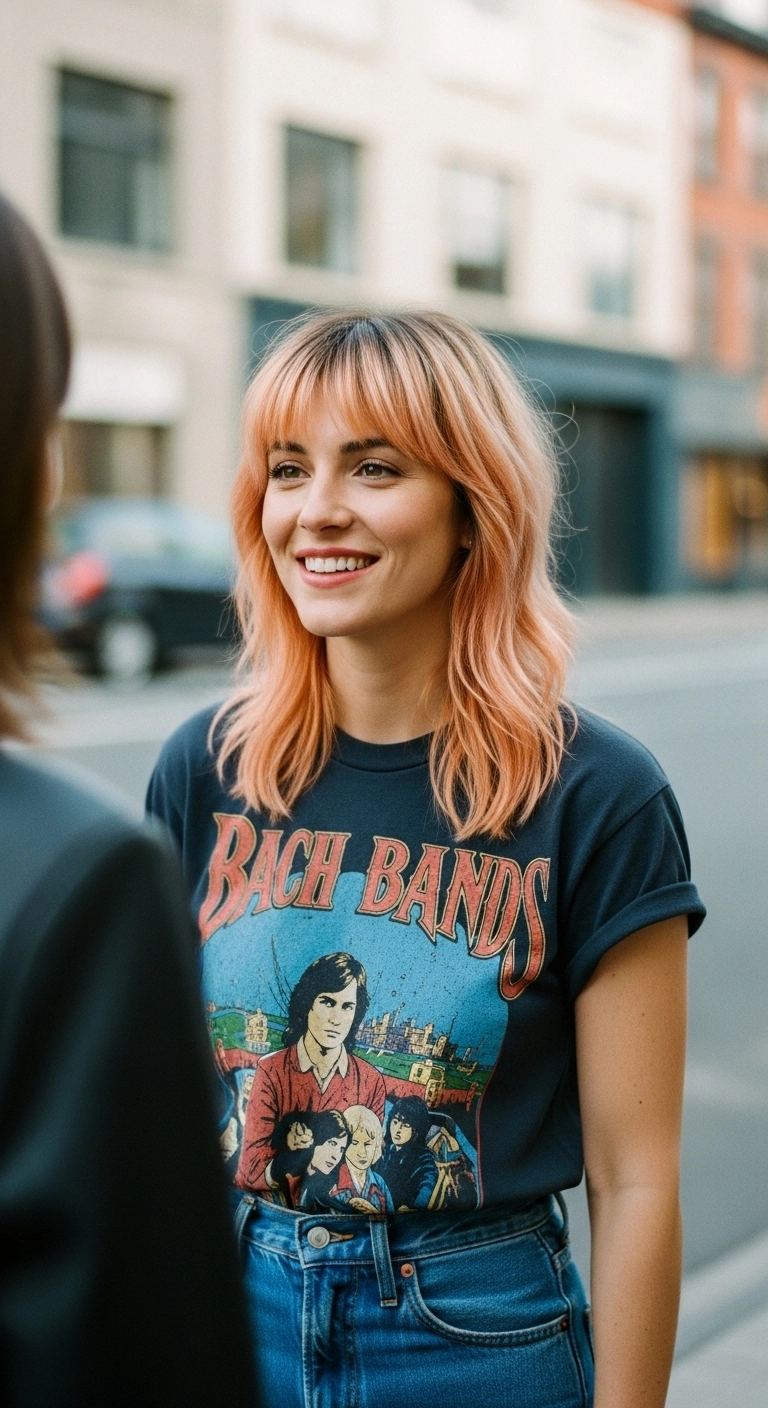
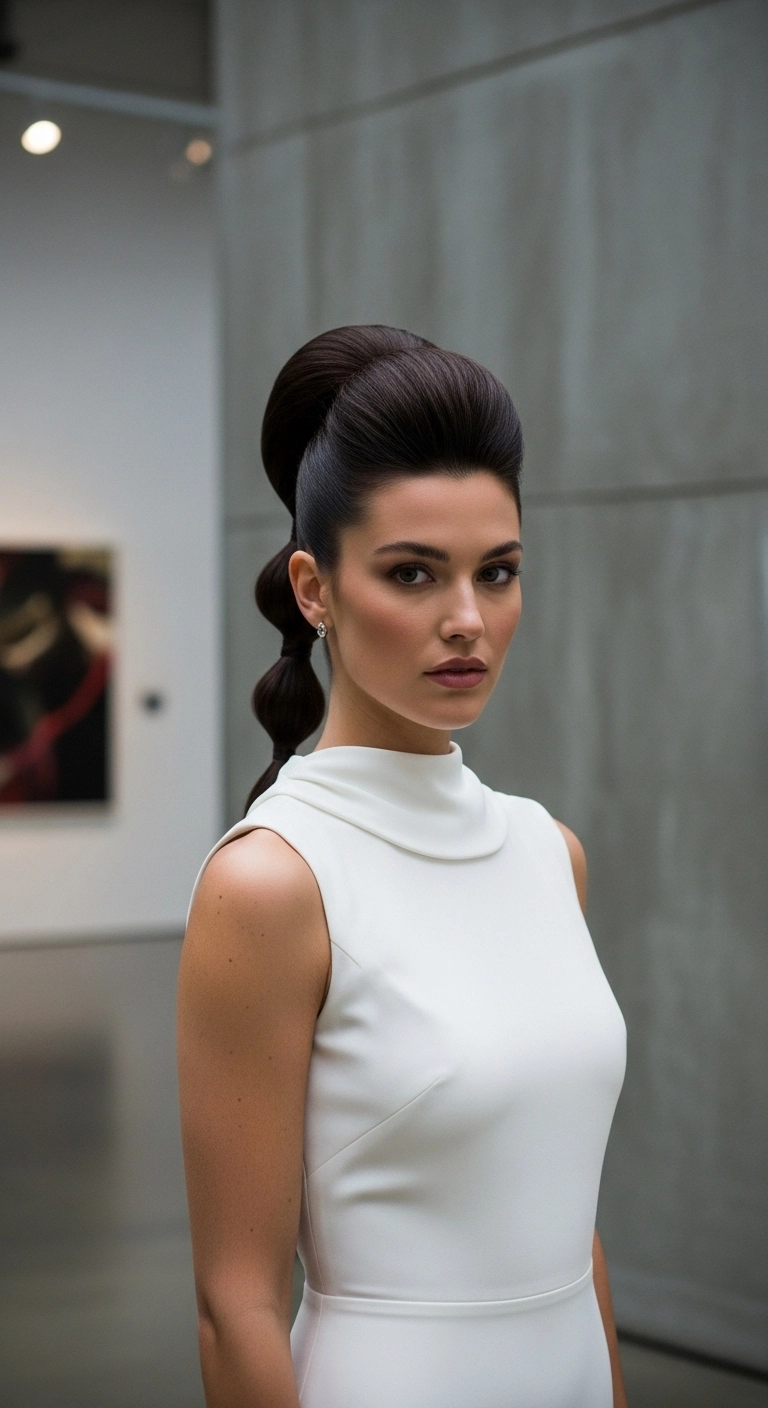
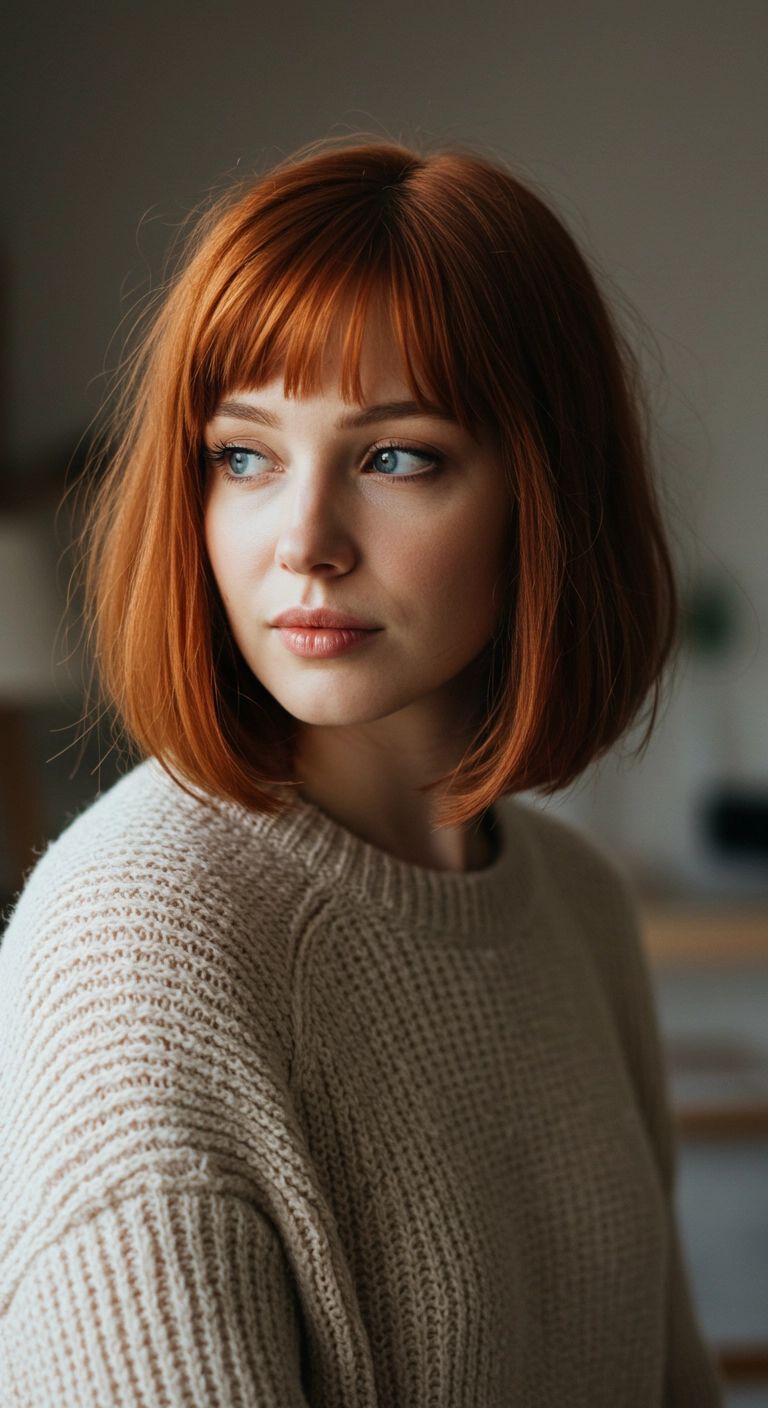
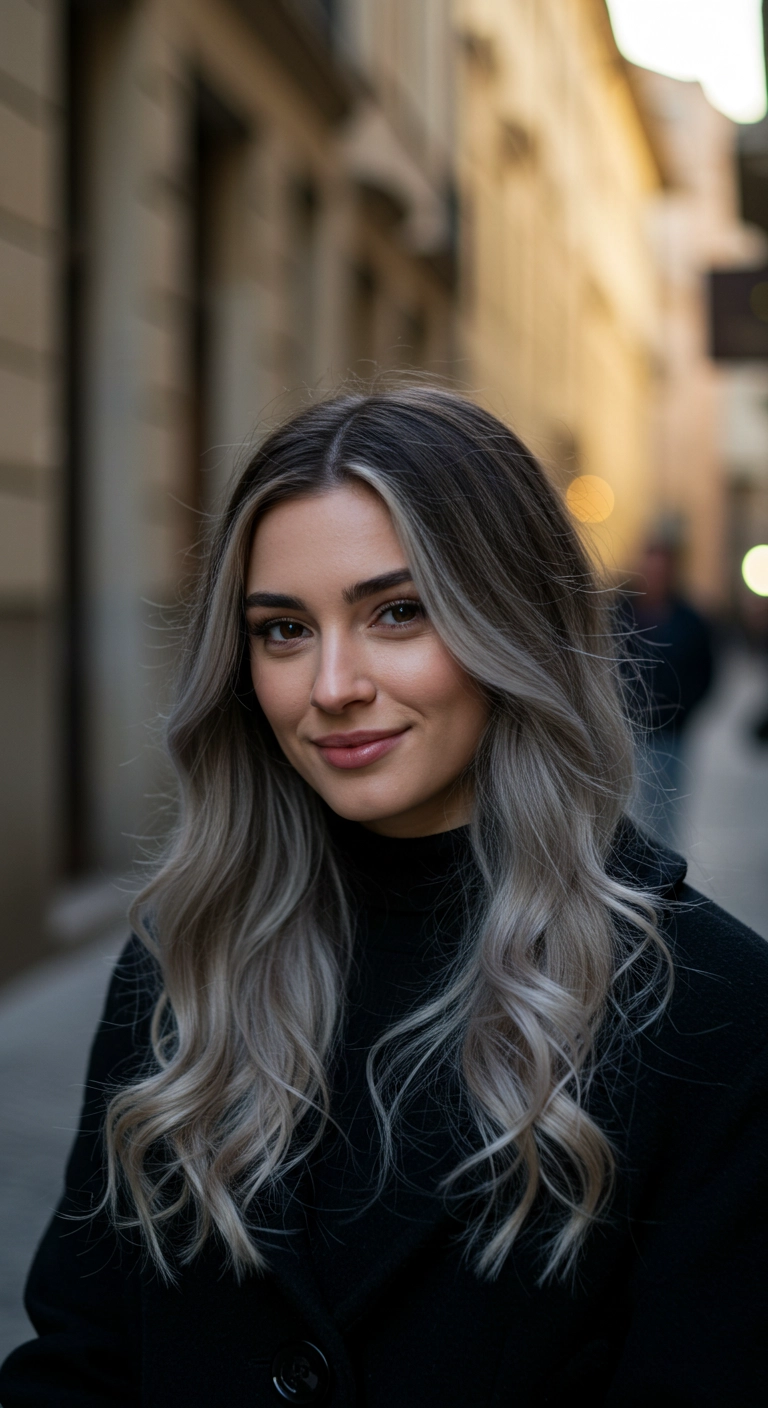
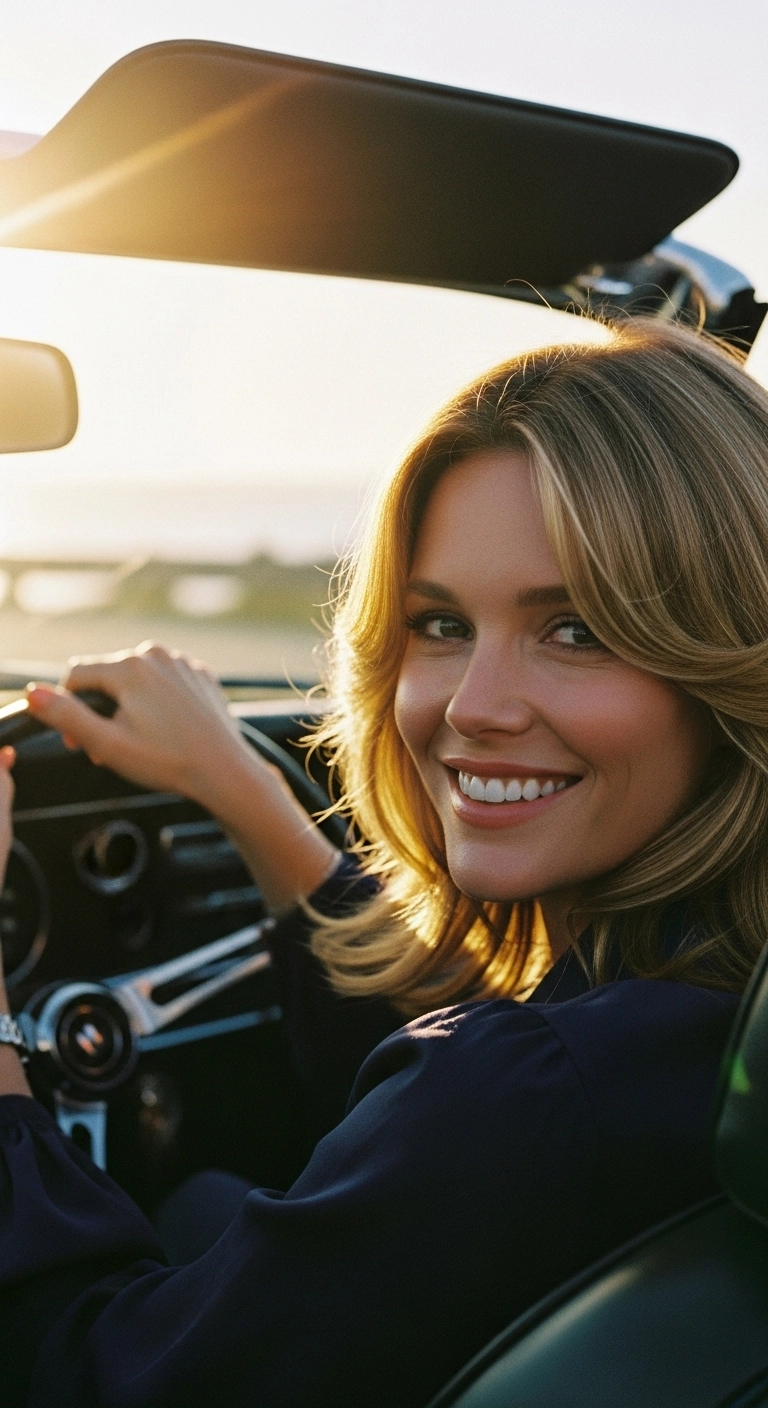
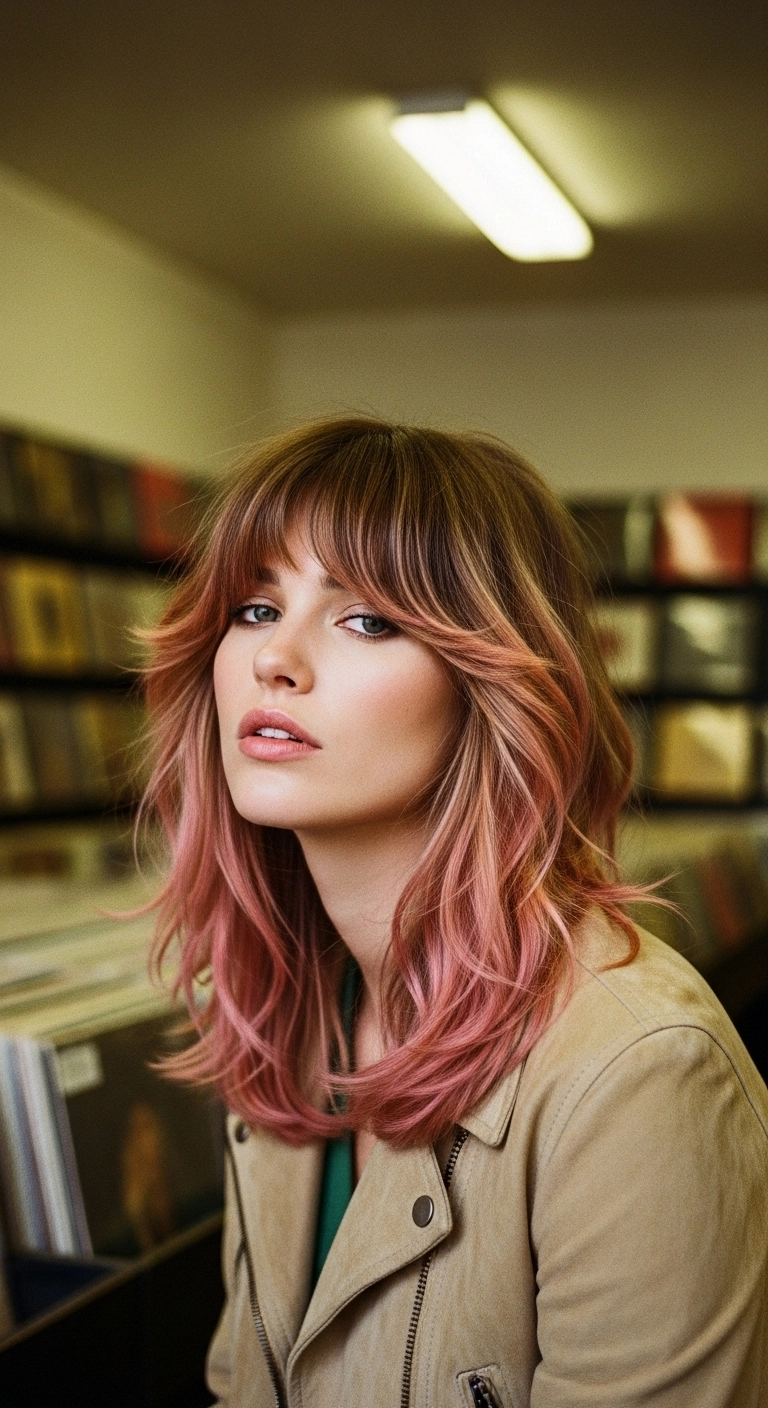
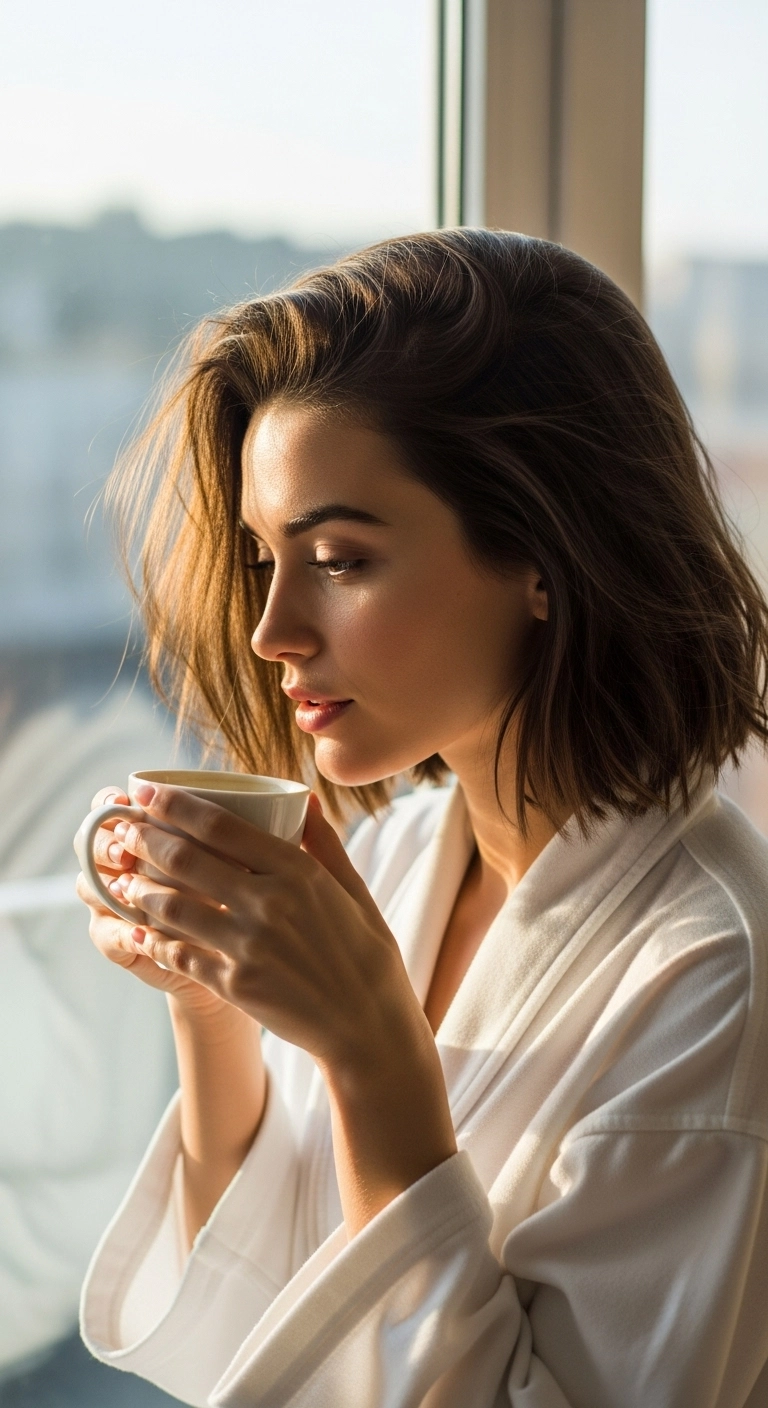
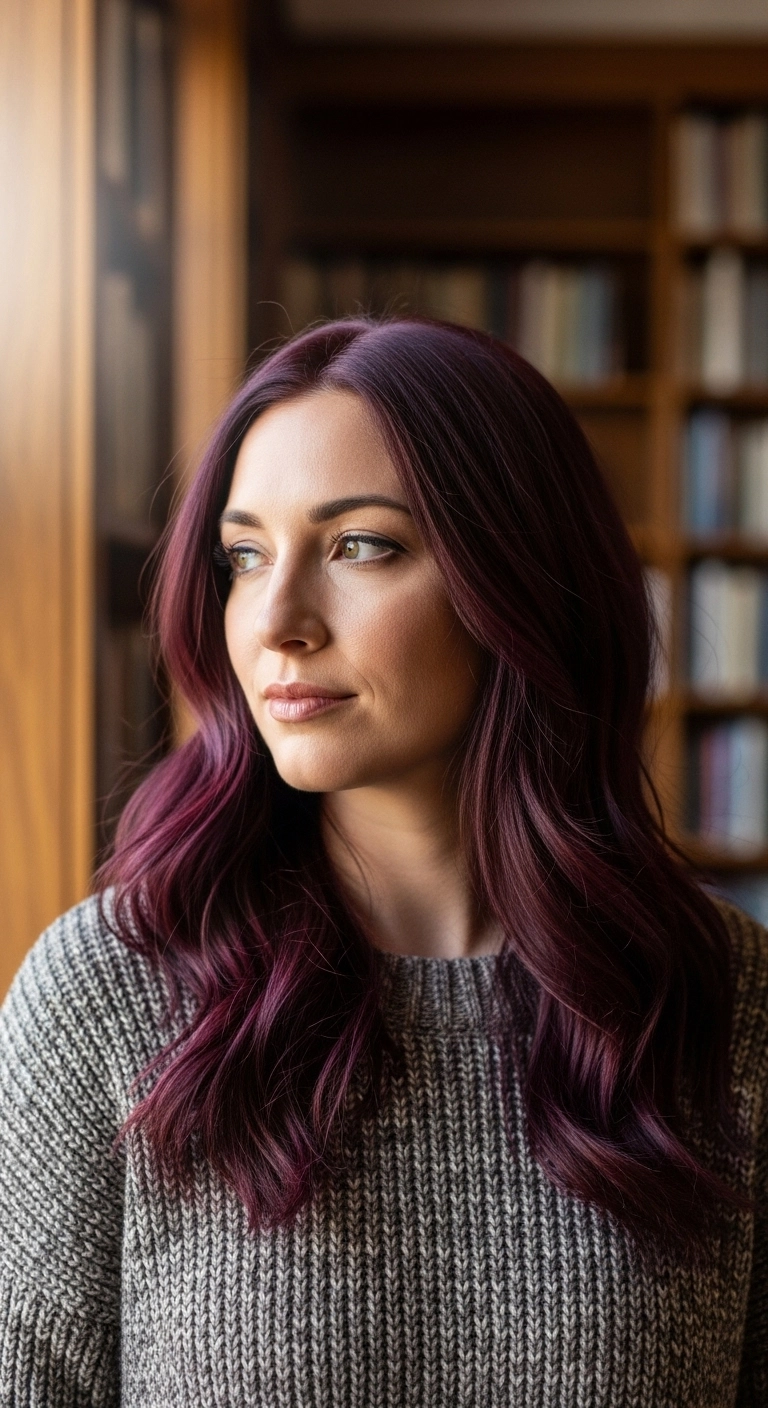
I’m absolutely in love with this wavy lob because it brings that breezy, effortless vacation energy while still feeling so put together. The warm honey balayage gives short and mid-length hair so much dimension and bounce without demanding constant root touch-ups. It’s perfect for everything from sunny seaside days to dressed-up date nights. Definitely give this chic cut a try, it’s super flattering and so easy to style!
How to do this
1. Start on freshly washed, damp hair and prep from roots to ends using the lightweight volumizing mousse listed below.
2. Mist hair with the thermal heat protectant spray listed below to shield your strands before styling.
3. Blow-dry using a medium round ceramic brush, lifting at the crown to build body and softly rounding the ends outward.
4. Take 1.5-inch vertical sections and wrap them loosely around the 1.25-inch curling wand listed below, curling away from your face and leaving the last inch of the ends out for a modern, relaxed finish.
5. Allow the waves to cool down completely, then rake through them gently using the wide-tooth comb listed below to soften the curl pattern into fluid S-waves.
6. Spritz a generous amount of the dry texturizing spray listed below through mid-lengths and ends to add airy movement and separation.
7. Finish the look by smoothing a pea-sized drop of the nourishing hair serum listed below onto the lighter tips for instant shine and frizz control.
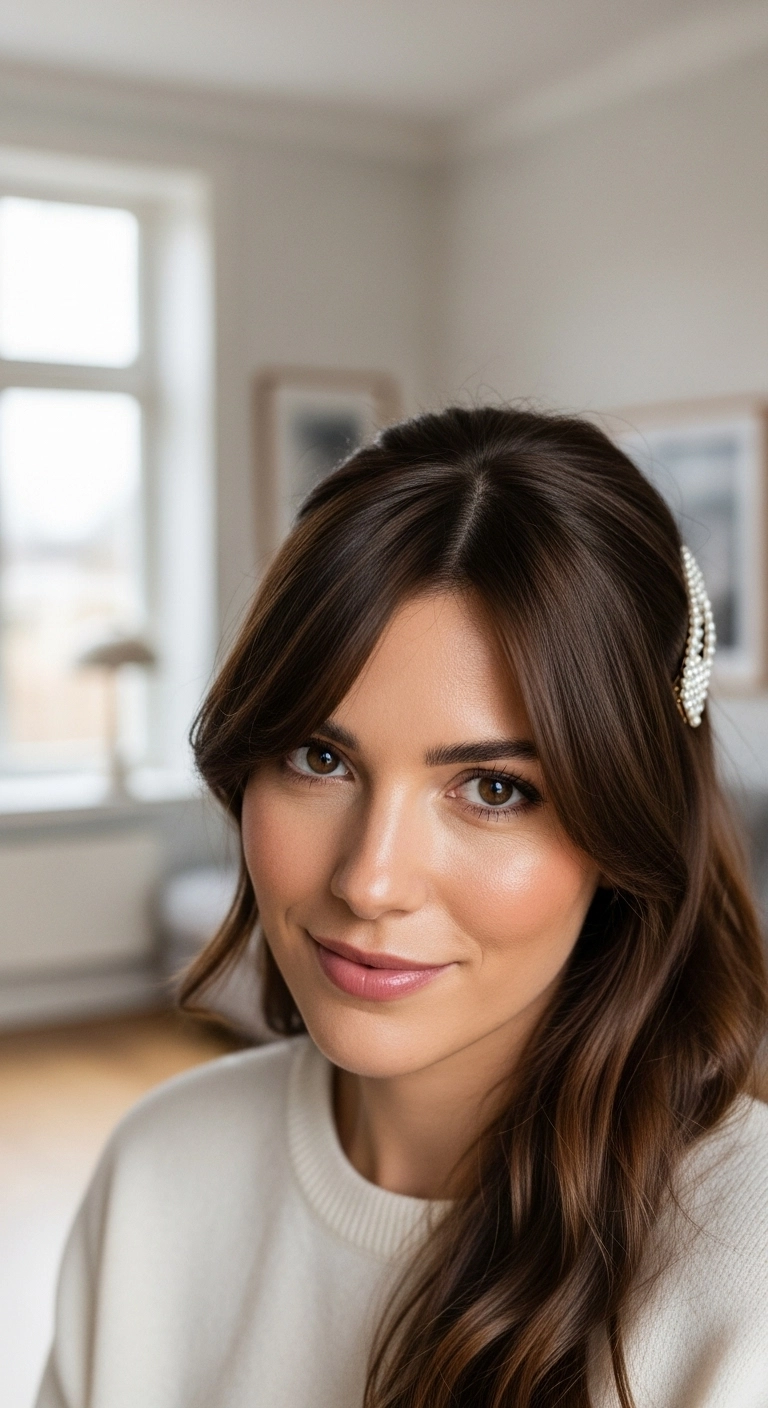
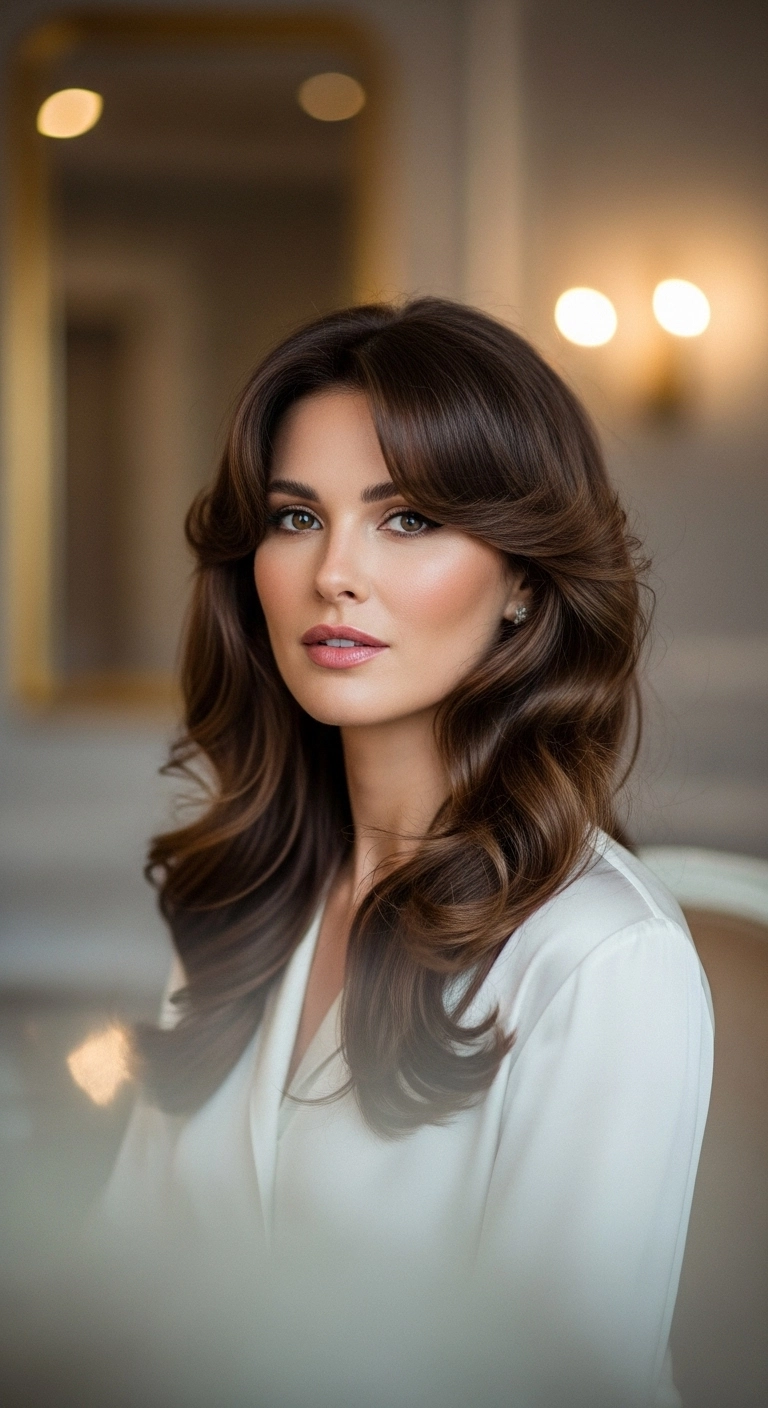
This is a go-to hairstyle if you want to elevate a casual blowout into something romantic in under two minutes. You get all the pretty face-framing softness of curtain bangs while keeping your hair neatly out of your face with a pearl slide accent.
How to do this
1. Start by prepping clean, damp hair with a small amount of the lightweight heat protectant cream listed below from mid-lengths to ends.
2. Blow dry hair using the ceramic round blowout brush listed below, lifting at the roots to build natural volume and creating smooth, outward sweeps at the ends.
3. Create a clean, sharp center part using the fine-tooth rat tail comb listed below.
4. Take sections of the curtain fringe and wrap them away from the face using the 1.25 inch curling iron barrel listed below to get that soft, feathered bend around the cheekbones.
5. Smooth down flyaways and tuck one side behind the ear, securing it firmly with the pearl slide hair clips listed below right above the ear level.
6. Mist lightly with the flexible hold finishing hairspray listed below to lock in the soft shape and shine without any stiffness.
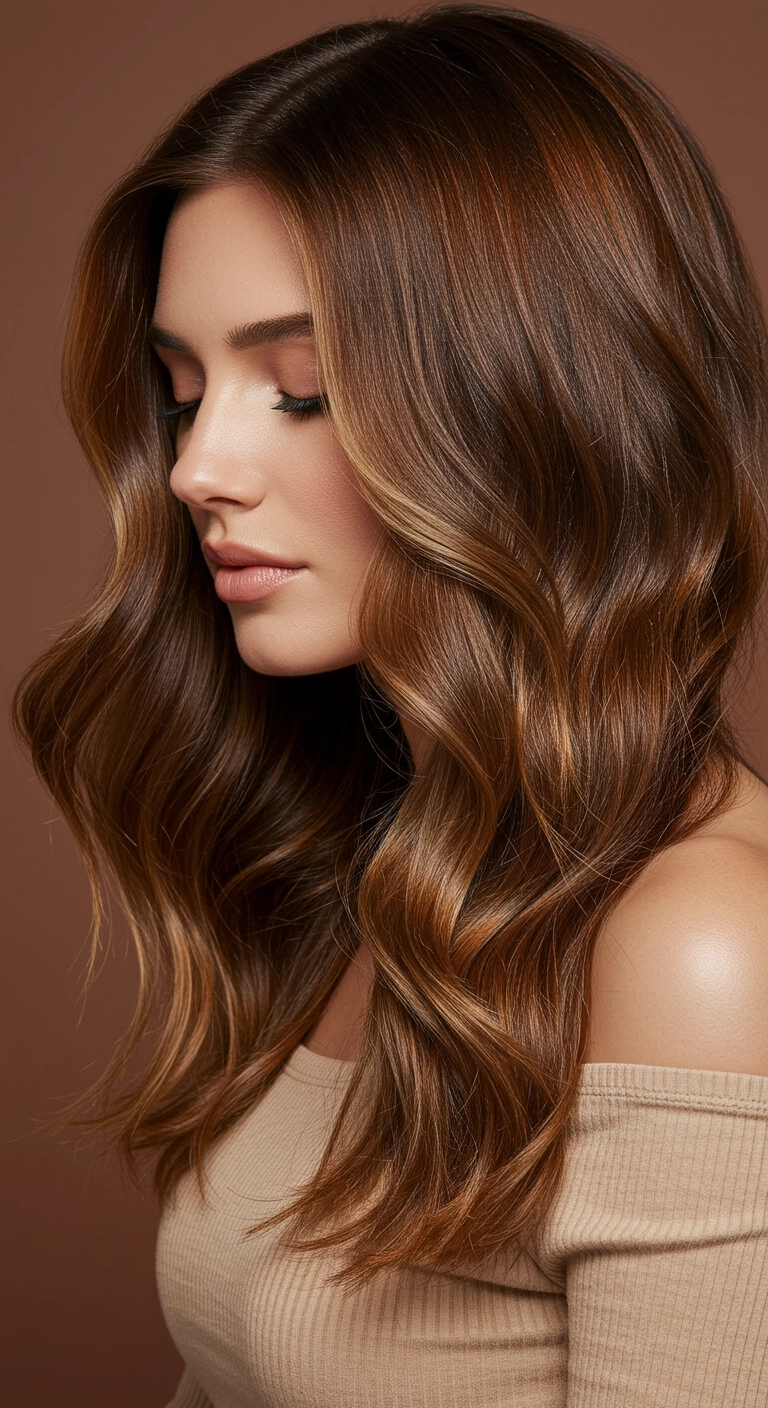
I love this rich chocolate blowout look!! The warm caramel ribbons give so much dimension without looking stripey, and the loose waves make the hair look insanely healthy and full. It’s perfect if you want to brighten up dark hair for an effortless, polished everyday style.
How to do this
1. Start by washing and conditioning your hair, prepping with the heat protectant spray listed below while it's still damp.
2. Apply a dollop of volumizing blow-dry mousse to your roots and mid-lengths to give lasting bounce.
3. Section your hair and blow dry smoothly using the large ceramic round brush listed below, curling the ends under for a soft curve.
4. Once dry, take 1.5 to 2-inch vertical sections and wrap them loosely around the 1.25-inch curling iron listed below, leaving the ends slightly straight for an effortless vibe.
5. Direct the front face-framing pieces away from your face to open up your features.
6. Let the curls cool completely, then gently brush them out using the wide-tooth comb listed below.
7. Finish by warming a couple drops of the smoothing hair serum listed below between your palms and smoothing it down the lengths for high-shine gloss and frizz control.
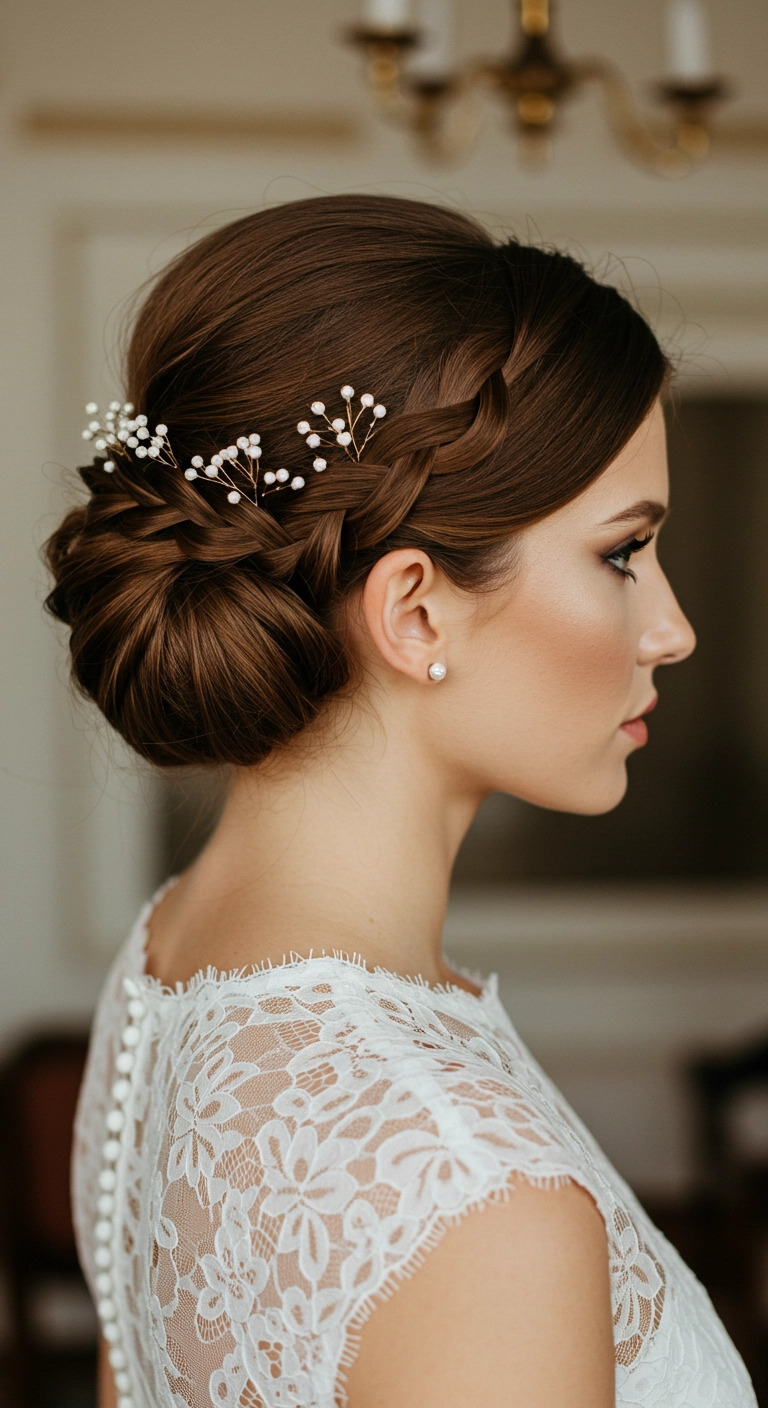
A classic bridal updo never goes out of style. Combining a polished side Dutch braid with a sleek low chignon creates the perfect balance of modern romance and timeless elegance. Tucking in delicate pearl pins adds that dreamy, fairy-tale touch while keeping every strand neatly in place from the ceremony all the way through the reception!
How to do this
1. Start by prepping clean, dry hair with a smoothing serum and blow-drying with a round brush to achieve a sleek, frizz-free base.
2. Section out a front side panel along the hairline from a deep side part down to behind the ear.
3. Begin creating an inside-out Dutch braid or inverted French braid along the hairline using the sectioned hair, directing it backwards toward the nape of the neck.
4. Gather the remaining back sections of hair at the nape into a low ponytail, gently backcombing the base using a teasing comb to create support and volume.
5. Roll and tuck the ponytail upward into a smooth, voluminous chignon bun, anchoring it securely against the nape with sturdy bobby pins.
6. Take the tail of the side braid, drape it delicately over the top edge of the chignon, and pin it underneath to conceal the ends seamlessly.
7. Gently insert delicate bridal pearl hair pins or a flexible wire vine along the top curve of the braid, and finish by misting all over with a strong-hold finishing hairspray to lock flyaways in place all day.
This hairstyle is what I like to call the effortless French-girl lob. You start with a rich, glossy chocolate base cut right to the collarbone with soft, piecey bangs dusting the brow. Simply blow out the fringe smooth, wrap loose S-waves through the mid-lengths, and shake it all out with a little texturizing spray for that perfectly undone finish.
How to do this
1. Start by prepping damp hair with a lightweight smoothing serum and thermal protection using the heat protectant spray listed below to shield strands from hot styling tools.
2. Blow dry the bangs first with a small ceramic round brush using the round boar bristle brush listed below, sweeping downwards and slightly under with low tension to create an airy, piecey shape.
3. Blow dry the rest of the hair smooth, lifting at the roots to maintain natural body and movement.
4. Take vertical 1.5-inch sections of hair and use a 1.25-inch curling iron to add relaxed S-bends through the mid-lengths, making sure to leave the last inch of the ends straight for that chic, undone finish.
5. Mist a cloud of the texturizing spray listed below through the lengths and gently rake through with your fingers to break up the waves into a lived-in texture.
6. Finish by separating the wispy fringe with a touch of the styling hair paste listed below on your fingertips and lock everything in place with the flexible hold hairspray listed below.
French-girl hair will always be an absolute mood. The combination of face-framing curtain bangs with soft, lived-in layers gives you that effortlessly chic look without ever trying too hard. If you want your bangs to sit just right like this, always style them while they're still soaking wet with a small round brush!
How to do this
1. Start on freshly washed, damp hair and prep with a lightweight heat protectant spray listed below to shield your hair and add smooth shine.
2. Blow-dry the bangs first using the small ceramic round brush listed below, rolling them downward and slightly outward to give them that airy, parted curtain shape.
3. Section off the rest of your hair and blow-dry using a large round brush, lifting at the roots for volume and beveling the ends softly.
4. Take mid-sized sections through the mid-lengths and create loose, gentle bends using the 1.5-inch curling iron listed below, leaving the very ends somewhat soft and uncurled.
5. Mist a bit of the dry texturizing spray listed below through the roots and mid-lengths to create effortless separation and lived-in body.
6. Finish by lightly sweeping your fingers through the lengths with a drop of smoothing hair serum listed below to tame flyaways and enhance glossy shine.
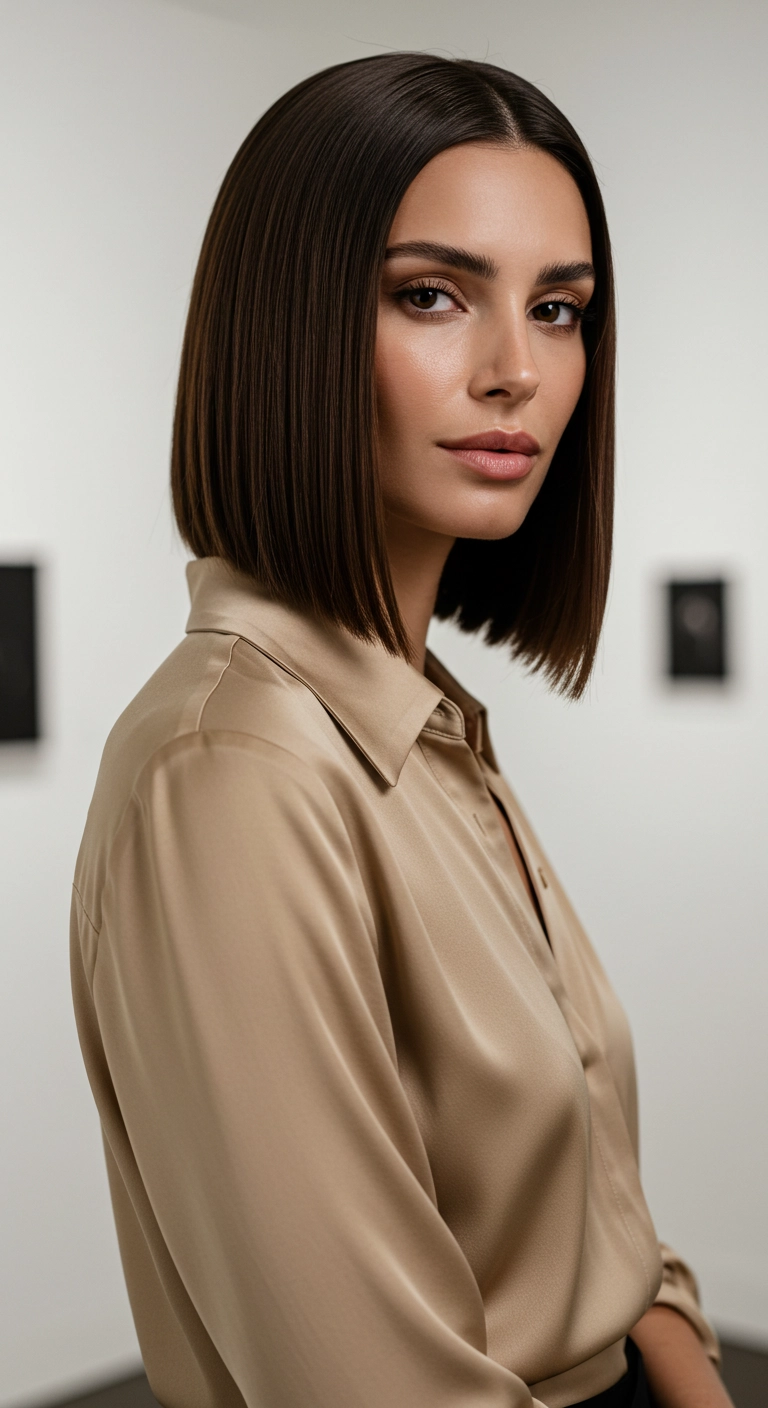
If you're looking for a cut that screams effortless sophistication, this is the one! A sharp, center-parted blunt bob always delivers that ultra-chic 'clean girl' aesthetic. The liquid glass finish and rich chocolate tone give it so much high-end polish—it's pure perfection.
How to do this
1. Start with clean, damp hair and apply a smoothing blow-dry lotion alongside the heat protectant spray listed below to shield strands and eliminate frizz.
2. Create a clean, perfectly centered part using a fine-tooth tail comb, making sure the line runs straight from the hairline back to the crown.
3. Blow-dry the hair in horizontal sections using a flat paddle brush or a large ceramic round brush, aiming the airflow downward from roots to ends for maximum sleekness.
4. Clip hair up and work in very thin, one-inch horizontal subsections from the nape upward, passing over each section with a ceramic flat iron listed below at a steady, controlled pace.
5. Keep the flat iron straight down through the ends without beveling or curving under to maintain that sharp, modern blunt perimeter.
6. Finish by warming a few drops of the lightweight shine hair serum listed below between your palms and smoothing gently over the surface to achieve that high-gloss glass hair look.
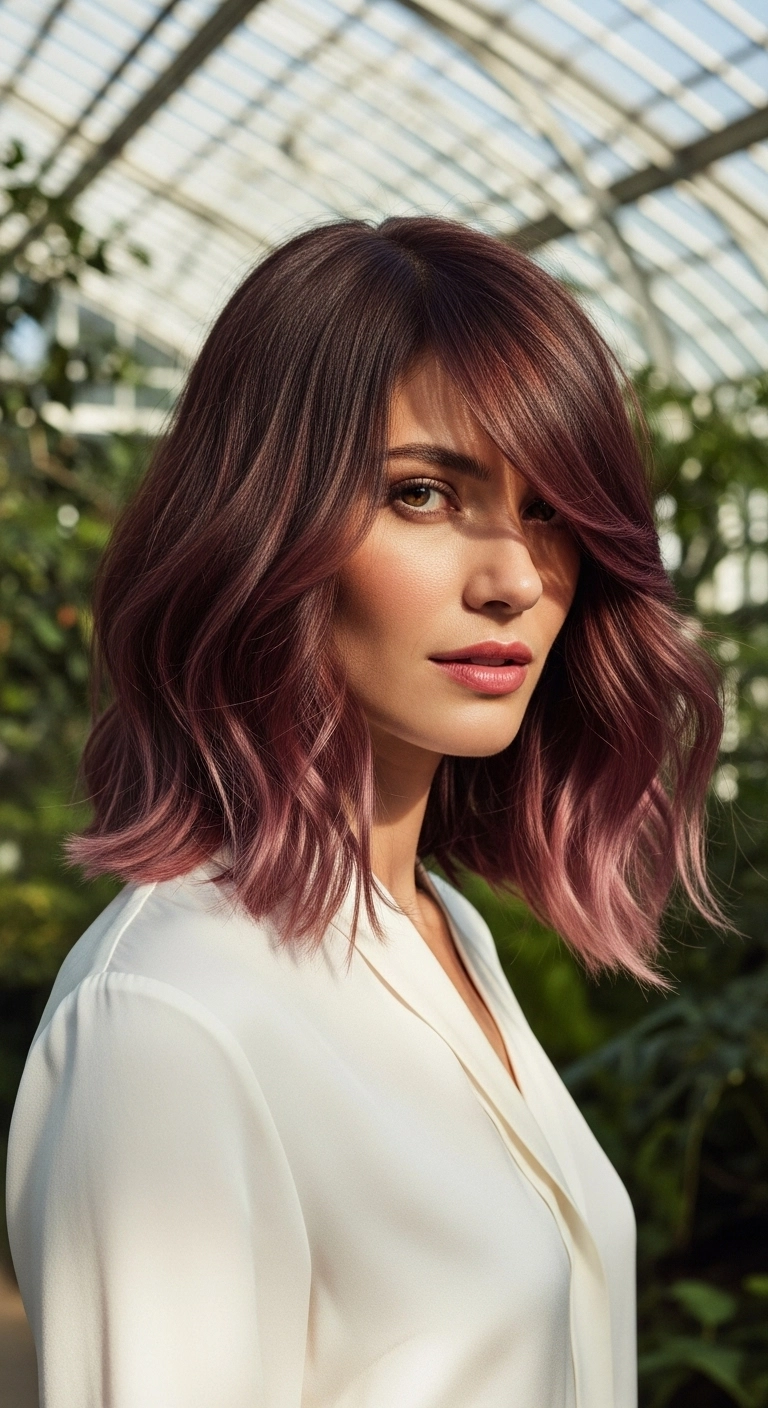
If you're looking for that effortless yet totally dreamy color shift, this dusty rose balayage lob is everything! We kept the roots deep and grounded with a rich chocolate base, then melted it right into muted mauve tones that catch the light so beautifully.
How to do this
1. Start by prepping freshly washed, damp hair with a small amount of heat protectant serum listed below to keep your color vibrant and prevent heat stress.
2. Apply a dollop of lightweight volumizing mousse to the roots and lengths, then blow-dry using the ceramic round brush listed below, lifting at the crown for smooth body and rounding the front fringe away from the face.
3. Once fully dry, part hair deeply on the side to establish that sweeping side fringe.
4. Take 1.5 to 2-inch vertical sections of hair and wrap them around the 1.25-inch curling iron listed below, leaving the last half-inch of ends out to maintain a modern, relaxed lob shape.
5. Gently mist with the flexible hold hairspray listed below, then allow the curls to completely cool for a few minutes.
6. Break up the waves using your fingers and lightly rake through with a drop of hair shine oil listed below to give that polished, dusty mauve glow.
Are you as obsessed with bouncy, voluminous waves as I am? I just had to share this gorgeous chocolate brown wavy lob because it truly delivers that effortless, romantic everyday vibe! The deep side part combined with collarbone-grazing layers gives thick hair so much lightweight movement without feeling weighed down. Whether you're heading to the office or cozying up for a cute coffee date, this easy styling routine will make you feel effortlessly put-together every single time.
How to do this
1. Start with clean, damp hair and apply a dollop of the volumizing mousse listed below from roots to ends to build body and hold.
2. Mist your strands thoroughly with the heat protectant spray listed below to shield your hair before blow-drying.
3. Blow-dry using the round ceramic blow dryer brush listed below, lifting upward at the crown and over-directing to create tons of root volume, flipping your part deeply to one side.
4. Once completely dry, take 1.5-inch vertical sections and wrap them loosely around the 1.25 inch curling iron barrel listed below, curling away from the face.
5. Allow the curls to cool completely so they set properly.
6. Gently rake through the curls with your fingers to soften them into luscious, bouncy waves.
7. Spray the dry texturizing spray listed below through the roots and mid-lengths, then finish with a light veil of flexible hold hairspray to keep the bounce all day.
The sharp chin-length bob is having such a huge moment right now! I love how tucking one side behind the ear instantly elevates this classic cut into something effortlessly modern and chic. It's super polished, ultra-glossy, and gives that instant 'clean girl' energy without feeling over-the-top.
How to do this
1. Start with clean, damp hair and apply a smoothing blowout cream like the heat protectant and styling cream listed below to shield strands and minimize flyaways.
2. Establish a precise, deep side part while wet using the fine-tooth tail comb listed below, aligning it roughly above the arch of your eyebrow.
3. Blow-dry in sections with a medium ionic ceramic round brush listed below, turning the ends slightly under toward the chin for that crisp, beveled perimeter.
4. For ultra-sleek glass hair perfection, pass a ceramic flat iron quickly down small vertical sections from roots to tips.
5. Tuck the side with less hair snugly behind your ear, and lock in the glass-like shine with a mist of the lightweight anti-humidity shine spray listed below.
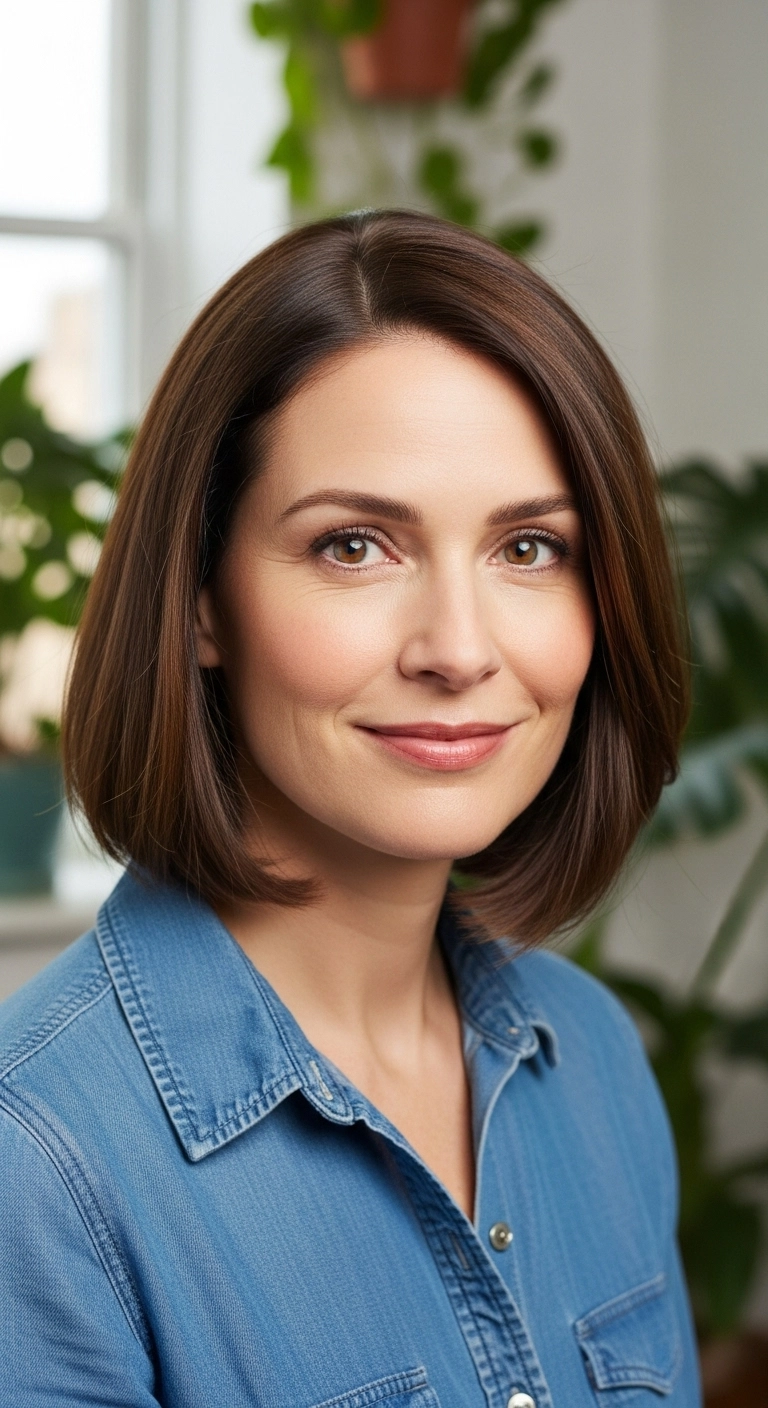
The sleek chin-length bob with a deep side part. Pure elegance! I love how effortlessly polished and razor-sharp this cut looks, perfectly framing the jawline and giving off that chic, high-fashion vibe. It’s the ultimate statement look for date night or any event where you want to turn heads with minimum fuss.
How to do this
1. Start by prepping freshly washed, damp hair with the lightweight heat protectant smoothing spray listed below to shield strands and seal in moisture.
2. Create a clean, defined deep side part using the tail comb listed below, lining it up with the arch of your eyebrow.
3. Apply a small amount of the blowout smoothing cream listed below from mid-lengths to ends to eliminate frizz and add a sleek shine.
4. Blow dry the hair in small, horizontal sections using the ceramic round brush listed below, turning the ends slightly inward under the chin to create that smooth, curved bob silhouette.
5. For a glass-like finish, pass the ceramic flat iron listed below through one-inch sections, gently turning the iron inward at the tips.
6. Finish the look by misting a light coat of the anti-humidity shine spray listed below across the entire surface to lock the sleek shape in place all evening.
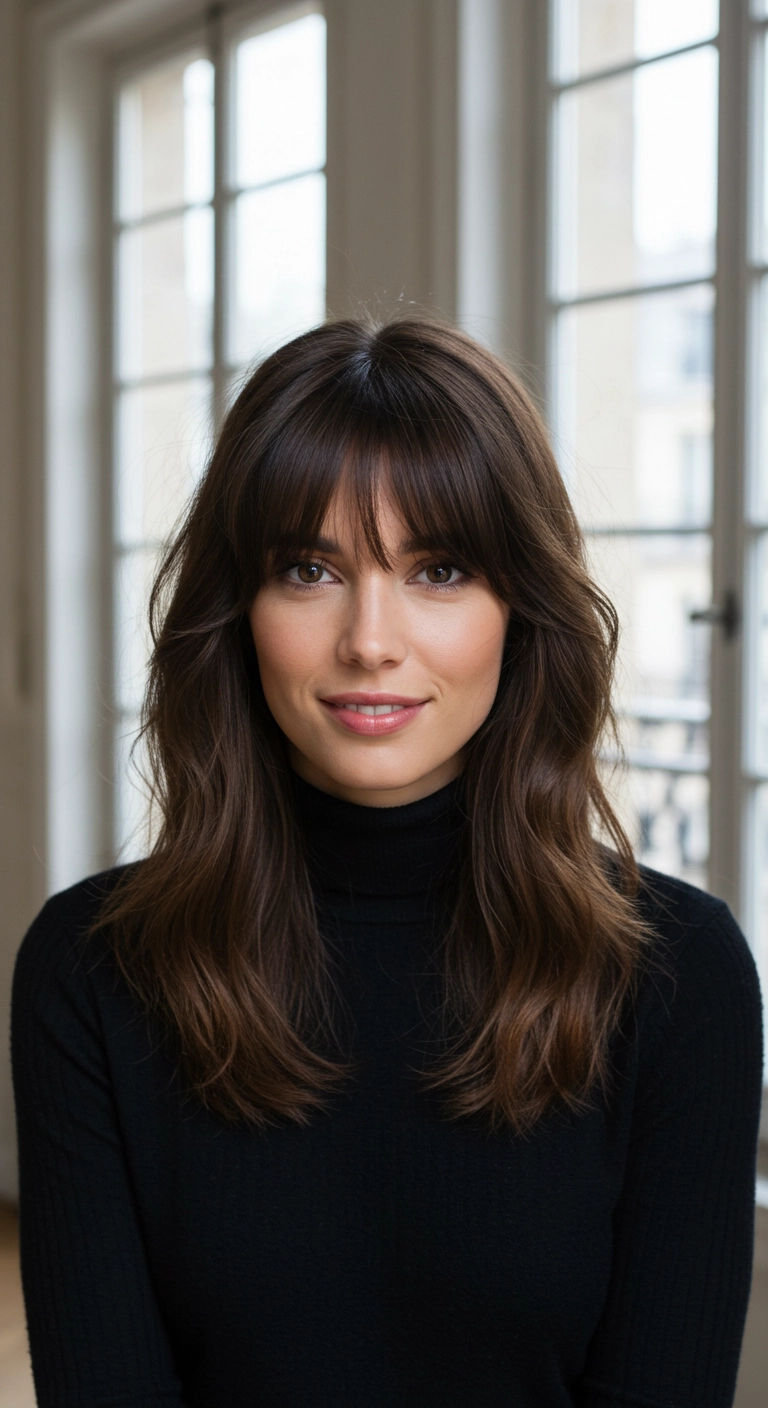
This hairstyle is what I like to call the ultimate Parisian cool-girl blowout. You start with long, soft layers and a softly parted bottleneck fringe that effortlessly hugs your cheekbones. The subtle warm caramel balayage gives dimension without ever looking over-styled, making it the perfect low-fuss everyday look.
How to do this
1. Start with clean, damp hair and apply a small dollop of the lightweight blowout smoothing cream listed below from mid-lengths to ends.
2. Mist your strands evenly using the heat protectant spray listed below to shield your hair during hot styling.
3. Section out the bottleneck bangs and blow-dry them forward and under using the medium ceramic round brush listed below, then sweep them outward toward each temple to create that effortless curtain bend.
4. Rough-dry the rest of your hair until it's about 80% dry, then use the round brush to smooth through the mid-lengths, rolling the ends lightly under and away from the face for soft movement.
5. For effortless undone bends, wrap random 2-inch sections around the 1.25-inch curling iron listed below for just 3–4 seconds, leaving the very ends straight.
6. Shake through the waves with your fingers and spritz the dry texturizing spray listed below through the roots and mid-lengths to achieve that Parisian lived-in separation.
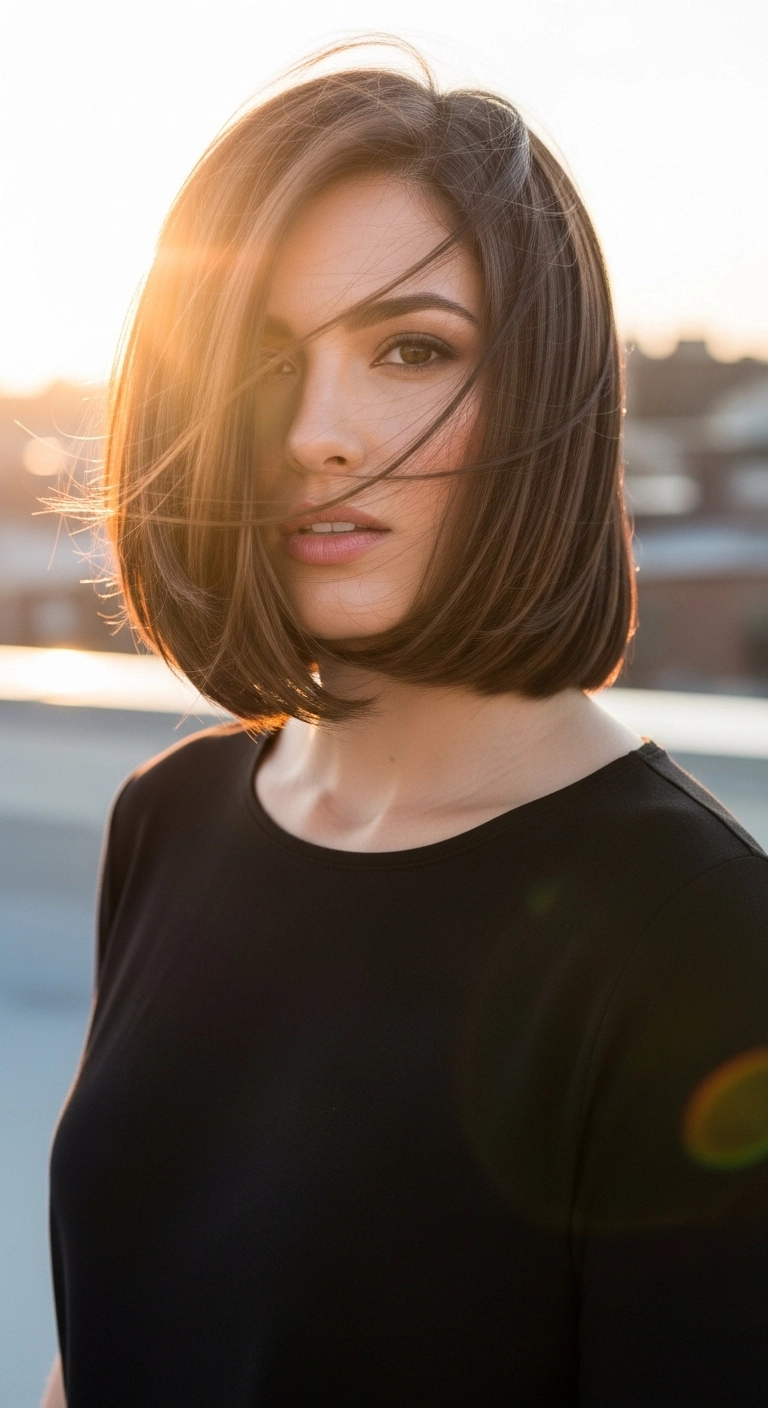
Are you as obsessed with effortless, breezy bobs as I am? I just had to share this gorgeous textured bob because it's practically the definition of chic and low-fuss! The subtle warm caramel highlights add so much dimension to a deep chocolate base, especially when the golden sun hits it. You can wear it straight for a sleek everyday office look, or bend in these soft, relaxed waves for an effortless weekend vibe. It’s super flattering and easy to style—definitely your sign to finally go for the chop!
How to do this
1. Start with towel-dried, clean hair and apply a dollop of lightweight volumizing mousse to the roots for lift and movement.
2. Mist your strands thoroughly using the heat protectant spray listed below to guard against thermal styling damage.
3. Blow-dry using a medium ceramic round brush, focusing on lifting at the roots and creating a soft side-parted sweep in the front.
4. Take 1- to 1.5-inch vertical sections of hair and curl them using the 1.25-inch curling iron listed below, leaving the last inch of the ends straight for that relaxed, modern vibe.
5. Alternate the curl direction around the head, but curl the pieces framing your face away from the cheeks.
6. Once the curls have completely cooled down, gently rake through them with your fingers to break up the spirals into soft S-waves.
7. Shake up and mist the dry texturizing spray listed below all through the mid-lengths and roots to add lived-in separation, grit, and airy volume.
8. Finish the look with a light mist of the flexible hold hairspray listed below to keep the waves bouncy throughout the day.
Are you dreaming of that effortless Parisian cool-girl hair? A soft, textured lob paired with curtain bangs is the ultimate chic solution. It frames your cheekbones perfectly, adds effortless body, and looks effortlessly put together whether you're grabbing coffee or rushing out the door. Who doesn’t want that?
How to do this
1. Start with towel-dried hair and apply a quarter-sized amount of the lightweight heat protectant cream listed below from mid-lengths to ends.
2. Blow-dry the bangs forward with a small round brush, then roll them up in the medium velcro roller listed below to set that perfect curved curtain shape while they cool.
3. Rough-dry the remaining hair until it's about 80% dry, then smooth through the lengths using a medium ceramic round brush listed below to create volume and a soft bend.
4. Take random 1.5-inch sections and wrap them loosely around the 1.25-inch curling wand listed below for just 4-5 seconds, leaving the very ends straight for that relaxed, effortless wave.
5. Gently remove the roller from your bangs, shake your head upside down, and mist everything with the dry texturizing spray listed below to add soft separation and French-girl volume.
The effortless wavy lob. Such a timeless look! I love how this cut sits right around the collarbone with soft, piecey bends and that gorgeous, natural root lift. It's the ultimate low-maintenance hairstyle that transitions effortlessly from the office to a casual dinner date.
How to do this
1. Start by prepping damp, towel-dried hair with a lightweight styling mousse or the volumizing root boost spray listed below to add lift and texture.
2. Blow-dry using a medium round ceramic brush, lifting the hair straight up at the crown and off to one side to create an effortless, voluminous side swoop.
3. Once fully dry, mist the strands lightly with the thermal heat protectant spray listed below to protect the hair from curling heat.
4. Take random 1- to 2-inch vertical sections and wrap them loosely around a 1.25-inch curling iron barrel, leaving the last inch of the ends out for an undone, lived-in feel.
5. Alternate the curl direction around the head, curling away from the face near the front to open up the cheekbones.
6. Allow the curls to completely cool, then gently rake through with your fingers or a wide-tooth comb to loosen them into soft S-waves.
7. Finish by spritzing the dry texturizing spray listed below through the mid-lengths and flipping your hair to one side for that perfectly tousled, voluminous finish.
I adore this classic collarbone lob with soft, flowing waves! It brings so much effortless elegance and volume, especially with that sweeping side part. It's chic enough for the office yet super glamorous for a dinner date!
How to do this
1. Start by prepping damp hair with a lightweight blow-dry primer using the heat protectant spray listed below to shield your hair and add a natural sheen.
2. Section your hair horizontally and use a large ceramic round brush to blow-dry upwards and away from the face, building volume right from the roots.
3. Once fully dry, take a 1.25-inch curling iron and wrap medium-sized vertical sections away from your face to create soft, undulating S-waves.
4. Let the waves completely cool down, then gently rake through them using a wide-tooth comb or your fingers to break up the pattern into seamless, bouncy ripples.
5. Sweep the front fringe section across your forehead into a deep side-part, securing any flyaways with a light mist of the flexible hold hairspray listed below.
6. Finish by smoothing a tiny droplet of the nourishing hair serum listed below through the ends to achieve that ultra-glossy, polished finish.
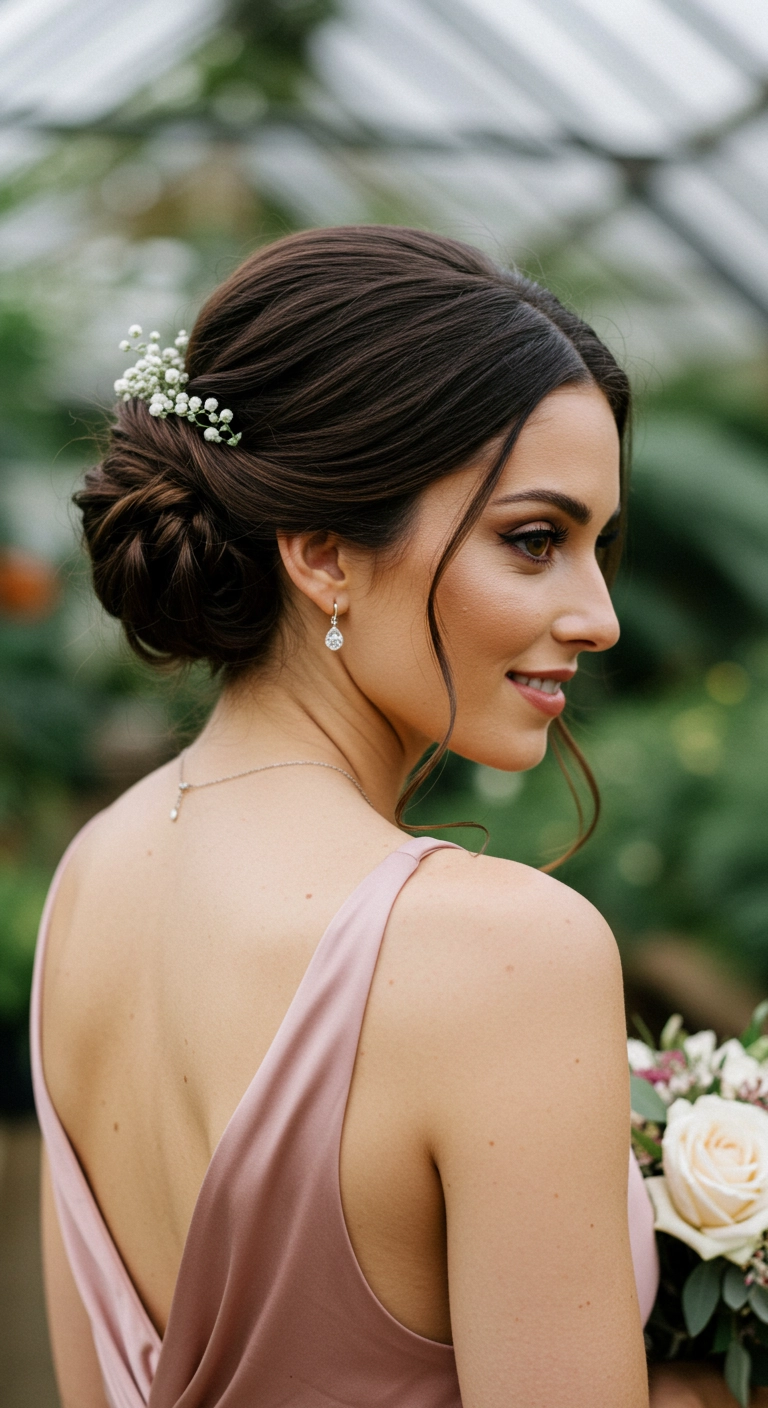
I think a classic low chignon is always one of the most timeless updos you can wear for a wedding or formal event. The secret to keeping it modern rather than stiff is leaving a few soft, wavy tendrils out around your face and lightly pulling at the bun for lived-in texture. Adding tiny sprigs of baby's breath right into the side gives it such a sweet, ethereal romantic vibe!
How to do this
1. Prep dry, clean hair with a light mist of the heat protectant spray listed below, then use a 1.25-inch curling iron to add loose, soft bends throughout the hair for grip and texture.
2. Section out two soft, face-framing tendrils around your temple and cheekbone area on both sides of the part to frame the face later.
3. Lightly tease the crown area using the fine-tooth tail comb listed below, spraying with a bit of the texturizing volume spray listed below to create gentle, secure height at the back of the head.
4. Gather the rest of your hair into a low, loose ponytail at the nape of the neck using a clear elastic band.
5. Divide the ponytail into two or three pieces, twist and loop each section softly over and under each other to form a textured chignon, securing each loop tightly against the base with the bobby pins listed below.
6. Gently tug at the outer edges of the bun to create that romantic, effortless volume, and tuck in delicate sprigs of fresh baby's breath or floral hairpins above the roll.
7. Give the loose face-framing tendrils a final light bend with the curling wand and lock everything in place with a mist of the flexible hold hairspray listed below.
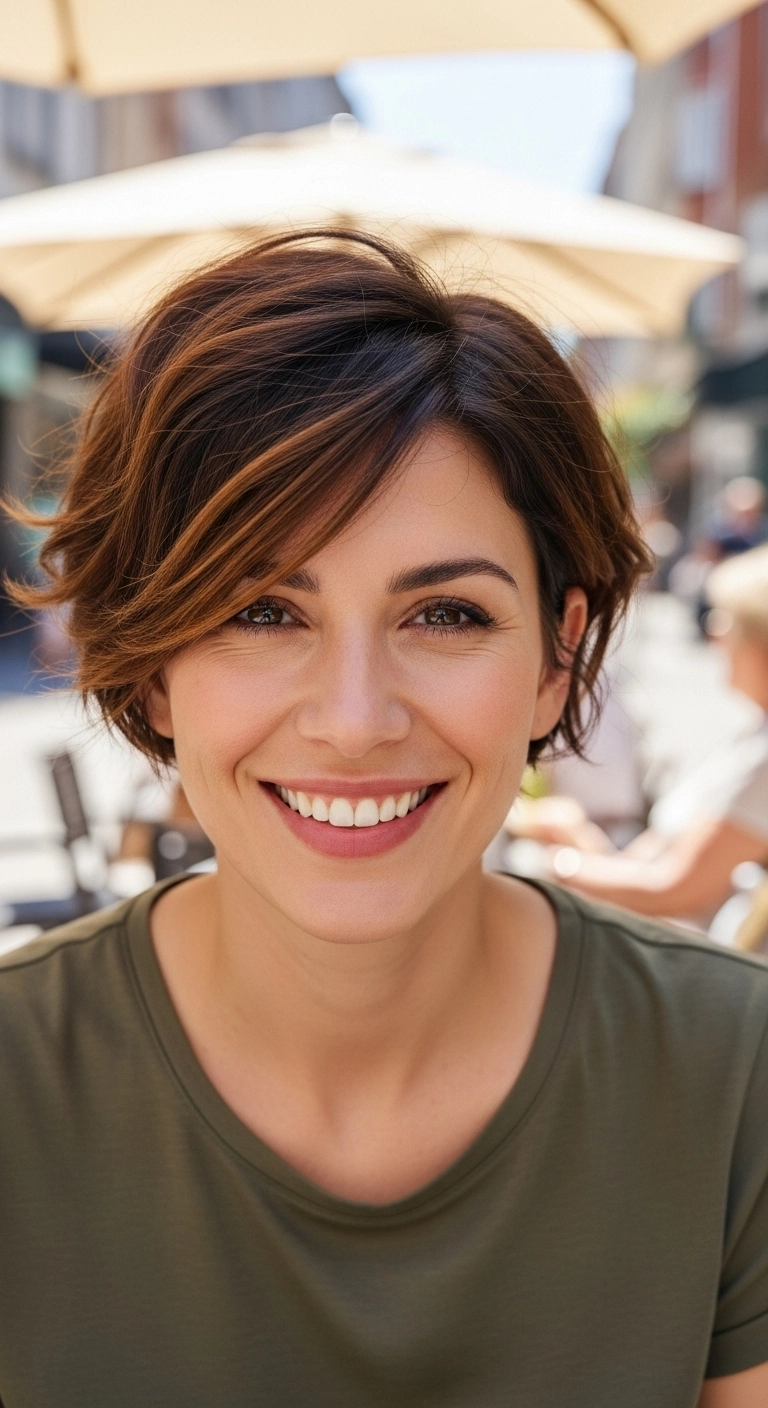
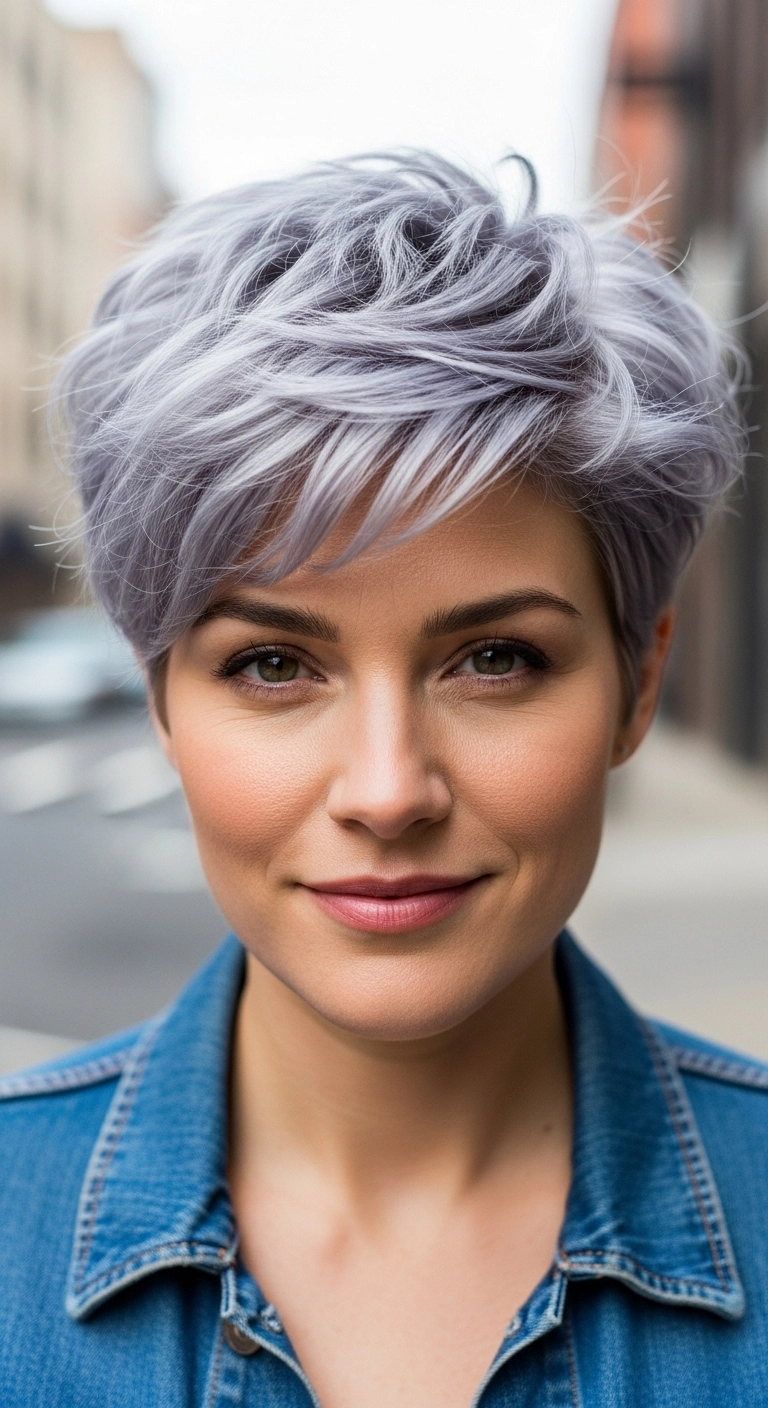
This piecey bixie cut is effortlessly chic and so incredibly flattering! I love the soft flicked texture around the ears and how the sweeping fringe effortlessly frames the cheekbones. If you want a short cut that still gives you plenty of versatile styling options and natural volume, this is the one to ask for!
How to do this
1. Start by washing hair with a lightweight volumizing shampoo and conditioner to prep the hair with body.
2. On towel-dried hair, apply a dime-sized amount of the volumizing styling foam listed below directly to the roots and lengths.
3. Mist all over with the heat protectant spray listed below to shield strands from hot styling tools.
4. Blow dry using the small round ionic brush listed below, lifting upward at the crown and directing the long front fringe to the side.
5. Use a mini flat iron or styling wand to create soft, flicked bends on the surface layers and around the face for dynamic texture.
6. Work a pea-sized amount of the matte texture styling paste listed below between your palms and gently piece out the ends and side fringe.
7. Finish the style with a quick mist of the flexible hold hairspray listed below for all-day movement and hold without stiffness.
I'm absolutely in love with this Italian bob because it brings so much chic elegance without feeling high-maintenance or stiff. It has that bouncy, rounded body that turns heads at the office, but a quick shake of the head gives it that gorgeous lived-in vibe for date night. If you've been on the fence about chopping your hair into a bob, definitely take the leap with this cut—it frames the jawline like magic!
How to do this
1. Start with clean, damp hair and apply a quarter-sized amount of the smoothing blowout cream listed below throughout your mid-lengths and ends to build body and fight frizz.
2. Mist hair liberally with the thermal heat protectant spray listed below to shield your strands before introducing heat.
3. Rough-dry your hair with a blow dryer until it's about 80% dry, flipping your head upside down to encourage maximum root lift.
4. Section hair into horizontal layers and blow dry using the large ceramic round brush listed below, rolling the ends inward toward your chin to achieve that classic Italian bob curved silhouette.
5. Sweep the front section across to a deep side part while directing the airflow back and over to give that effortless, windblown swoop across the face.
6. Finish the look with a quick blast of cool air to lock in shine, followed by a light spritz of the flexible hold hairspray listed below to keep the movement soft and natural all day.
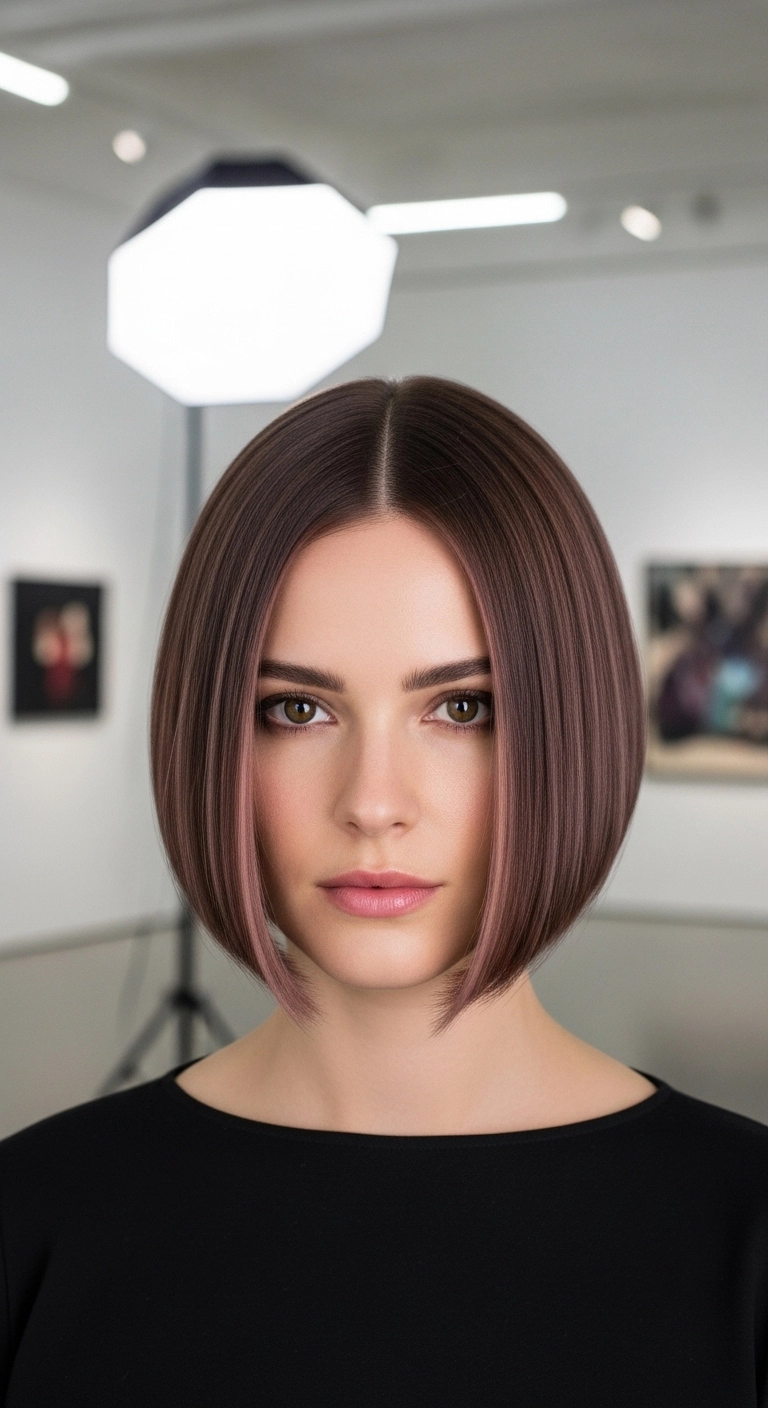
This hairstyle is what I like to call the sculpted glass bob. You start with a razor-sharp chin-length cut that bevels softly inward around the jawline to sculpt the face. Add soft dusty rose ribbons right around the front to accent your cheekbones, blow it out super smooth with a round brush, and you have an instant high-fashion finish.
How to do this
1. Start by prepping damp, freshly washed hair with a lightweight smoothing blowout cream using the smoothing blowout cream listed below to control flyaways and add a silky touch.
2. Mist a generous layer of heat protection through the lengths using the thermal heat protectant spray listed below to shield hair from heat damage.
3. Create a clean, precise center part down the middle of your head using a fine tail comb.
4. Section hair into horizontal tiers, starting at the nape. Use a ceramic round brush and a blow dryer fitted with a concentrator nozzle, rotating the brush inward as you reach the ends to achieve that sleek, curved silhouette.
5. Once fully dry, take thin vertical sections and glide a flat iron through, beveling your wrists slightly inward right at the jawline to create the curved bob contour.
6. Finish by smoothing a tiny drop of high-gloss hair serum through the mid-lengths and ends using the anti-frizz shine serum listed below, locking the sleek shape with a mist of the flexible hold hairspray listed below.
This is such a flattering look if you love the depth of brunette hair but still want that bright, glowing pop around your face. The front blonde pieces catch the light effortlessly, giving you an instant lift without needing a full head of high-maintenance highlights.
How to do this
1. Start by prepping clean, damp hair with the lightweight blowout heat protectant spray listed below to shield strands from thermal styling tools.
2. Blow-dry using a large ceramic round brush, focusing on lifting the roots at the crown and smoothing down through the mid-lengths and ends for soft volume.
3. Take a 1.25-inch curling iron and wrap vertical two-inch sections away from the face, leaving the very bottom half-inch out for a relaxed, modern bend.
4. For the front money piece sections, lightly curl them directed backward and away from the cheekbones to open up and frame the face beautifully.
5. Once all waves have cooled completely, gently finger-comb through the curls to break them up into soft, flowing ribbons.
6. Mist a light dry texturizing spray through the lengths for airy fullness, then finish with a drop of nourishing hair oil listed below smoothed over the blonde ends for radiant shine.
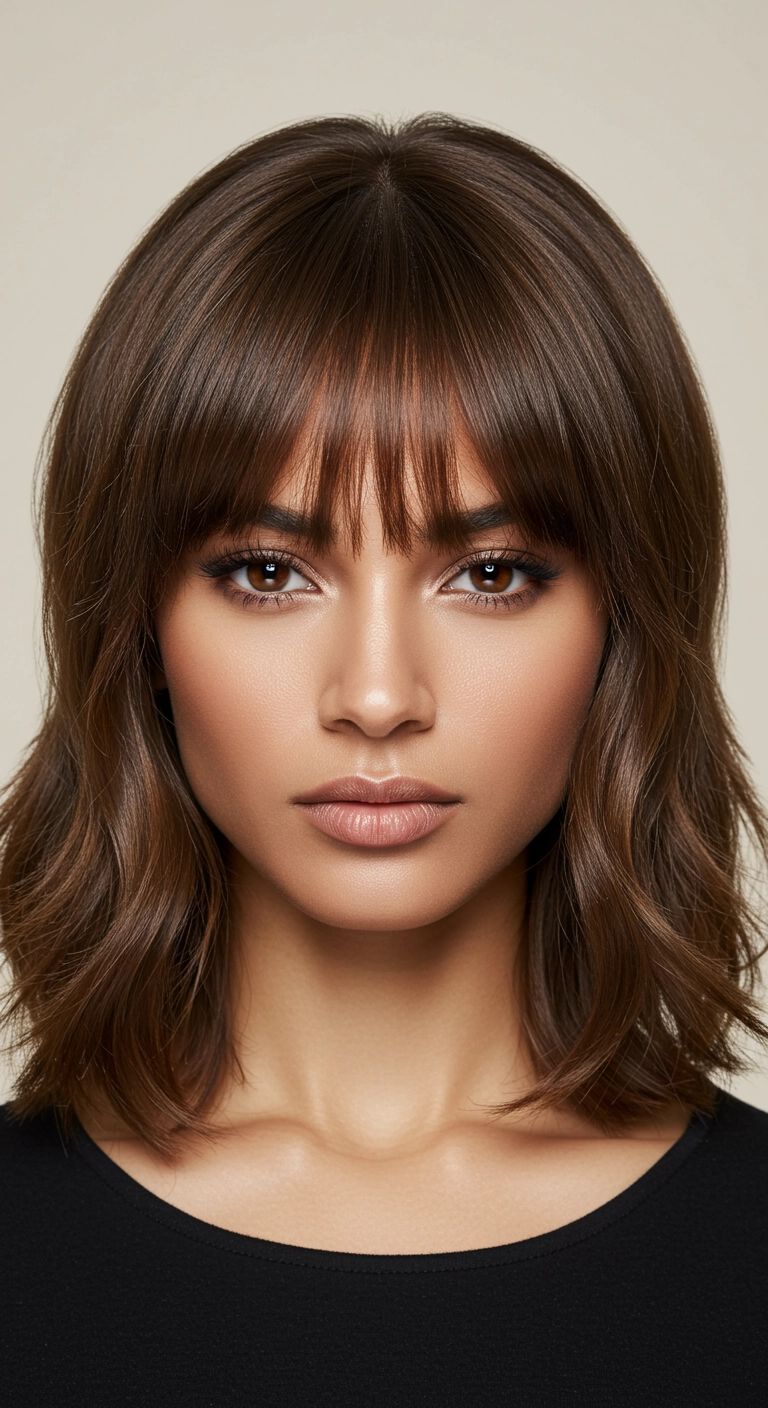
I am completely obsessed with this haircut! There is honestly nothing cooler than a classic chocolate lob paired with soft, eyelash-skimming Birkin bangs. When your hair feels a little lifeless and you want an instant style upgrade without committing to super short hair, this effortlessly chic wavy lob gives you all the face-framing softness and volume you could ever dream of.
How to do this
1. Start by prepping clean, damp hair with a lightweight smoothing cream and the heat protectant spray listed below to shield your strands from heat styling.
2. Blow-dry the bangs first using a small ceramic round brush listed below, sweeping them downward and slightly curving the ends forward, then lightly parting them in the center for that lived-in wispy vibe.
3. Rough-dry the rest of your hair until it is about 90% dry, then use a medium round brush to smooth out the lengths and bevel the ends gently.
4. Take a 1.25-inch curling iron listed below and wrap vertical 1-to-2-inch sections away from your face, leaving about an inch of the ends out to keep the lob looking relaxed and modern.
5. Alternate curl directions around the back to create subtle body and natural S-waves.
6. Once the curls have completely cooled down, gently break them apart using your fingers or a wide-tooth detangling comb.
7. Finish the style by misting the dry texturizing spray listed below through the mid-lengths and ends for airy volume and effortless movement.
Are you loving that effortless, chic French-girl aesthetic as much as I am? I couldn't resist adding this gorgeous chocolate brown layered lob to the list because it literally looks good on everyone! The sweeping curtain bangs frame the cheekbones so beautifully, and those soft, undone waves give it that perfect lived-in volume without looking like you tried too hard. You can easily rock this to the office with a crisp button-down or dress it up with a smokey eye for date night. It's truly the ultimate cool-girl cut for medium-length hair!
How to do this
1. Start by prepping damp, freshly washed hair with the lightweight volumizing mousse listed below, working it from roots to ends for lift and body.
2. Mist hair generously with the heat protectant spray listed below to shield your strands before blow drying.
3. Blow dry using a round ceramic brush, lifting upwards at the roots and rolling the curtain bangs backward and away from the face to create that bouncy, curtain shape.
4. Take 1.5-inch vertical sections of hair and wrap them loosely around the 1.25-inch curling iron listed below, making sure to curl away from the face and leave the ends slightly straight for an effortless wave.
5. Once all sections have cooled completely, gently rake through the waves with your fingers or a wide-tooth comb to break up any stiff ringlets.
6. Spritz the dry texturizing spray listed below at the crown and throughout the mid-lengths while gently scrunching upward to create airy volume and separation.
7. Finish off with a light mist of the flexible hold hairspray listed below to lock in movement without any crunchiness.
Whenever I want to add an instant romantic twist to my everyday lob, this braided crown headband is my go-to! It keeps the hair off my face while still showing off those loose, effortless waves—plus it's so cute for weekend outings or garden weddings.
How to do this
1. Prep dry, clean hair with a light mist of the heat protectant spray listed below to shield your hair from styling tools.
2. Separate out your side-swept bangs in front and clip them forward out of the way.
3. Take a medium section of hair starting behind one ear and begin weaving a dutch braid up and across the top of your head like a headband, adding hair from along the hairline.
4. Once you reach the opposite side behind the ear, continue braiding normally to the ends, secure with a clear mini elastic, and pin it securely underneath the loose hair using the bobby pins listed below.
5. Gently pancake the stitches of your crown braid with your fingers to make it look full, chunky, and effortless.
6. Take 1-inch sections of your remaining loose lengths and wrap them around the 1-inch curling wand listed below to create soft, relaxed waves.
7. Sweep your front bangs across the forehead softly and finish everything off by misting the flexible hold hairspray listed below for all-day hold.
If you've been wanting to add dimension without losing your brunette identity, this is your sign! These warm caramel ribbon highlights catch the light in the most stunning way, especially paired with soft, brushed-out waves. It feels rich, cozy, and totally timeless for any season.
How to do this
1. Start by washing and conditioning with color-safe, moisturizing products like the color-protecting moisturizing shampoo and conditioner listed below to keep those warm highlights gleaming.
2. On damp hair, apply a generous amount of the thermal heat protectant spray listed below from mid-lengths to ends, combing through evenly.
3. Blow-dry using a large ceramic round brush to build body and establish smooth, glossy volume at the roots.
4. Section hair into horizontal tiers and use the 1.5-inch ceramic curling iron listed below to wrap large vertical sections away from the face, leaving the very ends softly relaxed.
5. Allow curls to cool completely so they set, then gently rake through the waves using the wide-tooth comb listed below for that seamless S-wave ribbon effect.
6. Finish off by smoothing two drops of the nourishing hair serum listed below through the mid-lengths and ends for high-shine reflection and zero flyaways.
Nothing beats the feeling of a big, bouncy blowout! I'm completely obsessed with how these winged curtain bangs sweep right across the cheekbones to effortlessly frame the face while keeping the look so lush and glam.
How to do this
1. Start on freshly washed, damp hair and prep from roots to ends using the volumizing root lift spray listed below to build a plush foundation.
2. Apply a dime-sized amount of the heat protectant blowout cream listed below through your mid-lengths and ends to ensure silky, frizz-free movement.
3. Section the hair and rough dry until it's about 80% dry, then go in with a large round ceramic brush, lifting upwards at the roots to maximize body.
4. For the front curtain bangs, roll the section away from your face and up toward the crown, then secure in place using the large self-grip velcro rollers listed below to cool completely.
5. Use a 1.5-inch curling iron to curl large vertical sections away from your face, smoothing each strand down into a polished, bouncy wave.
6. Once everything has cooled, gently remove the rollers and brush through the curls using the natural boar bristle dressing brush listed below to blend the waves into one seamless flow.
7. Mist with the lightweight luminous shine hairspray listed below to lock in the bounce and give it that glass-like supermodel sheen.
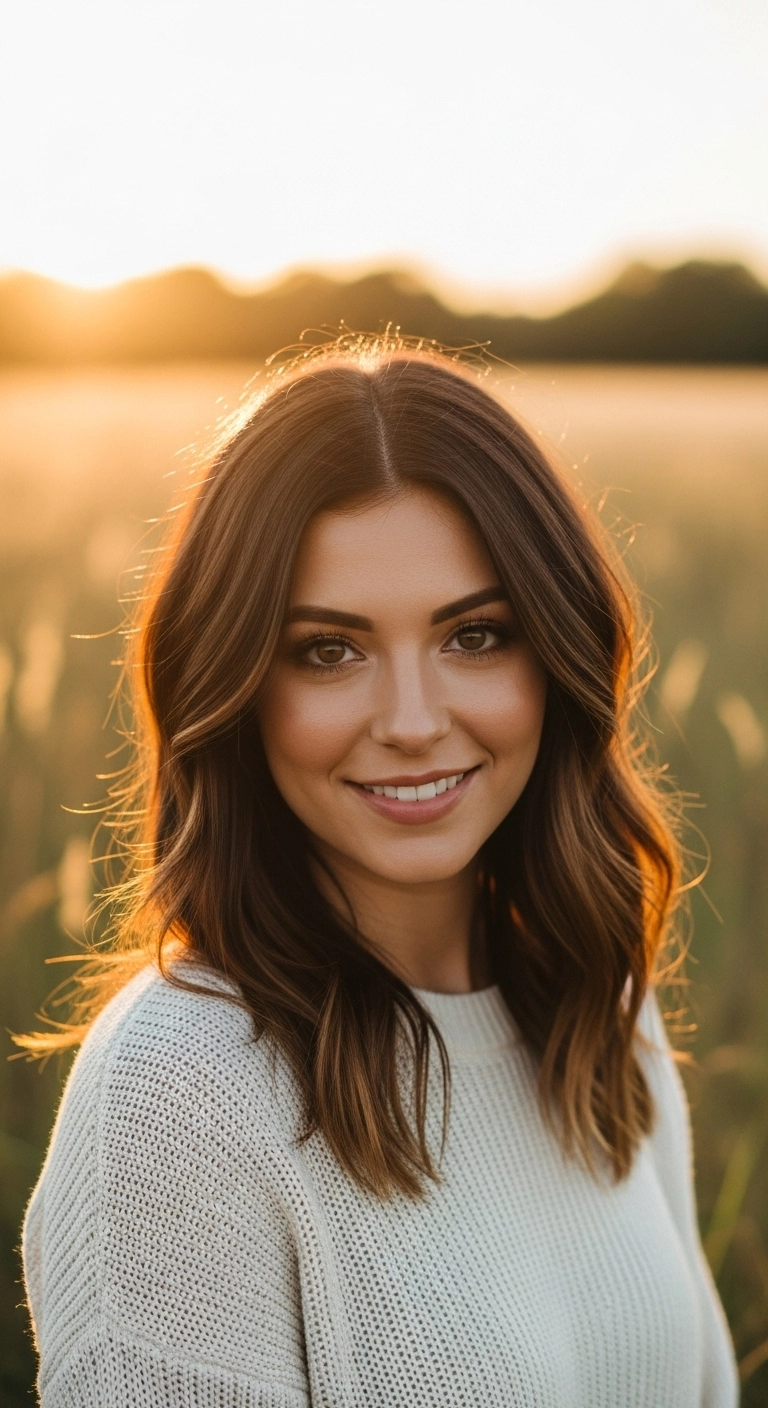
If you want that ultimate 'I woke up like this but better' vibe, this rich chocolate lob with delicate caramel ribbons is absolute perfection! Just a quick pass with a curling wand away from your face and BOOM, you have an effortless, bouncy style that catches the golden hour light every single time.
How to do this
1. Start by prepping clean, towel-dried hair with a lightweight heat protectant spray to shield against thermal damage and lock in shine.
2. Blow dry hair smoothly using a medium round ceramic brush, directing airflow down the shaft to achieve sleek root volume and a soft bevel at the ends.
3. Create a clean, centered middle part using the tail of a fine-tooth comb.
4. Divide hair into horizontal sections and use a 1.25-inch curling iron listed below to curl medium sections away from the face, leaving the very ends slightly straight for a lived-in feel.
5. For the front face-framing pieces, curl loosely outward and hold the iron vertically to create a soft, gentle sweep that accentuates the cheekbones.
6. Allow the curls to cool completely, then gently rake through them with your fingers or a wide-tooth comb to relax them into loose, flowing waves.
7. Finish by misting a light texturizing finishing spray and a touch of hair serum listed below through the mid-lengths and ends for separation and healthy gloss.
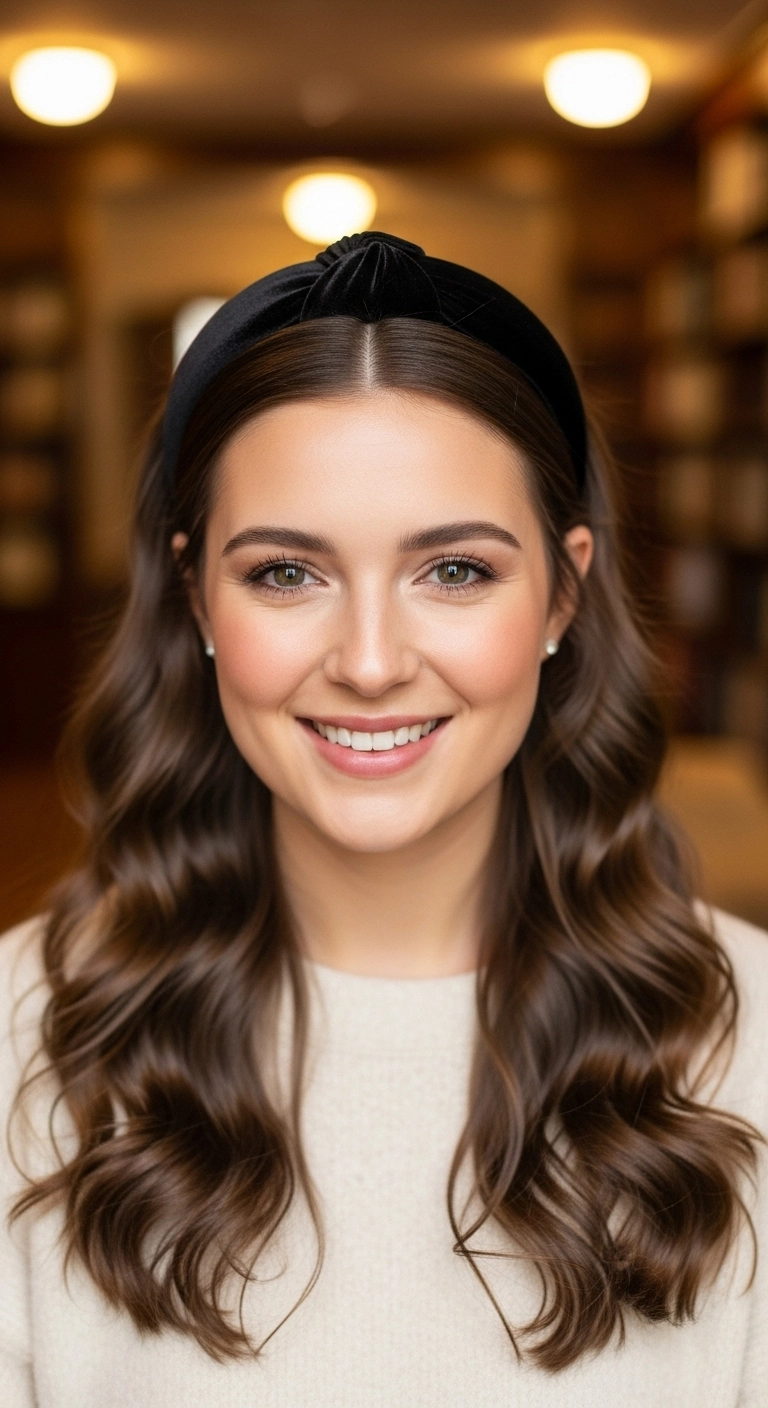
Polished brown waves topped off with a thick velvet headband. I've always had a soft spot for preppy Blair Waldorf vibes, and this look completely hits that mark. It takes classic blowout waves and instantly levels them up into something super put-together with practically zero extra effort. Perfect for work meetings or dinner dates when you want to look styled in five minutes.
How to do this
1. Start by prepping clean, damp hair with the lightweight heat protectant spray listed below to shield strands and add initial shine.
2. Blow dry hair completely smooth using a large ceramic round brush, focusing on lifting at the roots to maintain nice natural body.
3. Create a clean, precise center part down the middle using a fine-tooth comb.
4. Section hair into 1.5-inch to 2-inch horizontal layers and curl using the 1.25-inch curling iron listed below, wrapping hair away from the face to create uniform, bouncy waves.
5. Allow all the curls to cool down completely, then gently brush through them with the boar bristle paddle brush listed below to relax them into smooth S-waves.
6. Smooth a drop or two of the nourishing hair serum listed below through mid-lengths and ends for that glossy, mirror-like finish.
7. Tuck the front sections neatly behind your ears and slide the black velvet knotted headband listed below onto your head, positioning it about an inch behind your hairline.
8. Mist everything lightly with the flexible hold hairspray listed below to lock in the shape without losing bounce.
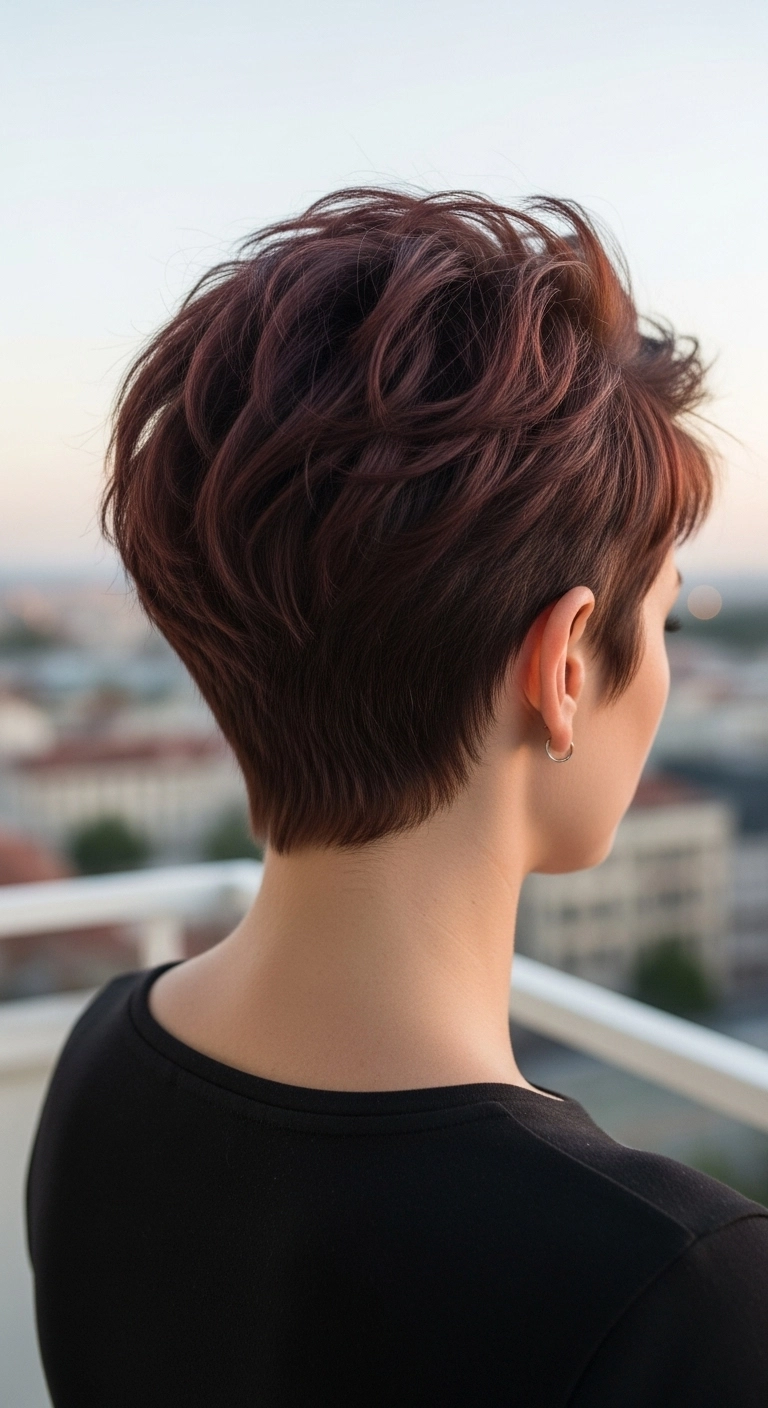
Oh, a perfectly tapered pixie cut, how I love thee! The soft feathered crown layers paired with rich chocolate and warm auburn tones give it so much life and dimension. This is sooo chic and effortlessly cool!! Would you ever be brave enough to chop your locks like this?
How to do this
1. Start on freshly washed, damp hair and prep with a lightweight styling cream or mousse like the volumizing blow dry foam listed below to add lift without stiffness.
2. Blow-dry using a small round ceramic brush or your fingers, directing the roots upward at the crown to build volume and sweeping the longer top layers forward and slightly to the side.
3. Keep the nape flat and smooth against the neck by directional blow-drying downward with a paddle brush.
4. Warm a nickel-sized amount of the matte styling wax paste listed below between your palms and fingers.
5. Work the product through the top and crown, gently pinching the ends into separated, textured pieces and defining the feathered layers.
6. Finish with a light mist of the flexible hold texturizing hairspray listed below to lock in the shape with natural movement.
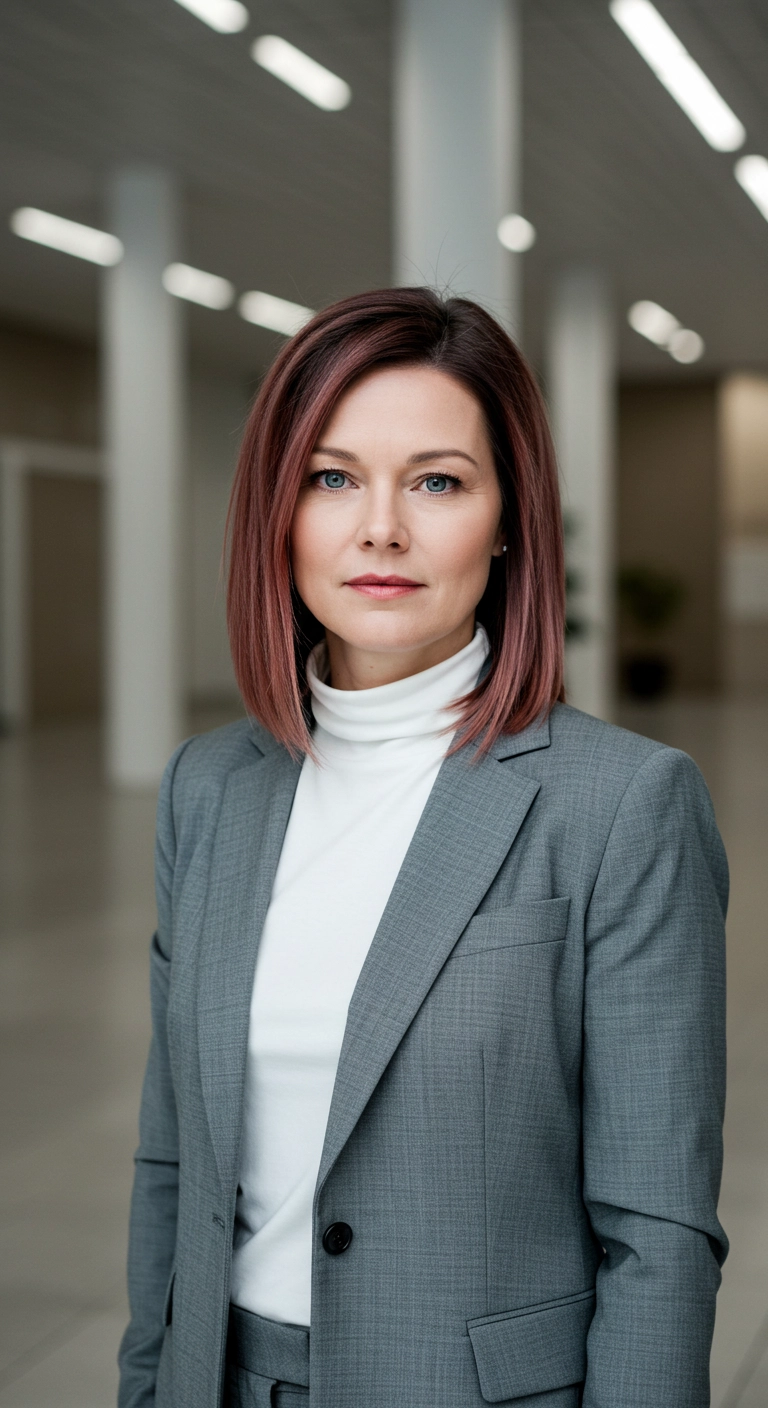
The sleek mauve-toned collarbone lob. Such a sophisticated look! I love how the soft dusty rose tint breathes modern life into a classic blunt cut while keeping it totally workplace-ready. It's chic, polished, and flatters practically every face shape effortlessly.
How to do this
1. Prep damp, towel-dried hair with a smoothing heat protectant spray to shield against heat styling and eliminate frizz.
2. Apply a dollop of volumizing root mousse directly along the crown and partline to achieve that lifted, side-swept front swoop.
3. Section the hair into horizontal tiers and blow-dry using the round ceramic brush listed below, rolling the ends slightly inward for a polished, bevelled edge.
4. For a super crisp and smooth texture, pass over 1-inch sections with the flat iron listed below at medium heat, curving gently inward right at the collarbone tips.
5. Warm a couple drops of lightweight nourishing hair serum in your palms and smooth over the surface to enhance the dusty rose tones and add a glossy sheen.
6. Finish with a light mist of flexible hold hairspray across the parted swoop to keep the style in place all workday long.